15
B. Component Service Information
WARNING
• Be sure to move the power switch (earth leakage circuit breaker) to the “OFF” position,
then unplug the showcase before removing or replacing the parts.
• Handle the glass parts with care.
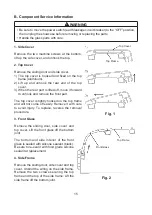
1. Side Cover
Remove the two machine screws at the bottom,
lift up the side cover, and unhook the top.
2. Top Cover
Remove the sliding door and side cover.
1) The top cover is hooked and fixed on the top
frame (aluminum).
2) Lift up and unhook the rear end of the top
cover.
3) When the rear part is lifted off, move it forward
to unhook and remove the front part.
The top cover is tightly hooked on the top frame
and will not come off easily. Remove it with care
to avoid injury. To replace, reverse the removal
procedure.
3. Front Glass
Remove the sliding door, side cover and
top cover. Lift the front glass off the bottom
joint.
The bottom and side interior of the front
glass is sealed with silicone sealant (black).
Be sure to re-seal it with food grade silicone
sealant at replacement.
4. Side Frame
Remove the sliding door, side cover and top
cover. Unbind the wiring on the side frame.
Remove the two screws securing the top
frame and the top of the side frame. Lift the
side frame off the bottom joint.
Top Cover
Top Frame
Fig. 1
Fig. 2
Top Frame
Front Glass
Summary of Contents for HNC-120BE-L-BH
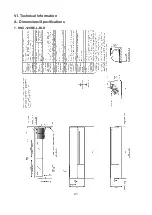
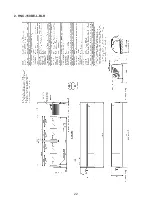
Page 22: ...21 VI Technical Information A Dimensions Specifications 1 HNC 120BE L BLH...
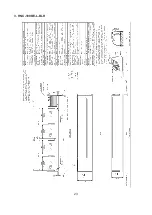
Page 23: ...22 2 HNC 150BE L BLH...
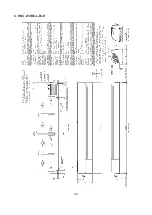
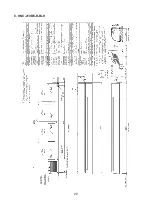
Page 24: ...23 3 HNC 180BE L BLH...
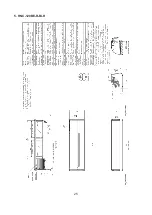
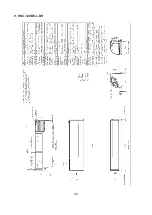
Page 25: ...24 4 HNC 210BE L BLH...
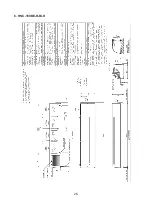
Page 26: ...25 5 HNC 120BE R BLH...
Page 27: ...26 6 HNC 150BE R BLH...
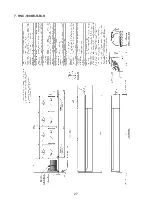
Page 28: ...27 7 HNC 180BE R BLH...
Page 29: ...28 8 HNC 210BE R BLH...
Page 30: ...29 9 HNC 120BE L BH...
Page 31: ...30 10 HNC 150BE L BH...
Page 32: ...31 11 HNC 180BE L BH...
Page 33: ...32 12 HNC 210BE L BH...
Page 34: ...33 13 HNC 120BE R BH...
Page 35: ...34 14 HNC 150BE R BH...
Page 36: ...35 15 HNC 180BE R BH...
Page 37: ...36 16 HNC 210BE R BH...

