70
18. PUSH BUTTON SWITCH AND PILOT LAMP
1) Unplug the ice dispenser.
2)
Remove the front panel.
If the push button switch does not require replacement, skip 3) - 11).
3) Remove the connectors to the push button
switch.
4) Loosen the nut on the housing screw.
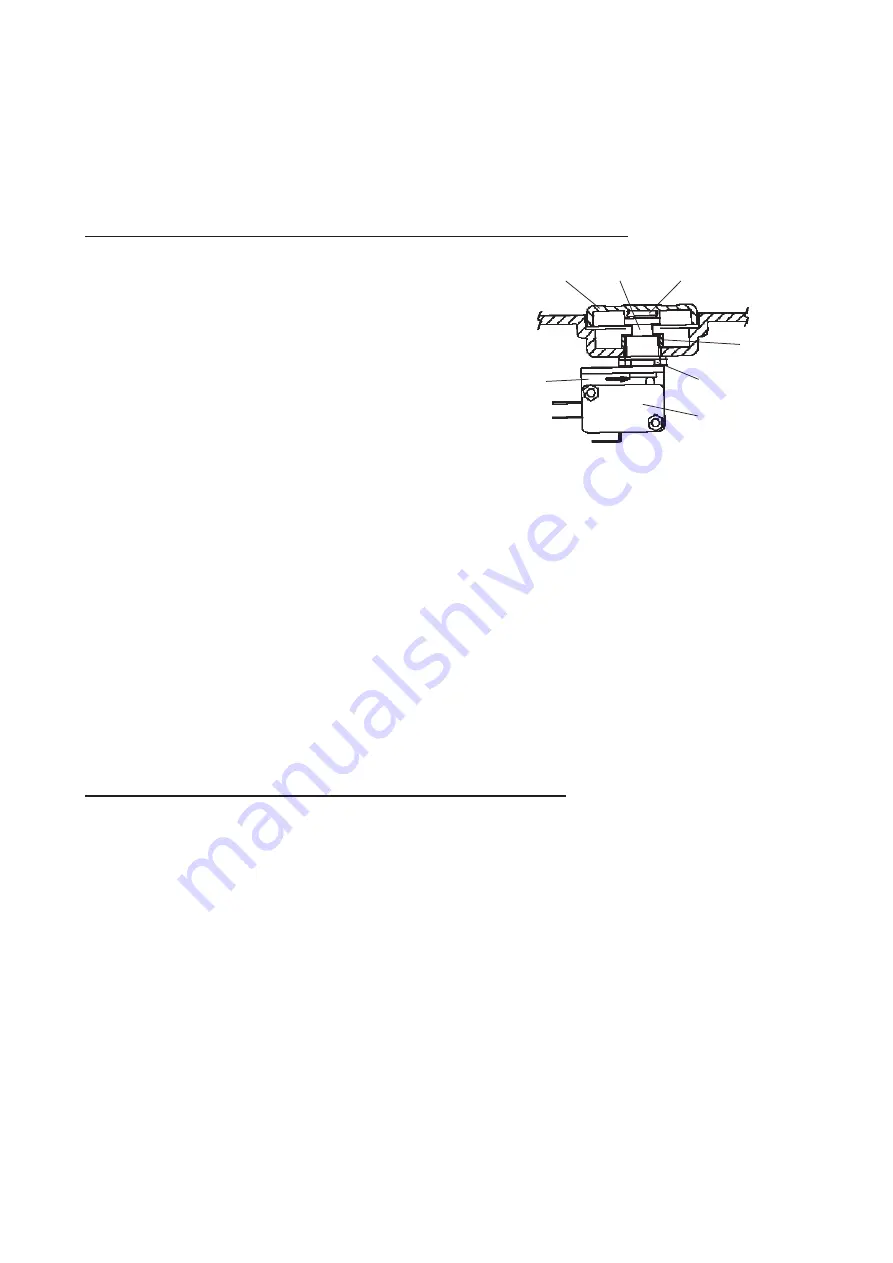
Push Button Plunger Supporter
Stopper
5) Turn the push button switch counterclockwise
and remove the push button.
6) Remove the supporter on the back of the
push button.
Housing
Fig. 16
Nut
Microswitch
7) Turn the stopper counterclockwise and remove it from the housing screw. Detach
the push button switch from the ice station.
8) Remove the supporter from the new push button switch. Fit the housing screw into
the hole on the ice station and attach the stopper to the end of the housing screw.
9) Loosen the nut on the housing screw.
10) Attach the supporter to the end of the plunger.
11) Fit the push button while retaining the plunger in place between the plunger and the
microswitch with a flat blade screwdriver or the like.
If the pilot lamp does not require replacement, skip 12) - 14).
12) Cut the pilot lamp leads at the wire connectors.
13) Remove the pilot lamp.
14) Install the new pilot lamp.
15) Assemble the removed parts in the reverse order of which they were removed.
16) Plug in the ice dispenser.


