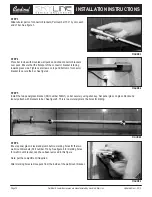
STEP 5
Install the two panel glass bracket (Part number 502G1) on bar securely using allen key. Set panel glass on glass blocks and
loosely attach with brackets to bar. See figure 5. This is to accurately mark the holes for drilling.
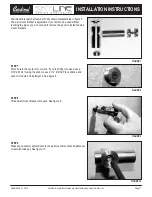
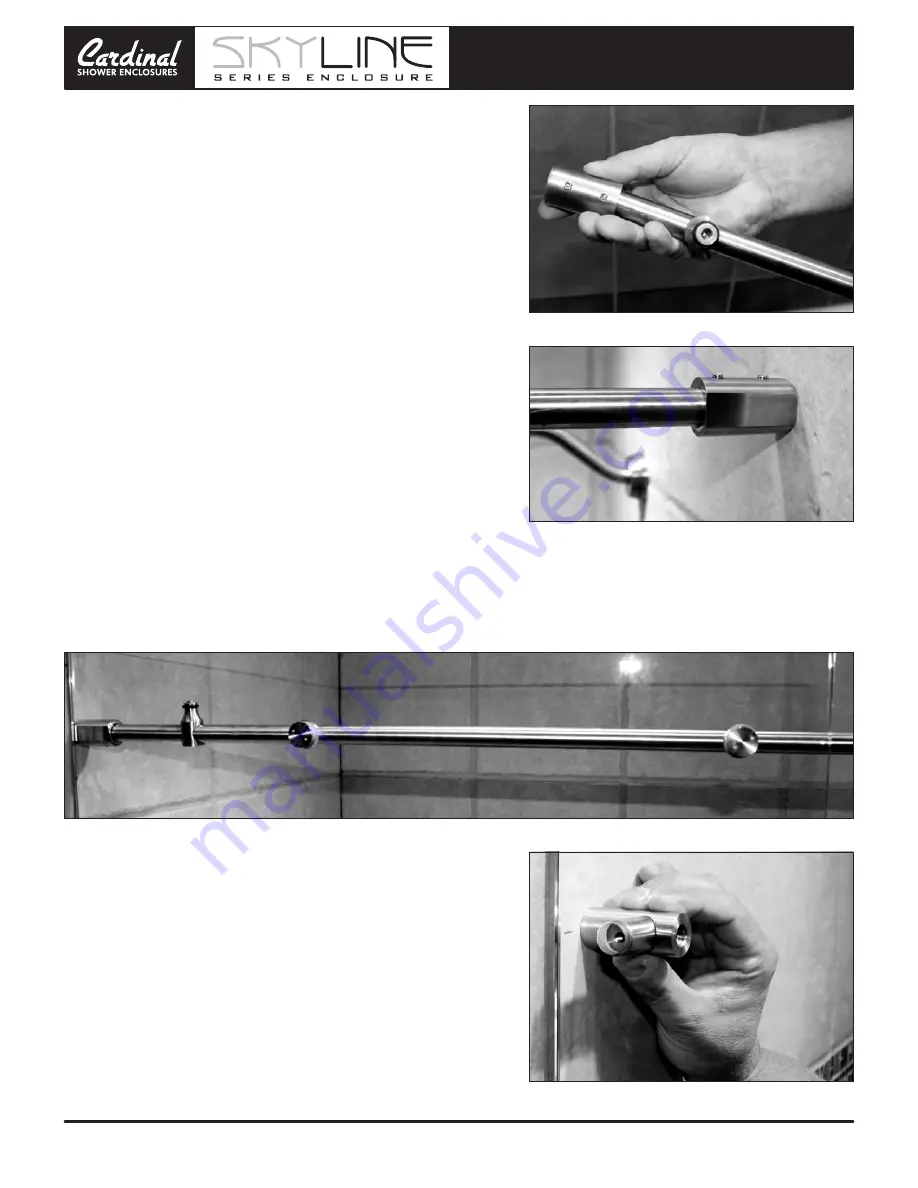
STEP 3
Slide tubular parts of connector brackets (Part number 73-11A) onto each
end of bar. See figure 3.
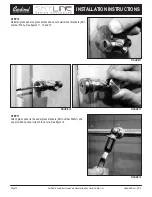
STEP 4
Place bar in-line with mounted wall pucks and slide connector brackets
over puck. Ensure that the flat spot of the connector bracket is facing
towards glass side. Tighten set screws on top and bottom of connector
bracket to secure the bar. See figure 4.
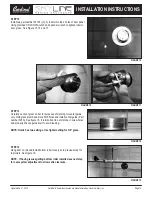
STEP 6
Ensure panel glass is level and plumb before marking holes for the two
wall mount brackets (Part number 512A). See figure 6 for marking holes
for wall mount bracket, caps have been removed in this figure.
Note: part has adjustment if required.
After marking holes remove puck from the inside of the wall mount bracket.
Updated Dec 1, 2012
Cardinal Shower Enclosures are manufactured by Hoskin & Muir, Inc.
Page 70
INSTALLATION INSTRUCTIONS
FIGURE 3
FIGURE 4
FIGURE 5
FIGURE 6


