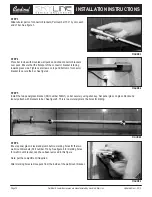
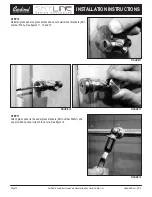

Wall mount bracket (Part number 512A) shown disassembled in figure 7.
The wall mount bracket is adjustable. If your drill can be used without
touching the glass, you do not need to remove the panel to install the wall
mount brackets.
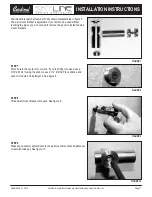
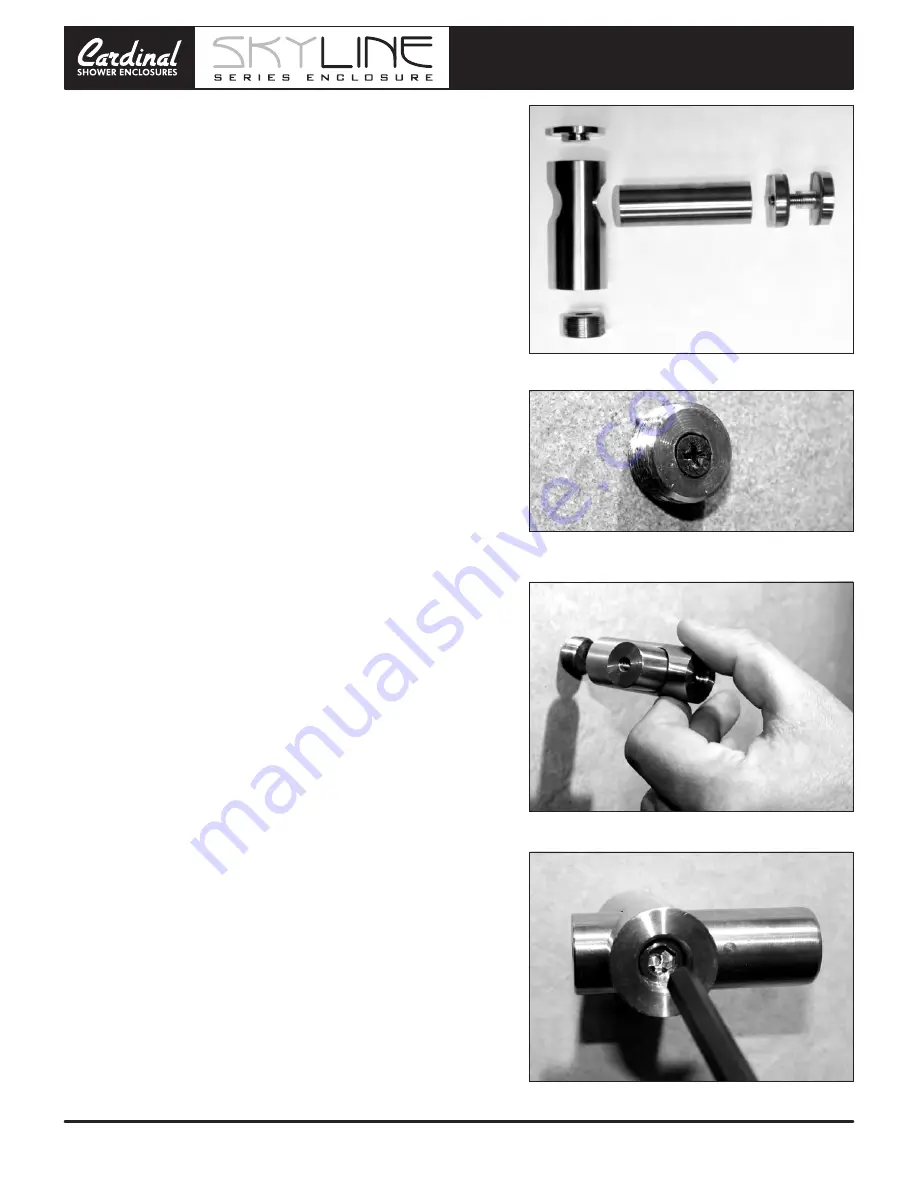
STEP 9
Make any necessary adjustments to the wall mount bracket and tighten set
screw with allen key. See figure 10.
STEP 8
Thread wall mount bracket onto puck. See figure 9.
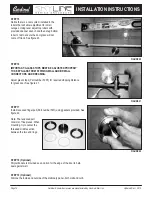
STEP 7
Drill a hole in the center of your mark. If you’re drilling into wood, use a
3/16” drill bit. If using the anchors, use a 1/4” drill bit. Place silicone and
anchor into hole and install puck. See figure 8.
Page 71
Cardinal Shower Enclosures are manufactured by Hoskin & Muir, Inc.
Updated Dec 1, 2012
INSTALLATION INSTRUCTIONS
FIGURE 7
FIGURE 8
FIGURE 9
FIGURE 10