
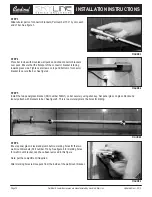

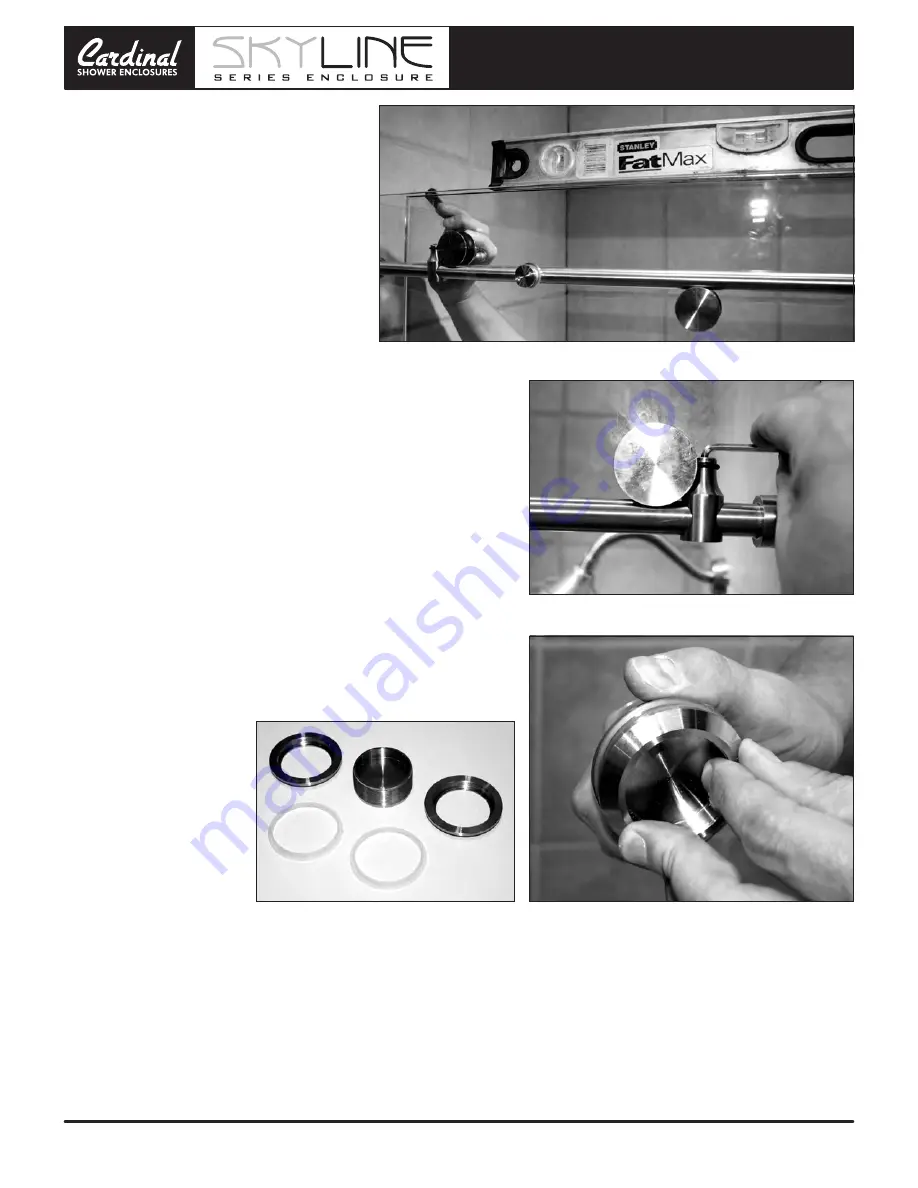
STEP 15
Notice there is a cam system installed in the
rollers that will allow adjustment for small
outages. Using level adjust top rollers with
provided spanner wrench and then snug bottom
roller to rail to ensure the door glass will not
come off track. See figure 20.
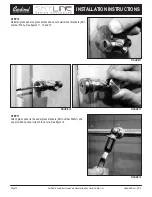
STEP 17
Install recessed finger pull (Part number 50H) using gaskets provided. See
figure 22.
Note: The recessed pull
consists of five pieces. When
mounting, try to center the
threaded middle section
between the two end rings.
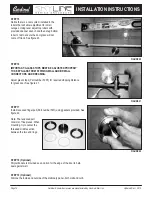
STEP 18 (Optional)
Polycarbonate is provided as an option for the edge of the door to help
seal against wall.
STEP 19 (Optional)
Silicone the inside and outside of the stationary panel, both wall and curb.
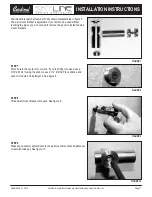
STEP 16
IMPORTANT: GLASS STOPS MUST BE ADJUSTED PROPERLY
TO KEEP GLASS FROM STRIKING WALL AND/OR WALL
CONNECTORS AND BREAKING.
Adjust glass stops (Part number 503F) for required stopping distance
for glass door. See figure 21.
Updated Dec 1, 2012
Cardinal Shower Enclosures are manufactured by Hoskin & Muir, Inc.
Page 74
INSTALLATION INSTRUCTIONS
FIGURE 21
FIGURE 20
FIGURE 22


