12
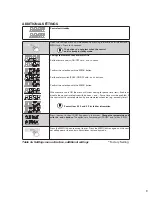
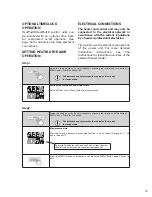
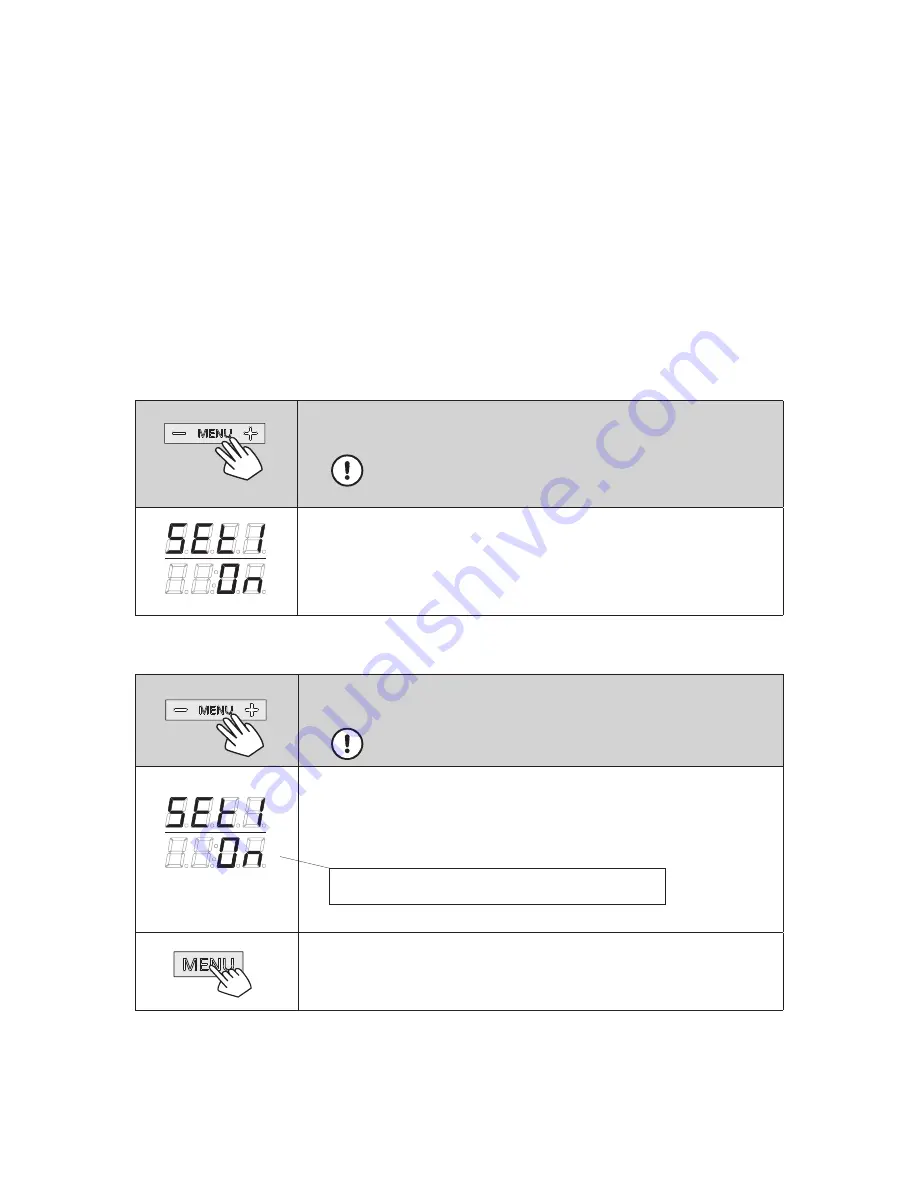
Open the settings menu by simultaneously pressing the locations of the buttons -,
MENU and +. Press for 5-seconds.
Settings the remote use and safety switch
Set to ON then press Menu button to accept and set.
Open the settings menu by simultaneously pressing the locations of the buttons -,
MENU and +. Press for 5-seconds.
Maximum on-time
The maximum on-time can be changed with the - and + buttons. The range is 1 - 24
hours (6 hours*)).
Press the MENU button to accept and set. Press the MENU button again 2 times to
exit.
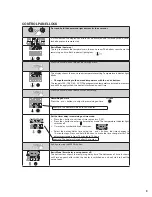
The buttons do not glow when the control unit is already
in stanby mode.
The buttons do not glow when the control unit is already
in stanby mode.
OPTIONAL TIMECLOCK
OPERATION
HeatPad10/HeatPad15 control units can
be installed with an optional time clock
for customized on/off operation. See
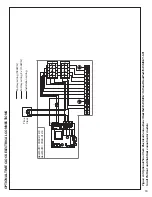
page 16 for optional time clock electrical
connections.
SETTING HEATPAD FOR 24HR
OPERATION
Step2
Step 1
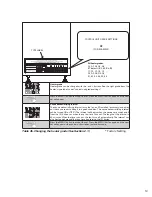
Example: The heater will be on for 6 hours from the start.
(Remaining on-time can be changed, see figure 3a.)
ELECTRICAL CONNECTIONS
The heater and control unit may only be
connected to the electrical network in
accordance with the current regulations
by a licensed professional electrician.
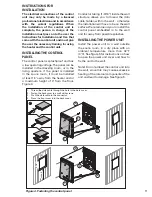
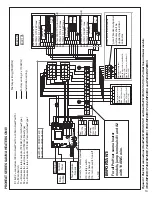
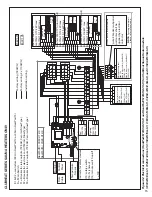
Figure 6 shows the electrical connections
of the power unit. For more detailed
installation instructions see The
Instructions for Installation and Use of the
selected heater model.

