18
HOW TO TURN ON THE POWER
1. Plug in the power cord.
See HOW TO CONNECT THE POWER CORD on
page 14.
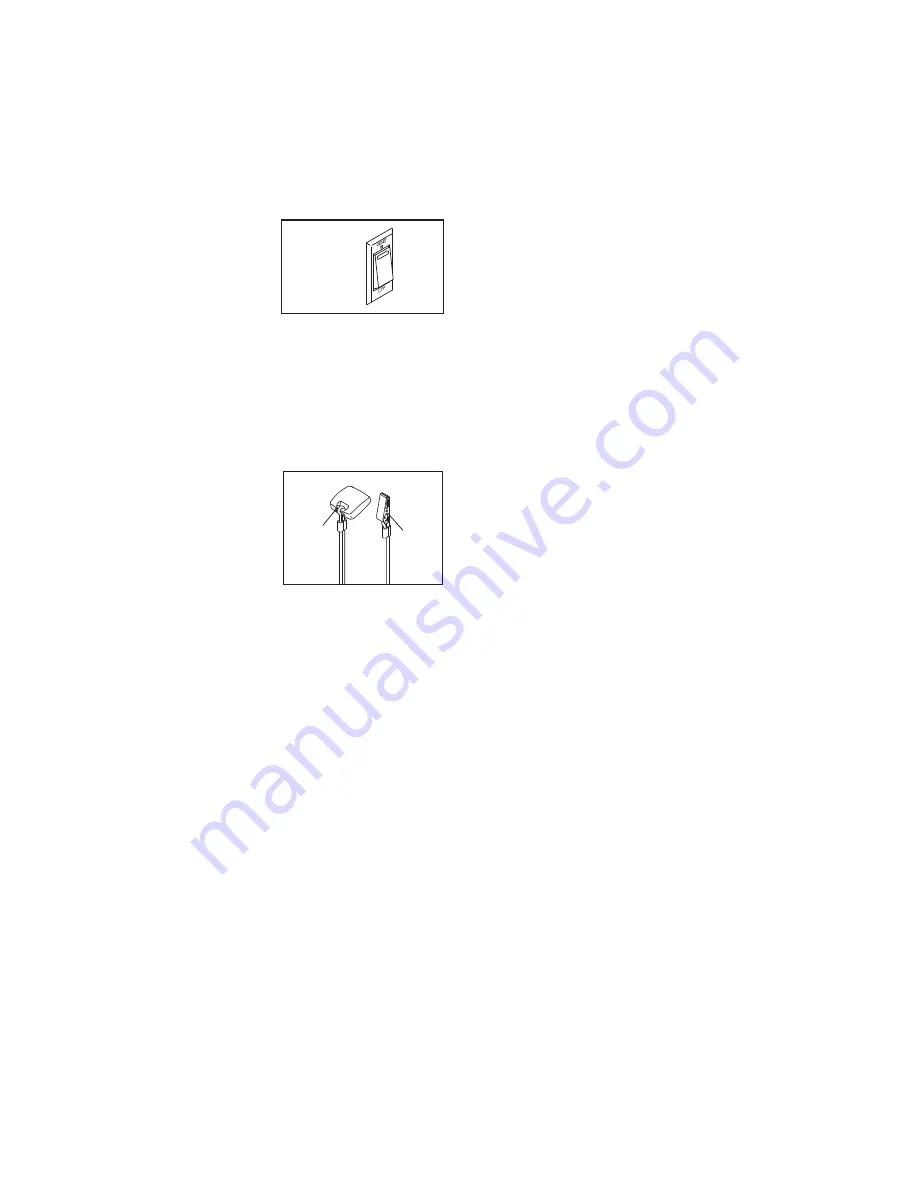
2. Move the power switch to the on position.
Locate the power
switch on the incline
trainer near the
power cord. Press
the power switch into
the on position.
3. Insert the key into the console.
Note: The console can be set to be used without
the key. See step 8 on page 25 for instructions.
If the console has been set to be used without the
key, this step does not apply.
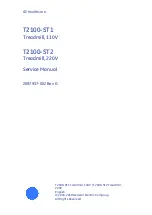
Find the key and the
clip on the console
and attach the clip
to the waistband of
your clothes. Next,
insert the key into the
console. IMPORTANT:
In an emergency, the
key can be pulled from the console, causing
the walking belt to slow to a stop. Test the clip
by carefully taking a few steps backward; if the
key is not pulled from the console, adjust the
position of the clip.
HOW TO USE THE TOUCH SCREEN
The console features a tablet with a full-color touch
screen. The following information will help you become
familiar with the tablet’s advanced technology:
• The console functions similarly to other tablets.
You can slide or flick your finger against the screen
to move certain images on the screen, such as
the displays in a workout (see step 5 on page 20).
However, you cannot zoom in and out by sliding your
fingers on the screen.
• The screen is not pressure sensitive. You do not
need to press hard on the screen.
• To type information into a text box, touch the text box
to view the keyboard. To use numbers or other char-
acters on the keyboard, touch the ?123 button. To
view more characters, touch the Alt button. Touch the
Alt button again to return to the number keyboard. To
return to the letter keyboard, touch the ABC button.
To use a capital character, touch the button with an
upward-facing arrow. To use multiple capital charac-
ters, touch the arrow button again. To return to the
lowercase keyboard, touch the arrow button a third
time. To clear the last character, touch the button
with a backward-facing arrow and an X.
Key
Clip
On


