background image


Programmable Multi-Stage Smart Thermostat


Reference  No.:


HTW-MT06  Series 


- 11 -

                                                                            Version 2020-1.0                                                                                             


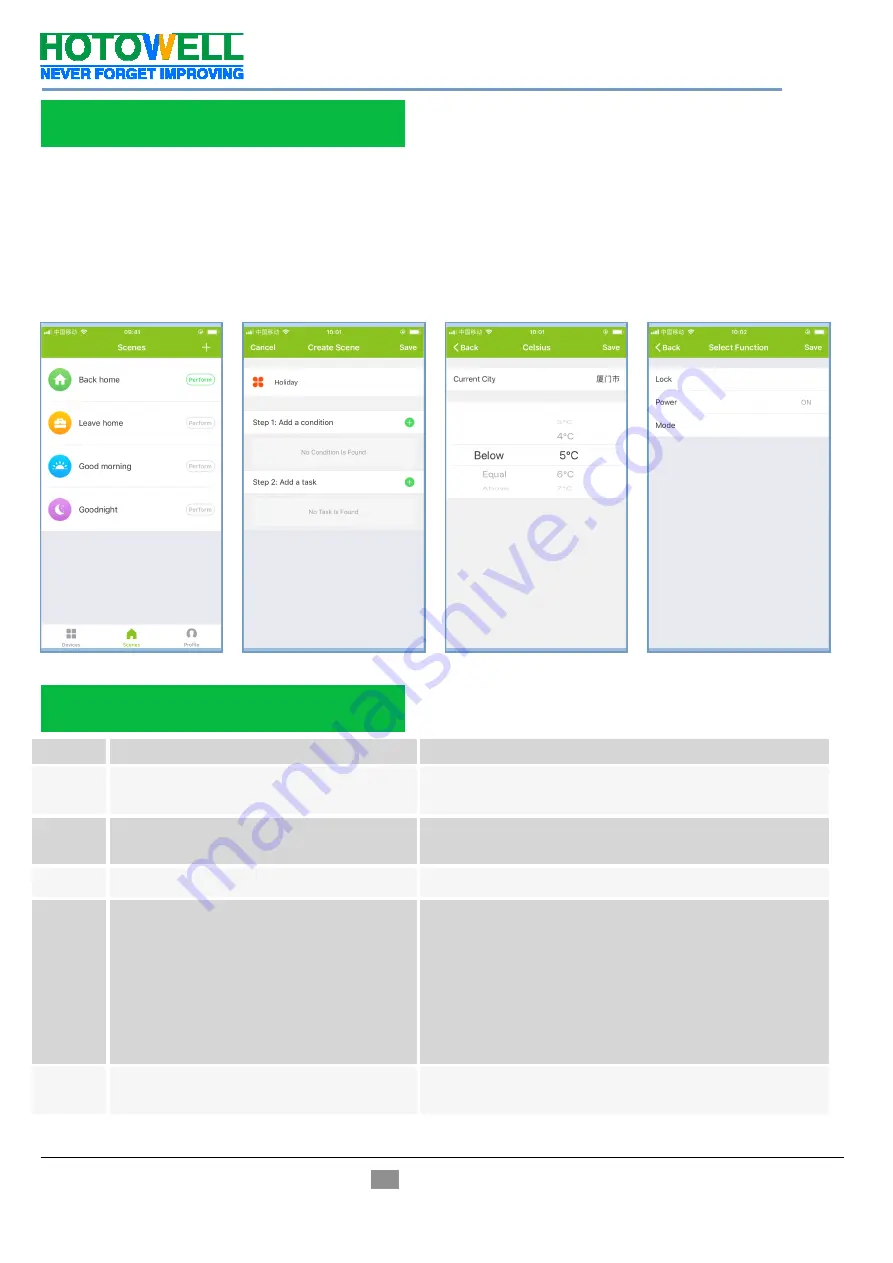
This  process  is  to  customize  your  own  personal  scenes  to  suit  your  needs,  for  example,  set  your  home 
temperature automatically when you come back home. 


There are 4 scenes in default setting, and can be added/deleted at will. 


Here  set  an  example  of  a  specific  scene:  “leave  home  for  holiday”  and  turn  on  the  thermostat  when 
temperature lower than 5°C 


Scenes(fig 8.1)>+>Enter a name for the scene(fig 8.2)>Add a condition(Below 5°C as fig 8.3)>Add a Task(fig 
8.4)>Save 


No. 

If… 

Then… 

Power is on but without display. 


Check if the terminals between LCD panel and 

Relay/Power Module is loosen. 

Without output but display works. 


Use  a  new  LCD  panel  or  new  Relay/Power 
Module for Replacement 

Room Temp. on display is not correct 


Do temperature calibration in parameter in ISU 

Heating system does not respond 


Set  the  mode  to  heating  by  press-ing  the  M 
button.   


Make  sure  the  temperature  is  set  above  the 
room temperature.   


Make sure “heat on” icon shows on the display.   


Wait 5 minutes for the system to respond.   


The  M  or  Increase/Decrease  button 
doesn’t work   


Make sure keypad is unlocked.   


Check that thermostat is on. 


Notice: Hotowell reserves all the right for the final explanation. The manual is subject to change without further notice.  

Customize Scene 


fig 8.1 

fig 8.2 

fig 8.3 

fig 8.4 

Trouble Shooting 

Summary of Contents for HTW-MT06 Series

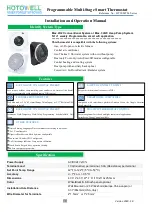
Page 1: ... 37 86 3mm USA Italy Wire Diameter for Terminals 2 1 5mm or 1 2 5mm Identify System Type Features Specification SAVE ABOUT 25 ON HVAC ENERGY Save money without compromising your comfort with features like flexible weekly programmable scheduling and remote WiFi control EASY TO CONNECT TO WIFI Easy guide in the manual to connect to WiFi FLEXIBLE MOUNTED TYPE Wall Mounted or 2 36 62 5mm Europe China ...

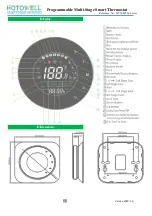
Page 2: ...Programmable Multi Stage Smart Thermostat Reference No HTW MT06 Series 2 Version 2020 1 0 Display Dimensions ...

Page 3: ...ng your screwdriver carefully unscrew one wire at a time from the terminal block and attach the corresponding wire label sticker Please note that not all terminals may be used and that there s no standard color code for thermostat wires so your wire colors may vary For your reference we ve included a terminal label reference chart as below to help you connect the wires in your old thermostat to yo...

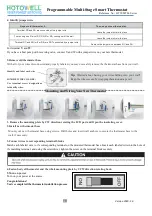
Page 4: ...and properly labeled you may now safely remove the thermostat base from your wall Mounting and Wiring Your New Thermostat 1 Remove the mounting plate by CW direction rotating the LCD part and Open the insulating cover 2 Install new thermostat base Mount your new thermostat base using screws Drill holes and insert wall anchors to secure the thermostat base to the wall if necessary 3 Connect wires t...

Page 5: ...ture setting for a designated number of days Real Time Setting Press and hold F for 5 sec till the min of time flashes press to set to set your minute Then press F switch to the hour and week day setting respectively press to set the values Programmable Schedule Setting After the above time setting touch the icon F week day 1 2 3 4 5 will show along the top of the screen press to set the time for ...

Page 6: ...F Fan output Heat 0 Without Fan 1 With Fan 01 Always turn off power at the main power source by removing the fuse or switching the circuit breaker to the off position before installing removing cleaning or servicing this thermostat Use this thermostat only as described in this manual Read all of the information in this manual before installing this thermostat Use a professional personnel installer...

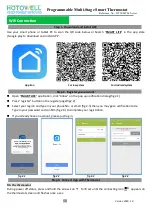
Page 7: ...ct your region and type in your phone No or email fig 2 3 then you may get a verification code Type in your password and confirm fig 2 4 to complete your registration If you already have an account please just log in On the thermostat During power off status press and hold the arrow icon for 8 sec until the connecting icon appears on the thermostat screen and flashes once a sec Wifi Connection Step...

Page 8: ...or thermostat can not be connected as above steps please try this AP mode connection process On the thermostat During power off status press and hold the arrow icon for 8 sec until the connecting icon appears on the thermostat screen and flashes once a sec press and hold the arrow icon for 8 sec again the icon will flash once per 3 sec fig 4 1 indicates connecting from normal router mode Indicates...

Page 9: ...evice name location create group and etc When thermostat runs in programmable mode click the setting symbol at the bottom of the page to switch to the schedule page where you can simply configure the weekly programmable schedule up to 4 periods each day Once your schedule has been set click on SAVE and the app will send the programming to your thermostat and confirm the schedule has been saved fig...

Page 10: ... time Method 1 Click Share with Familay as fig 4 4 Method 2 Click Profile Sent Add Switch on the device Share with New Member Type in the telephone number you would like to share with Method 3 Home page of the device Menu as fig 6 1 Device Sharing Add Type in the telephone number you would like to share with Click Profile Integration Select amazon echo Google Home IFTTT Use Now Details as below fi...

Page 11: ...display Check if the terminals between LCD panel and Relay Power Module is loosen 2 Without output but display works Use a new LCD panel or new Relay Power Module for Replacement 3 Room Temp on display is not correct Do temperature calibration in parameter in ISU 4 Heating system does not respond Set the mode to heating by press ing the M button Make sure the temperature is set above the room temp...

Reviews: