background image

EN

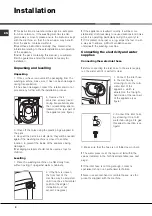
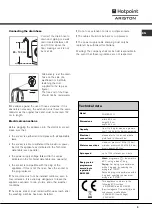
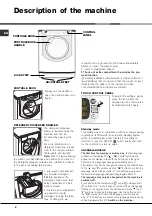
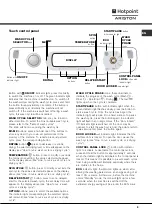
10

Care and maintenance

1

2

Cutting off the water and electricity

supplies

• Turn off the water tap after every wash cycle. This will

limit wear on the hydraulic system in the machine and

help to prevent leaks.

• Unplug the appliance when cleaning it and during all

maintenance  work.

Cleaning the machine

The outer parts and rubber components of the appliance

can be cleaned using a soft cloth soaked in lukewarm

soapy water. Do not use solvents or abrasives.

Cleaning the detergent dispenser

drawer

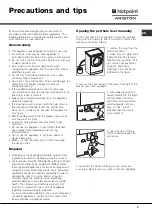
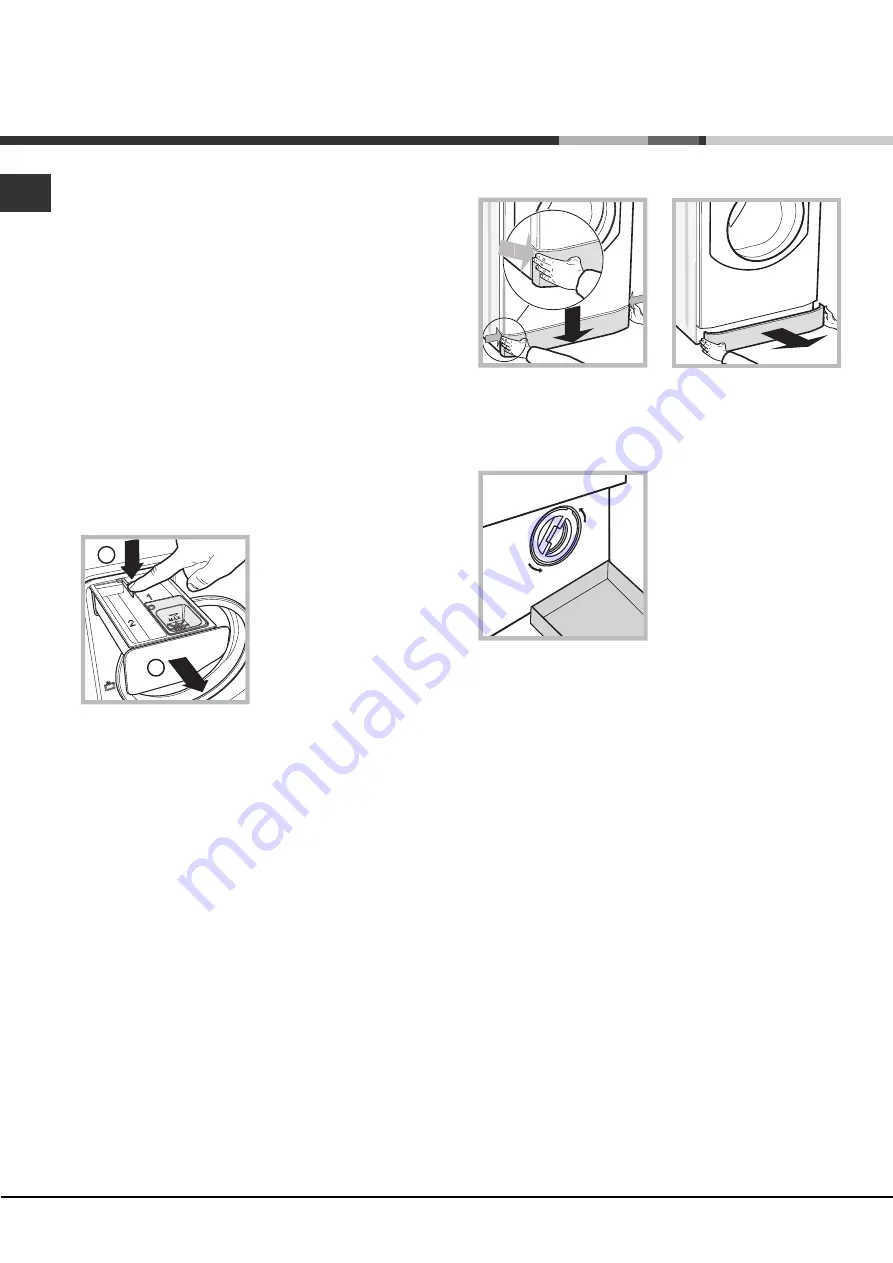
To  remove  the  drawer,  press

lever (1) and pull the drawer

outwards (2) 

(see figure).

Wash it under running

water; this procedure should

be  repeated  frequently.

Caring for your appliance drum

• Always leave the door ajar to prevent unpleasant

odours from forming.

Cleaning the pump

The washer dryer is fitted with a self-cleaning pump

which  does  not  require  any  maintenance.  Sometimes,

small items (such as coins or buttons) may fall into the

protective pre-chamber at the base of the pump.

 Make sure the wash cycle has finished and unplug the

appliance.

To  access  the  pre-chamber:

1. take off the cover panel on the front of the machine

by first pressing it in the centre and then pushing

downwards on both sides until you can remove it 

(see

figures);

2. position a container so

that it will collect the water

which flows out

(approximately 1.5 l) (

see

figure

)

;

3. unscrew the lid by

rotating it in an anti-

clockwise  direction  (

see

figure

)

;

4. clean the inside thoroughly;

5. screw the lid back on;

6. reposition the panel, making sure the hooks are

securely in place before you push it onto the appliance.

Checking the water inlet hose

Check the inlet hose at least once a year. If there are

any cracks, it should be replaced immediately: during

the wash cycles, water pressure is very strong and a

cracked hose could easily split open.

1

2

Summary of Contents for AQUALTIS AQM8D 29 U

Page 1: ...laundry 8 Detergent Preparing the laundry Washing recommendations Load balancing system Precautions and advice 9 General safety Disposal Opening the porthole door manually Care and maintenance 10 Cutt...

Page 2: ...for children Levelling 1 Place the washing machine on a flat sturdy floor without resting it up against walls or cabinets 2 If the floor is uneven the front feet of the machine may be adjusted until...

Page 3: ...tub fastening the duct supplied to the tap see figure The free end of the hose should not be underwater We advise against the use of hose extensions if it is absolutely necessary the extension must ha...

Page 4: ...the settings gently press the icon inside the sensitive touch control area as illustrated in the figure Standby mode This washer dryer in compliance with new energy saving regulations is fitted with a...

Page 5: ...ns The indicator light corresponding to the selected option will remain lit see How to run a wash cycle or a drying cycle WASH CYCLE PHASE icons these illuminate to indicate the progress of the wash c...

Page 6: ...ed to the end of each drying cycle Drying only Use the cycle selector knob to select a drying cycle in accordance with the type of fabric The desired drying level or time may also be set using the DRY...

Page 7: ...g this option the efficiency of the rinse is increased and optimal residual detergent removal is guaranteed It is particularly useful for skin which is sensitive to detergents We recommend this option...

Page 8: ...uffering allergic reactions The cycle has been designed to reduce the amount of bacteria by using a greater quantity of water and optimising the effect of special disinfecting additives added to the d...

Page 9: ...ng the drying cycles Disposal Disposing of the packaging materials observe local regulations so that the packaging may be re used The European Directive 2002 96 EC relating to Waste Electrical and Ele...

Page 10: ...self cleaning pump which does not require any maintenance Sometimes small items such as coins or buttons may fall into the protective pre chamber at the base of the pump Make sure the wash cycle has...

Page 11: ...ton The drain hose is not fitted at a height between 65 and 100 cm from the floor see Installation The free end of the hose is under water see Installation If the dwelling is on one of the upper floor...

Page 12: ...yer has been installed or used incorrectly you will have to pay for the call out service Always request the assistance of authorised technicians Please have the following information to hand the type...

Page 13: ...13 BG 14 15 16 17 touch control 18 19 20 21 22 23 24 25 BG AQUALTIS AQM8D 29 U...

Page 14: ...BG 14 1 2 4 3 4 1 2 2 1 2 3 4 3...

Page 15: ...15 BG 65 100 cm 65 100 150 AQM8D 29 U 59 5 85 64 5 1 8 1 6 1 10 bar 0 05 0 5 bar 62 1200 EN 50229 60 8 2 6 89 336 03 05 89 2002 96 CE 2006 95 CE...

Page 16: ...BG 16 1 3 2 3 3 touch control touch control stand by stand by ON OFF 3 OK V 3 V OK 2 30 5 V OK 2 30 3 1 2...

Page 17: ...17 BG touch control ON OFF 3 M1 M2 START PAUSE 2 E O 10 Stand by 80 ON OFF M1 M2 E O START PAUSE...

Page 18: ...BG 18 90 1 1 AQUALTIS START PAUSE 2 3 4 O 5 6 OFF OFF 90 OFF A 20 180 B OFF...

Page 19: ...19 BG 7 START PAUSE START PAUSE START PAUSE START PAUSE START PAUSE 8 END START PAUSE...

Page 20: ...229 60 C 2 40 C 3 40 C C a 90 1200 l l l 8 1 60 Max 90 1200 l l l l 8 2 40 1200 l l l l 8 3 40 1200 l l l l 8 40 800 l l l 4 40 800 l l l l 4 30 30 30 800 l l l 3 5 60 800 l l l l 4 K 30 0 l l 2 a 40...

Page 21: ...21 BG 1 400 500 1 150 200 1 400 500 1 900 1200 1 150 250 1 400 500 1 150 200 Denim START PAUSE Hotpoint Ariston Woolmark Platinum Care M 0508 Woolmark 1 1 60...

Page 22: ...BG 22 2002 96 E 1 2 3 4 5 6...

Page 23: ...23 BG 1 2 1 2 1 2 1 5 3 4 5 6 1 2...

Page 24: ...BG 24 ON OFF START PAUSE START PAUSE START PAUSE START PAUSE 65 100 START PAUSE 1 OFF...

Page 25: ...25 BG Mod S N Demo Mode ON OFF START PAUSE...

Page 26: ...BG 26...

Page 27: ...27 BG...

Page 28: ...BG 28 195077931 00 05 2009 Xerox Fabriano...

Reviews: