background image

2

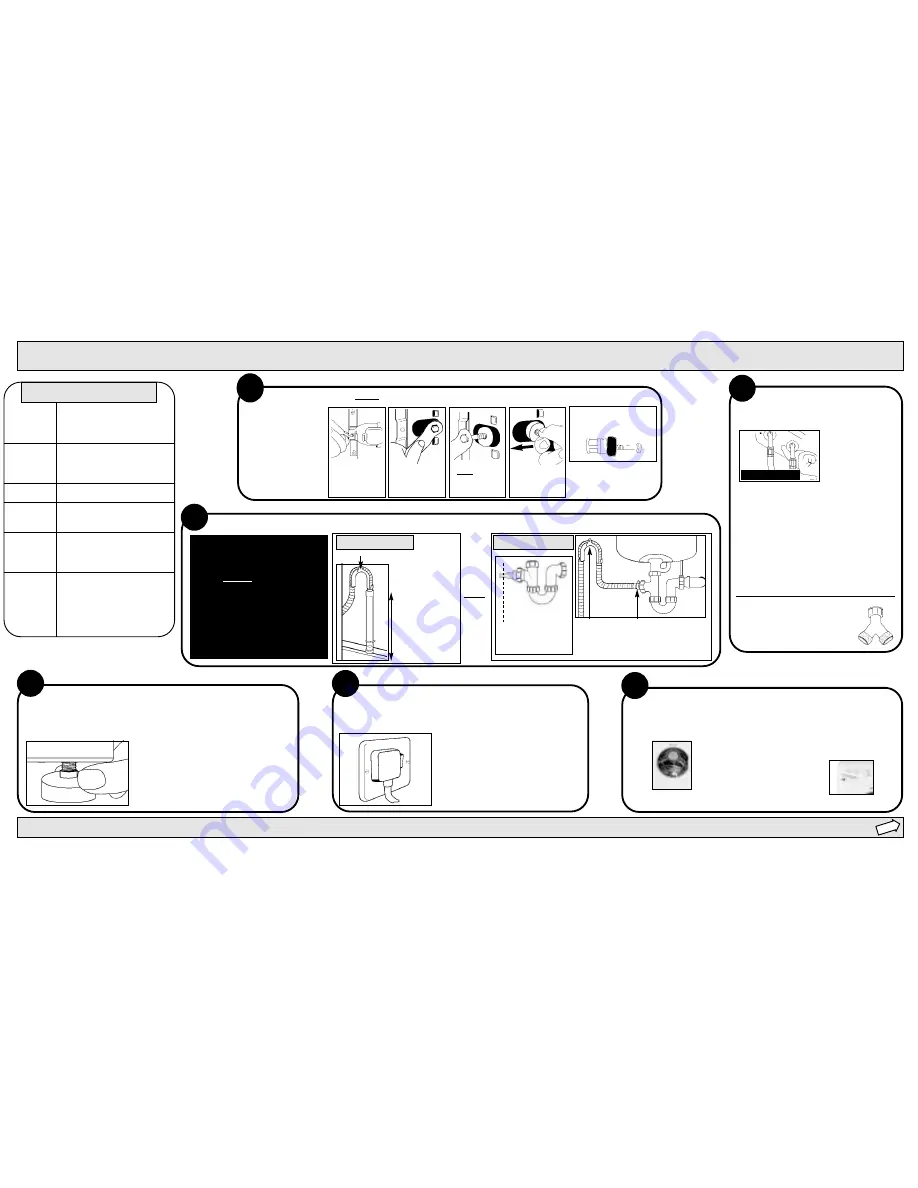
CONNECT TO THE WATER
SUPPLY...

Installation

ii

i

3

DRAINAGE SYSTEM... we recommend one of the following:

4

LEVEL?...

NOTE: ALTHOUGH YOU MAY NEED TO

MOVE THE HOOKED END SUPPORT

ALONG THE GREY DRAINAGE HOSE,

DO NOT REMOVE IT.

WHICHEVER DRAINAGE METHOD

YOU USE, MAKE SURE THAT THE

HOOKED END SUPPORT IS FIXED

LEVEL TO, OR ABOVE THE ‘PLUMBING

INDICATOR LINE’*

(*see Getting to Know your Appliance)

PLEASE USE THE NEW HOSES SUPPLIED, FITTED
TO THE MACHINE.

If you have no hot water supply...

Old hoses may
cause leaks due to
worn out washers
or may split due to
water pressure

.

YOUR MACHINE WILL BE NOISY IF THE TWO FRONT FEET ARE NOT
ADJUSTED SO THE MACHINE STANDS FIRM AND LEVEL.

Check both hot
and cold water
supplies are
running freely...

A cold fill adaptor is available from

your local Hotpoint authorised

Service Centre or by calling the

Genuine Parts & Accessories Hotline 

(see KEY CONTACTS).

Connect fill hoses to the
water supply taps:
Red or Grey Hose end to
Hot and Blue Hose end
to Cold.
TURN BOTH TAPS ON...

iv

iii

Check the hoses
at least once a
year. Replace any
that show signs of
cracking, they
might burst due
to water pressure.

Water pressure at the tap
must be in the range...
Max. 1Mpa (10 bar) and
Min. 0.05Mpa (0.5 bar)

-  Move your machine into final location.

Take care not to trap or kink the hoses.

- Turn one 

or

both front feet clockwise until 

the machine stands firm and level.
The spring on each foot will stop them 
coming loose.

If it is placed on a fitted carpet, adjust the feet
to ensure that there is adequate ventilation
beneath the washing machine.

1

REMOVE TWO TRANSIT FIXINGS...

Follow these instructions to remove the TWO transit fixings.

IMPORTANT:

Situated, one either
side of the rear panel,
both transit bolts 
(complete with 
spacers) MUST be
removed before use...

Failure to do so may
cause damage to
your machine!

DO NOT REMOVE!

STANDPIPE METHOD

UNDER SINK METHOD

TECHNICAL DETAILS

OR

Attach the GREY
drainage hose to the
under sink drainage
unit securely, using a
hose clip.

Fix the hooked
end support at
a minimum
800mm from
the floor.

cut off the blocked
end of the under sink
drainage unit.

6

READY...

TO CHECK ALL PARTS OF THE INSTALLATION AND TO THOROUGHLY
CLEAN THE INSIDE OF YOUR MACHINE:

RUN PROGRAMME ‘B’ (

refer to ‘Programme Selection’, STEP 4

).

5

CONNECT TO THE POWER SUPPLY...

PLUG YOUR MACHINE INTO AN ELECTRICAL SOCKET WHICH IS
EASILY ACCESSIBLE.

SWITCH ON

NOTE: Hotpoint recommend extension

leads are not used.

NOTE: The mains cable must only be

replaced by an authorised serviceman.

WITHOUT ANY LAUNDRY

WITHOUT ANY DETERGENT

and

THIS WILL TAKE APPROXIMATELY 2hours 20minutes TO COMPLETE

.............................

Standpipe height:
minimum 500mm
from the floor.

Insert drainage hose
approximately 100mm
into the standpipe.

It is important the transit
bolt and spacer come out
intact (see pic).

For safety, replace both
plastic covers over the
holes left by removing
the two bolts.

Use a crosshead

screwdriver to

remove the

plastic cover.

Unscrew the

bolt using a

13mm spanner.

STOP when 3

threads can be

seen.

Hold, slide

across and pull

to remove.

800mm
from floor

Hooked End Support

STEP 2

The inclination of the machine, measured on the top, must not exceed 2˚.

Models

Dimensions

Capacity

Electric
Connections

Spin Speed

Control 
programmes
according to
IEC456
directive

WF645,WF640,
WF630,
and WF620

59.5cm wide
85cm high
60cm deep

from 1 to 6kg

voltage 220/230 Volts  50Hz

maximum absorbed power 1700W

up to 1400rpm - WF645 & WF640
up to 1300rpm - WF630
up to 1200rpm - WF620

programme D
temperature 60˚C
run with a 6kg load

Summary of Contents for AQUARIUS+ WF620

Page 1: ...e call if a problem with your washing machine is caused by incorrect installation or misuse Electrical Guide Installation Guide Programme Selection Read through this section to familiarise yourself with the different compartments within the dispenser drawer STEP 3 Dispenser Drawer NOTE Always follow manufacturer s dosage recommendations All available optional wash features are explained within thi...

Page 2: ... you have damaged the existing lead and need a new one contact Hotpoint Service UK on 08709 066 066 or www theservicecentre co uk or in the Republic of Ireland on 1850 302 200 A charge will be made We strongly advised that fitting a new lead is carried out by a qualified electrician Seek professional advice if you need to use an extension lead Changing the Plug If you need to change your plug if i...

Page 3: ...ANT Situated one either side of the rear panel both transit bolts complete with spacers MUST be removed before use Failure to do so may cause damage to your machine DO NOT REMOVE STANDPIPE METHOD UNDER SINK METHOD TECHNICAL DETAILS OR Attach the GREY drainage hose to the under sink drainage unit securely using a hose clip Fix the hooked end support at a minimum 800mm from the floor cut off the blo...

Page 4: ...e measured and added to the main detergent compartment II symbol max 400ml Pour the recommended amount of fabric conditioner into the compartment flower symbol Do not exceed the maximum fill line Pre wash Programme A When selecting programme A add detergent to both the pre wash compartment I symbol and the main wash compartment II symbol DO NOT use in drum dosing devices with Pre wash programme A ...

Page 5: ... Fabric Temp Max Approx Spin label C dry programme speed weight time load Mixed Prewash 30 6kg 20 minutes Slow White Cotton Linen without special finishes 95 6kg 2 hours 20minutes Fast Super Wash 60 6kg 2 hours 10minutes Fast White Cotton Linen Colourfast Cotton Linen or Viscose without special 60 6kg 1 hour 50minutes Fast finishes Fast Wash Colourfast Cottons Linen 60 5kg 1 hour Fast Non colourfa...

Page 6: ... the laundry it might still be very hot These will light up when you choose a programme to indicate the progress of the selected programme When started the first light in the cycle will stay lit and as the programme progresses successive lights will come on until the programme finishes During a wash programme the display will show the time remaining to the end of the programme Door Locked indicato...

Page 7: ...ws on the display the machine will reset the time delay and show OFF in the display any press after this will start counting again from one hour Extra Rinse Model WF620 only For large wash loads and items for young children or people with sensitive skin This option adds a rinse This is not available with programmes A J K L M or Spin Only Variable Spin Speed This allows you to reduce the spin speed...

Page 8: ... 4 5 When all selections have been made press the Start Cancel button To stop a programme before it has finished press the Start Cancel button again Turn the programme selection dial to Pump Out When the machine has finished emptying you can select a new programme Press the Start Cancel button to start the new programme STEP 7 Automatic Features Auto half load Auto half load saves you time and mon...

Page 9: ...ld laundry in the final rinse water until the button is pressed again Clean fabric dispenser drawer See STEP 3 The Dispenser Drawer Check for low temperature and low pressure of the hot and cold water supply THE DISPENSER WILL NOT CLOSE PROPERLY Check the correct amount of suitable detergent has been used refer to manufacturer s recommendations If you have used the wrong type of detergent select a...

Page 10: ...d up of soap powder and water hardness residue may result in water leaking from the door Repair Service and Information Desk UK 08709 066 066 Open 8 to 8 Mon Fri 8 to 6 Sat 10 to 4 Sun Bank Holidays www theservicecentre co uk Republic of Ireland 1850 302 200 Note Our operators will require the following information The Model number which can be found on the control panel The Serial number which ca...

Page 11: ...e door plug and cut mains cable off flush with the appliance Dispose of these parts separately to ensure that the appliance can no longer be plugged into a mains socket and the door cannot be locked shut No company is better positioned to offer an after sales service on a Hotpoint appliance than us the manufacturer As part of our commitment to you all Hotpoint appliances have the added benefit of ...

Reviews: