background image

Door Reversal

14

CLEANING  &

MAINTENANCE

You will need a selection of small hand tools, screwdrivers, spanners etc. to carry out
this procedure.
Our Service Department can arrange for an Engineer to do the conversion for you but
a charge will be made.

WARNING: Switch off electrical supply and pull out the mains plug.

Remove loose items/fittings from inside the freezer.

If you have previously set up and used the freezer and since decided to reverse the
doors, you must remove stored food, wrap or cover and place into insulated
containers to keep frozen whilst carrying out this operation.

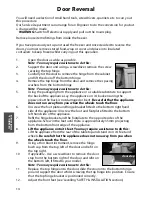
1.

Open the door as wide as possible.
Note : You may require assistance to do this:

2.

Support the door and using a screwdriver, remove the screw 
securing the top hinge

3.

Carefully tilt the door to remove the hinge from the cabinet 
and lift the door off the bottom hinge.

4.

Remove the top hinge from the door and remove the spacing 
washers from the bottom hinge.
Note : You may require assistance to do this:

5.

Using the packaging from the appliance or a suitable substitute to support
the back of the appliance. Lay the appliance on it’s back ensuring the 
pipework at the back is not damaged or bent. Be careful that the appliance
does not run away from you when the wheels touch the floor.

6.

Unscrew the foot plate and hinge bracket fitted to the bottom right hand 
side of the appliance. Unscrew the foot and footplate fitted to the bottom
left hand side of the appliance.

7.

Refit the hinge bracket and the footplate to the opposite sides of the
appliance. Screw in the feet until there is approximately 35mm projecting 
from the bottom front edge of the appliance.

8.

Lift the appliance onto it’s feet. You may require assistance to do this:
Lift the appliance from the rear of the tabletop and stand it on it’s feet and
wheels. Be careful that the appliance does not run away from you when 
the wheels touch the floor.

9.

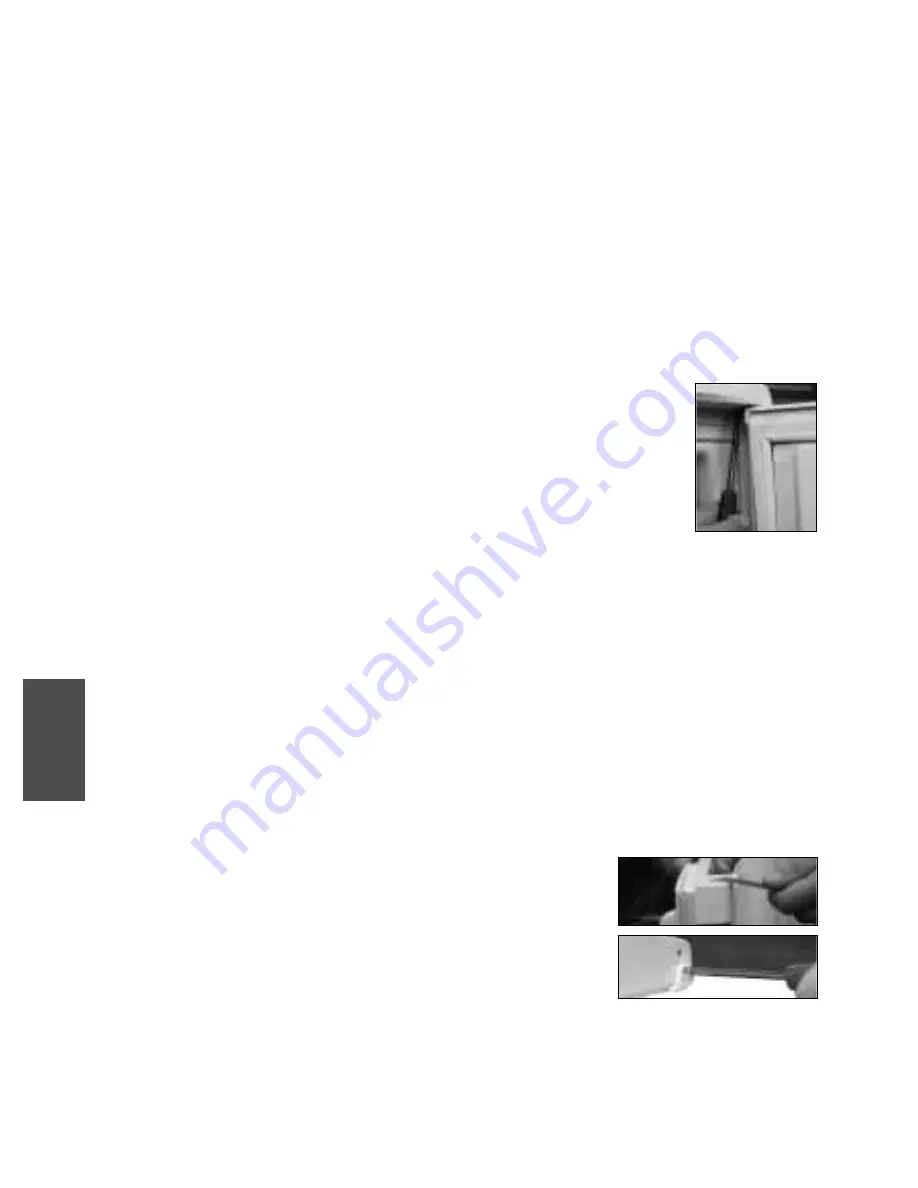
Using a thin blunt instrument, remove the hinge 
bush cap from the top left of the door and refit on 
the top right.

10.

If applicable - Use a screwdriver to remove the door 
stop from the bottom right of the door and refit on 
the bottom left, if fitted to your model.
Note : You may require assistance to do this:

11.

Replace the top hinge onto the door, slide the door onto the bottom hinge 
pin and support the door whilst screwing the top hinge into position. Ensure
that the top hinge bracket is positioned correctly.

12.

Adjust the front feet (see ‘Levelling’ SAFETY & INSTALLATION section).

Note : Let the freezer stand upright in it’s final location for at least 15 
minutes before plugging in and switching on the electricity supply.

door stop

Summary of Contents for FZA31

Page 1: ...efore plugging in and switching on leave the freezer in its final location for at least 15 minutes to allow it to settle If you are freezing fresh food turn on fast freeze by pressing the switch 24 ho...

Page 2: ...zer for instance for defrosting Do not use any mechanical devices for defrosting other than any which may have been supplied with the freezer as they may cause damage Only use this freezer for storing...

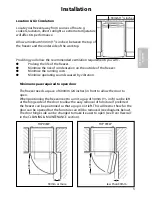
Page 3: ...sounds caused by vibration 3 Minimum space required to open door The freezer needs a space of 600mm 24 inches in front to allow the door to open When positioning the freezer next to a unit a gap of 3...

Page 4: ...on leave the freezer standing in its final location for at least 15 minutes to allow it to settle Fitting a Freezer under a Work Top To minimise running costs Hotpoint recommend fitting a vent to the...

Page 5: ...NCE WITH THE FOLLOWING CODE Green Yellow Earth Blue Neutral Brown Live If you change the plug the colour of wires in the mains lead may not correspond with the colour of the markings identifying termi...

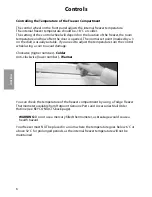
Page 6: ...o adjust the temperature turn the control wheel using a coin to avoid damage Clockwise higher number Colder Anti clockwise lower number Warmer 6 You can check the temperature of the freezer compartmen...

Page 7: ...er motor will run continuously for extra cooling Red High Temperature Warning Light The red temperature warning light will come on when the freezer is first switched on or when the temperature inside...

Page 8: ...freeze when loading Once the fresh food is loaded leave fast freeze on for 24 hours to freeze the food as quickly as possible Maximum freezing capacity in 24 hours 8kg Note Don t forget to turn fast f...

Page 9: ...ts the appliance Model Number and Serial Number can be found near the bottom of the interior wall Frozen Food Storage Capacity 25kg Maximum Freezing Capacity in 24 hours 8kg Maximum Conservation Time...

Page 10: ...nnecessarily or for longer than needed Allow hot or warm food to cool down in covered containers before placing in the freezer as placing hot food inside reduces efficiency Prepare fresh foods for fre...

Page 11: ...izzy drinks must not be stored in freezer as they may burst Lollipops and water ices should not be given to children directly from the freezer the low temperature may cause freezer burns Store ice cre...

Page 12: ...g or removing the large deep drawer it is important to hold the side handles and not the front handle WARNING The freezer drawers can become heavy when fully loaded with food Care must be taken if att...

Page 13: ...eaned drawers are thoroughly dried before refitting into the freezer compartment Exterior WARNING Do not use abrasive powder household cleaner or bleach they can damage the exterior of your freezer 1...

Page 14: ...s not run away from you when the wheels touch the floor 6 Unscrew the foot plate and hinge bracket fitted to the bottom right hand side of the appliance Unscrew the foot and footplate fitted to the bo...

Page 15: ...gerant circulating system designed to help prevent condensation on the door seal The red warning light will not go out 1 Has the freezer just been installed If so this is normal and the light will go...

Page 16: ...it first switches on This sound will reduce over the first few months Gases flowing through the pipes can produce gurgling bubbling roaring or humming noises Expansion and contraction of parts inside...

Page 17: ...Notes 17...

Page 18: ...r appliance Has been installed and used correctly in accordance with this instruction booklet Has been used solely for domestic purposes and is located on domestic premises ie not for commercial or tr...

Page 19: ...100 of our own fully trained engineers All repairs include a parts and labour guarantee for 12 months from the date of the repair If you require any information or have any questions about your applia...

Page 20: ...iday 8am to 7 30pm Saturday 8 30am to 5 30pm Sunday 9 30am to 3 30pm www hotpointservice co uk Republic of Ireland 1850 302 200 Note Our operators will require the following information Model number S...

Reviews: