background image

Summary of Contents for HDA3500NBB - Dishwasher w/ 5 Wash Cycles 6PUSHBTN

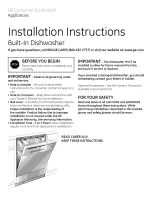
Page 1: ...lation is the responsibility of the installer Product failure due to improper installation is not covered under the GE Appliance Warranty See warranty information Completion Time I to 3 Hours New inst...

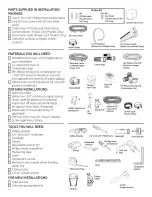
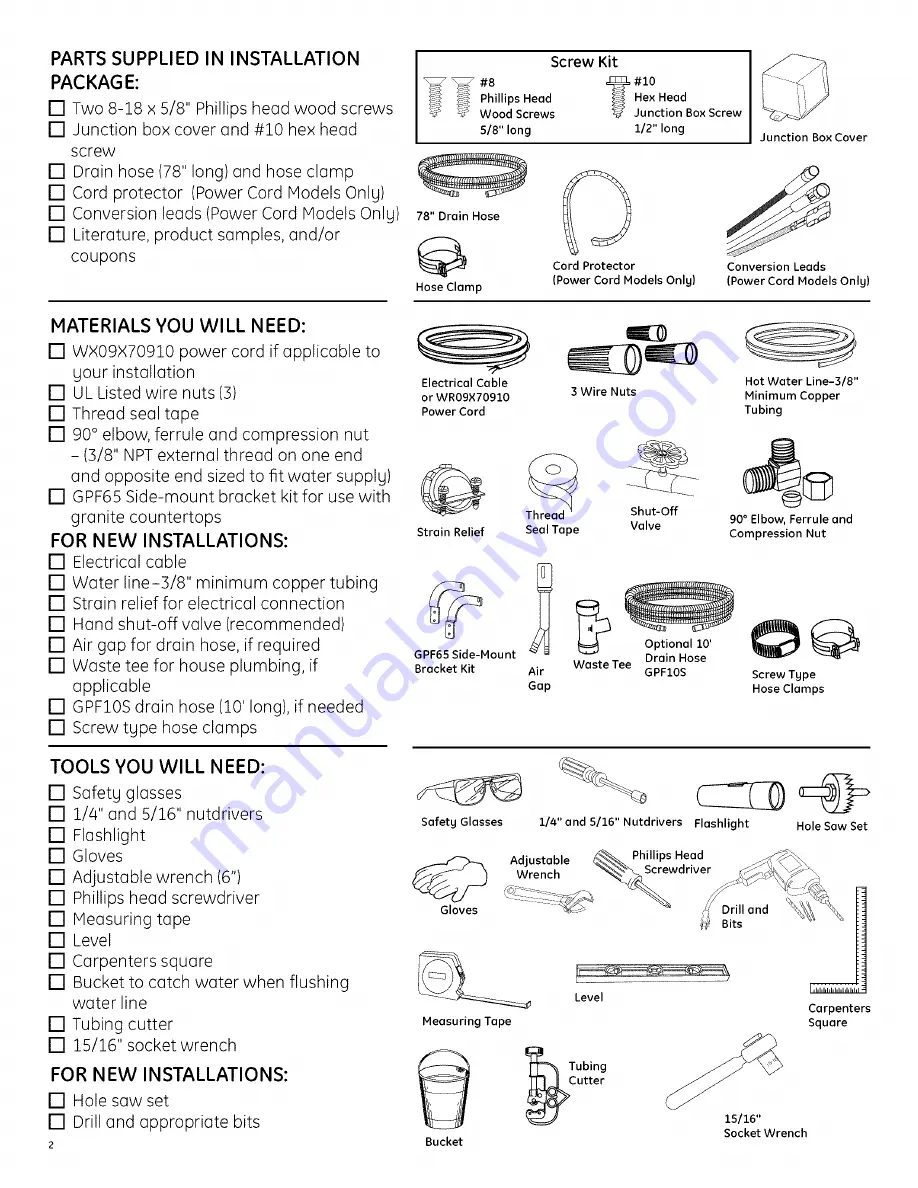
Page 2: ...nimum copper tubing Strain relief for electricol connection Hond shut offvalve recommended Air gap for drain hose if required Waste tee for house plumbing if applicable GPF10S drain hose 10 long if ne...

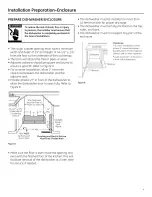
Page 3: ...asher door to open fully Refer to Figure B 54 1 2 _ 1 4 Underside of Countertop to Floor l Floor MUST be Even with Room Floor This Wall Area must be Free of Pipes or Min Cabinets Square and Plumb Plum...

Page 4: ...e tee or disposer lower than 18 above the floor level Failure to provide the proper drain connection height with an air gap or 32 minimum high drain loop will result in improper draining of the dishwa...

Page 5: ...The improper connection of the equipment grounding conductor can result in electric shock Check with a qualified electrician or service representative if gou are in doubt that the appliance is properl...

Page 6: ...s could cause the water valve to leak and cause water damage Cabinet Face_ Figure F Water Line Connection Turn off the water supply Install a hand shut off valve in an accessible location such as unde...

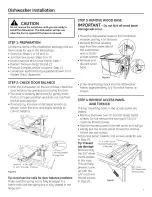
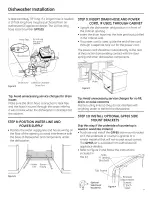
Page 7: ...ice calls for door balance problems Make sure the spring end is fully engaged in a frame hole and the spring link is full U seated in the hinge arm STEP 3 REMOVE WOOD BASE IM PORTANT Donotkick off woo...

Page 8: ...relief and tighten Make sure black white and green dishwasher wires are threaded through the small hole in the junction box bracket Connect power cord white or ribbed to dishwasher white black or smoo...

Page 9: ...ee and the hose is routed through the strain relief so it will not kink when the dishwasher is installed into the cabinet STEP 8 POSITION WATER LINE AND POWER SUPPLY Position the water supply line and...

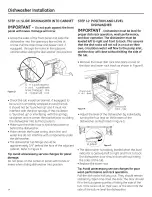
Page 10: ...or springs If the insulation is bunched up or interfering with the springs straighten and re center the blanket prior to sliding the dishwasher into its final position Make sure the drain hose is not...

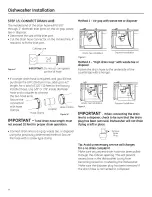
Page 11: ...t p Bracket Side M unt Brackets pti nal Figure T Tip Avoid unnecessary service charges for leaks or control panel damage Make sure the dishwasher is centered in the cabinet and the door opens and clos...

Page 12: ...operation Connect drain line to air gap waste tee or disposer using the previouslg determined method Secure the hose with a screw tgpe clamp Method 1 Air gap with waste tee or disposer __ r_ __ r Wast...

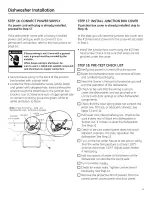
Page 13: ...kit set aside in Step 1 Install the junction box cover using the 10 hex head screw Check to be sure that wires are not pinched under the cover STEP 18 PRE TEST CHECK LIST Verify that power is turned...

Page 14: ...or should be plugged into the dishwasher water valve If it is not plugged in turn off electrical power to the dishwasher Plug the red connector into the dish washer water valve and then restore power...

Page 15: ...ainst the legs of the dishwasher Remove the two 8 32 x 1 4 machine thread screws Align the access panel to the dishwasher Select the two 8 32 x 1 4 machine thread screws just removed and insert them t...

Page 16: ...uctors from the dishwasher harness Figure BB Remove and discard the power cord Connect the conversion harness included with dishwasher to the dishwasher harness bg connecting like colored wires Figure...

Reviews: