background image

1

EN

DAILY REFERENCE 

GUIDE

THANK YOU FOR BUYING A HOTPOINT PRODUCT

In order to receive a more complete assistance, please 
register your appliance on: 

www.hotpoint.eu/register 

You can download the Safety Instructions and the Use 
and Care Guide, by visiting our website 

docs.hotpoint.eu 

and following the Instructions on the 

back of this booklet.

Before using the appliance carefully read Health and Safety guide.

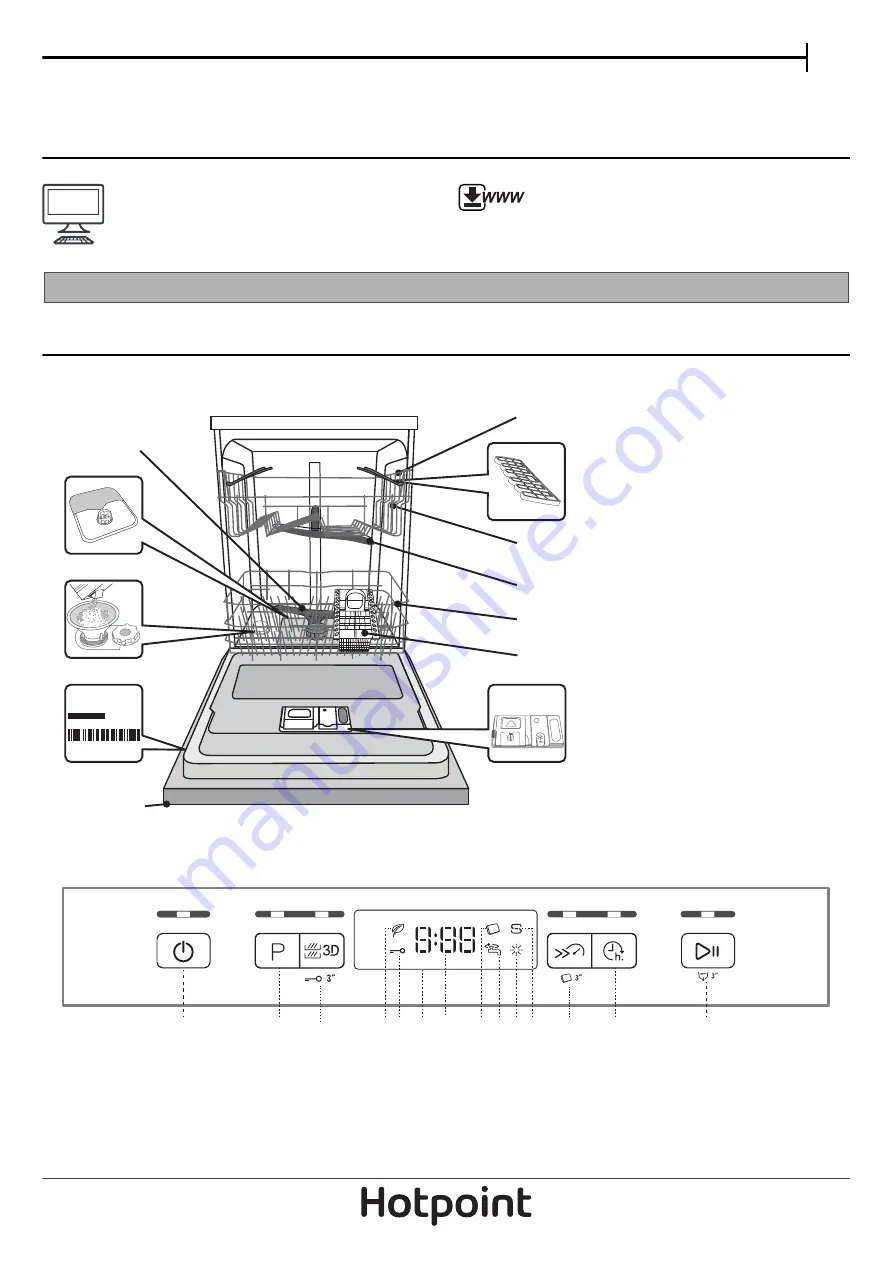
PRODUCT DESCRIPTION

APPLIANCE

1. Upper rack
2. Foldable flaps
3. Upper rack height adjuster
4. Upper spray arm
5. Lower rack
6. Cutlery basket
7. Lower spray arm
8. Filter Assembly
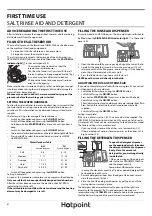
9. Salt reservoir
10. Detergent and Rinse Aid dispensers
11. Rating plate
12. Control panel

0000 000 00000 

Service:

1

2

3
4
5
6

10

12

7

11

9

8

CONTROL PANEL

1. On-Off/Reset button with indicator light
2. Program selection button with indicator light
3. Zone Wash button with indicator light / Key lock
4. Eco program indicator light
5. Key lock indicator light
6. Display
7. Program number and remaining time indicator

8. Tablet (Tab) indicator light 
9. Closed water tap indicator light
10. Rinse Aid refill indicator light
11. Salt refill indicator light
12. Turbo button with indicator light / Tablet (Tab)
13. Delay button with indicator light
14. Start/Pause button with indicator light / Drain out

3

1

2

8

13

14

5

4

6 7

1011

12

9

Summary of Contents for HFC3C26WCUK

Page 1: ...7 Lower spray arm 8 Filter Assembly 9 Salt reservoir 10 Detergent and Rinse Aid dispensers 11 Rating plate 12 Control panel 0000 000 00000 Service 1 2 3 4 5 6 10 12 7 11 9 8 CONTROL PANEL 1 On Off Re...

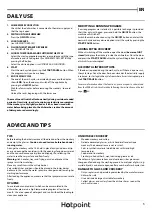
Page 2: ...kes dish DRYING easier The rinse aid dispenser A should be filled when the RINSE AID REFILL indicator light in the control panel is lit 1 Open the dispenser B by pressing and pulling up the tab on the...

Page 3: ...7 1 50 1 85 3 Auto Normal 55 1 30 2 30 14 5 16 1 15 1 30 4 Auto Fast 50 0 40 1 20 13 14 5 1 15 1 25 5 Express 30 50 0 30 9 0 50 0 55 6 Sanitizing 65 1 40 10 1 30 7 Soak 0 12 4 5 0 01 PROGRAMS DESCRIPT...

Page 4: ...ess the same button again TABLET Tab This setting allows you to optimize the performance of the program according to the type of detergent used PresstheTURBObutton for3seconds thecorresponding symbol...

Page 5: ...r cut the cycle stops Once the door has been closed or the electricity supply is restored to start again the cycle from where it was interrupted press the START PAUSE button For more information about...

Page 6: ...rting the stem of each glass into the corresponding slots For optimum drying results incline the foldable flaps more To change the inclination pull up the foldable flap slide it slightly and position...

Page 7: ...dues NEVER REMOVE the wash cycle pump protection black detail Fig 4 After cleaning the filters re place the filter assembly and fix it in position correctly this is essential for maintaining the effic...

Page 8: ...drain The wash cycle has not finished yet Wait until the wash cycle finishes The drain hose is bent Check that the drain hose is not bent see INSTALATION INSTRUCTION The sink drain pipe is blocked Cl...

Reviews: