background image

Controls

Controlling the Temperature of the Fridge Compartment
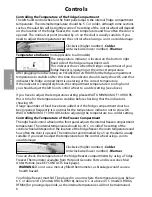
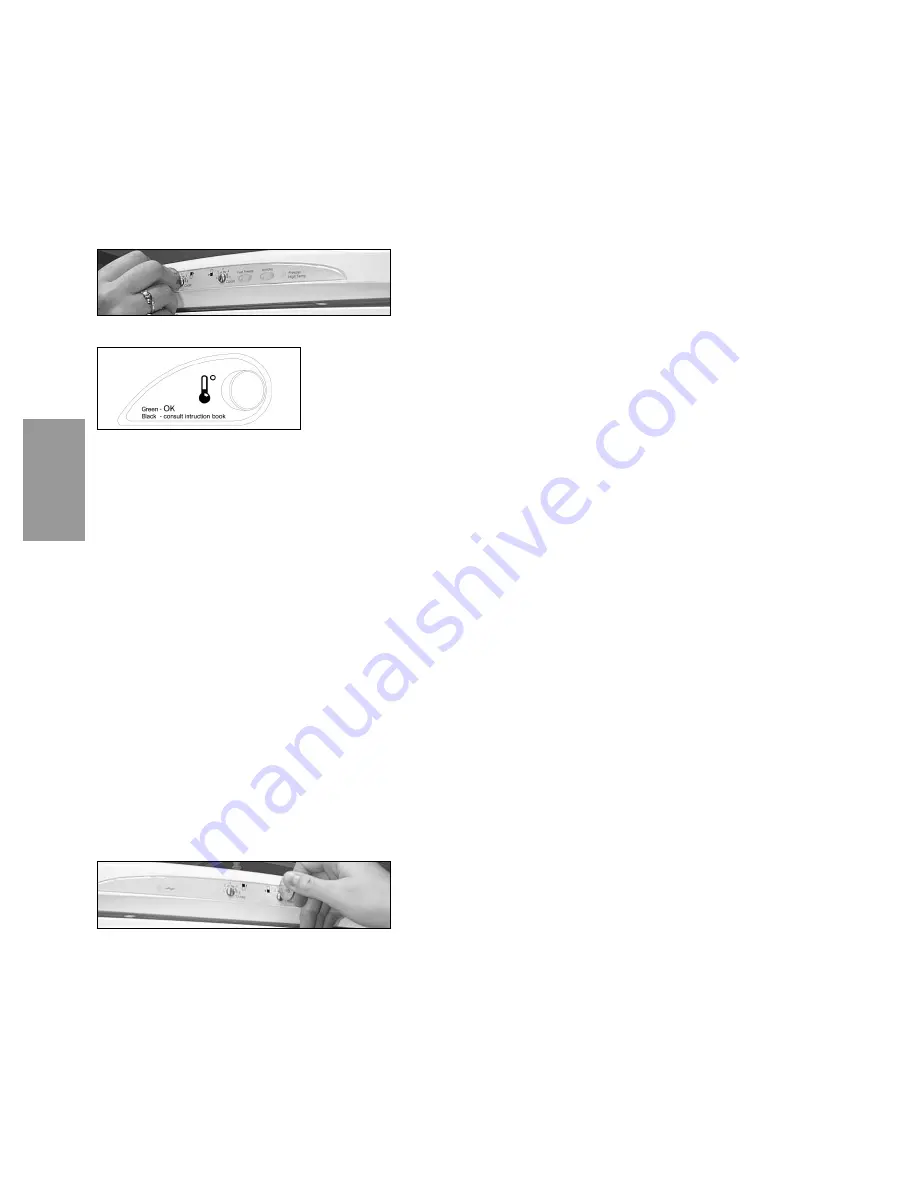
The left hand control wheel on the front panel adjusts the internal fridge compartment
temperature. The internal temperature should be 5˚C or colder, although some sections
such as the salad bin will be slightly warmer.The setting of the control wheel will depend
on the location of the fridge freezer, the room temperature and how often the door is
opened. The normal set point (marked by a 3 on the dial) is usually suitable. If you
need to adjust the temperature turn the control wheel using a coin to avoid damage:

Clockwise (higher number) - Colder
Anti-clockwise (lower number) - Warmer

Controlling the Temperature of the Freezer Compartment
The right hand control wheel on the front panel adjusts the internal freezer compartment
temperature. The internal temperature should be -18˚C or colder.The setting of the
control wheel will depend on the location of the fridge freezer, the room temperature and
how often the door is opened. The normal set point (marked by a 3 on the dial) is usually
suitable. If you need to adjust the temperature turn the control wheel using a coin to
avoid damage:

Clockwise (higher number) - Colder
Anti-clockwise (lower number) - Warmer

6

You can check the temperature of the fridge freezer compartments by using a Fridge
Freezer Thermometer available from Hotpoint Genuine Parts and Accessories Mail
Order Hotline (see KEY CONTACTS back page).

WARNING: Do not use a mercury filled thermometer, as breakage would cause a
health hazard.

Your fridge freezer must NOT be placed in a room where the temperature goes below
6˚C or above 38˚C (models RFA18, RFM18), below 6˚C or above 43˚C (models RFA66,
RFM66) for prolonged periods, as the internal temperatures will not be maintained.

C

ONTR

OLS

Temperature Indicator (not applicable to all models)

The temperature indicator is located on the bottom right
hand side of the fridge compartment wall.
This indicator shows when the fridge compartment of your
fridge freezer is operating at the correct temperature.

After plugging in and switching on PLEASE WAIT 24 HOURS for the fridge compartment
temperature to stabilise. After this time the indicator should clearly show OK and that
indicates the fridge compartment is operating at the correct temperature.
If the indicator is completely black, the compartment temperature is too high and
you should adjust the left hand control wheel to a colder setting (see above).

If you have to adjust the temperature setting please WAIT A MINIMUM OF 10 HOURS,
this is time for the temperature to stabilise before checking that the indicator is
showing OK.
If large quantities of food have been added or if the fridge compartment door has
been opened frequently it is normal for the temperature indicator not to show OK.
WAIT A MINIMUM OF 10 HOURS before adjusting the temperature to a colder setting.

Summary of Contents for RFA18

Page 1: ...de Place the fresh food inside Move the fridge freezer into position using the sides of the cabinet Take care to avoid damaging the refrigerant circuit pipe work on the rear Plug in and switch on Allo...

Page 2: ...r electrical devices inside the fridge freezer for instance for manual defrosting they may cause damage Only use this fridge freezer for storing domestic foodstuffs When installing your fridge freezer...

Page 3: ...ise operating sounds caused by vibration 3 Minimum space required to open door The fridge freezer needs a space of 600mm 24 inches in front to allow the door to open When positioning the fridge freeze...

Page 4: ...efrost Tube A tube is supplied to help feed defrost water into a collecting vessel ie a bowl see Defrosting in the CLEANING MAINTENANCE section For safe keeping until required the tube can be stored i...

Page 5: ...NCE WITH THE FOLLOWING CODE Green Yellow Earth Blue Neutral Brown Live If you change the plug the colour of wires in the mains lead may not correspond with the colour of the markings identifying termi...

Page 6: ...available from Hotpoint Genuine Parts and Accessories Mail Order Hotline see KEY CONTACTS back page WARNING Do not use a mercury filled thermometer as breakage would cause a health hazard Your fridge...

Page 7: ...to load or unload food in this case storage times will not be affected Holiday Function Models RFA18 RFM18 only This feature allows you to set your fridge compartment to a warmer setting while you are...

Page 8: ...ly as possible Maximum freezing capacity in 24 hours RFA18 RFM18 RFA66 RFM66 15kg Note Don t forget to turn fast freeze off after 24 hours However fast freeze will turn off automatically after 48 hour...

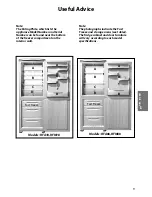
Page 9: ...ttom of the freezer compartment on the interior wall Note The photographs indicate the Fast Freeze and storage areas see tables The fridge cabinet and door furniture will vary according to each model...

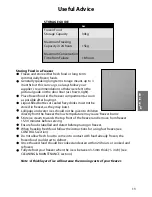
Page 10: ...ood are dry before freezing otherwise they may freeze together Storing Food in a Fridge Pack and store cooked and fresh food separately Wrap raw or defrosting meat and poultry in polythene or foil and...

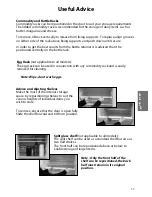
Page 11: ...e door is open fully Slide the shelf forward and tilt from position Egg Rack not applicable to all models The egg rack can be used in conjunction with any commodity rack and is easily removed for clea...

Page 12: ...wine rack forward and tilt from position Note DO NOT remove a fully loaded wine rack just remove bottles as necessary Microban is a unique antibacterial technology which is built into interior compone...

Page 13: ...freezer burns Store ice cream towards the top front of the freezer and remove from freezer 15 30 minutes before serving Ensure food is labelled and dated before placing in freezer When freezing fresh...

Page 14: ...ushed back fully before closing the door Food can be separated into different storage drawers for easy identification When lifting or removing the large deep drawer it is important to hold the side ha...

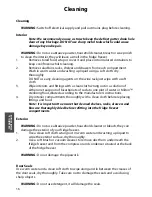
Page 15: ...r freezer Fully defrosting your freezer WARNING Switch off electrical supply and pull out the mains plug 1 Remove frozen food wrap or cover it and place into insulated containers to keep frozen whilst...

Page 16: ...soda to one pint of water or Milton sterilising fluid diluted according to the manufacturer s instructions 4 Dry interior compartments thoroughly with a clean cloth before replacing fittings and food...

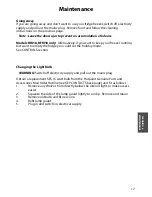
Page 17: ...SES 15 watt bulb from the Hotpoint Genuine Parts and Accessories Mail Order Hotline see KEY CONTACTS back page and fit as follows 1 Remove any shelves from directly below the interior light to make a...

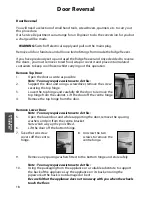
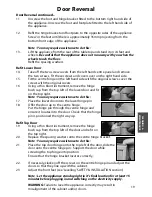
Page 18: ...uring the top hinge 3 Lower the top hinge and carefully tilt the door to remove the top hinge from the cabinet Lift the door off the centre hinge 4 Remove the top hinge from the door Remove Lower Door...

Page 19: ...p with the cabinet 23 Adjust the front feet see Levelling SAFETY INSTALLATION section Note Let the appliance stand upright in it s final location for at least 15 minutes before plugging in and switchi...

Page 20: ...CONTROLS section The red warning light will not go out 1 Has the fridge freezer just been installed If so this is normal and the light will go out when the correct temperature has been reached 2 Has t...

Page 21: ...e build up of moisture inside 3 If your kitchen becomes exceptionally warm your fridge may not defrost regularly Automatic defrosting will return to normal operation when the kitchen temperature cools...

Page 22: ...ject to misuse accident modified or repaired by anyone other than a Hotpoint service engineer For pre purchase information on any other Hotpoint product call 08701 50 60 70 or visit www hotpoint co uk...

Page 23: ...100 of our own fully trained engineers All repairs include a parts and labour guarantee for 12 months from the date of the repair If you require any information or have any questions about your applia...

Page 24: ...iday 8am to 7 30pm Saturday 8 30am to 5 30pm Sunday 9 30am to 3 30pm www hotpointservice co uk Republic of Ireland 1850 302 200 Note Our operators will require the following information Model number S...

Reviews: