18
Programmer / Clock
5.
Auto symbol appears.
6.
The cookpot symbol will
disappear from the display.
7.
The cookpot symbol will appear
on the display.
8.
Fully automatic cooking
(example)
For use when a delayed start time is
required.
You want to set the length of cooking
time, and the time for the oven to
switch off. The programmer will
automatically calculate the cooking
start time.
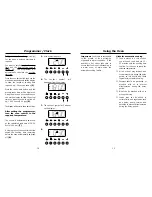
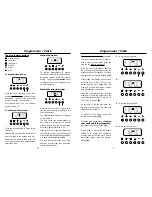
Press the
cook time
button, then use the
plus
and
minus
buttons to set the display
to show the length of cooking time
required - eg; 2 hours as shown
(5)
.
Press the
ready time
button, and the
present ready time will be displayed.
Using the
plus
and
minus
buttons you
can set the display to show the actual
time you want the oven to switch off,
eg; 18.00 hours (6.00 pm)
(6)
.
The display will revert to show time of day.
After setting the programmer,
turn the oven control to the
required temperature.
The oven will automatically switch on
at the calculated start time of 16.00
hours (4.00 pm)
(7)
.
A single press of the
cook time
button
shows the cooking time remaining
before the oven automatically switches
off
(8)
.
A
U
T
O
A
U
T
O
A
U
T
O
A
U
T
O
Using the Oven
Important:
Food is more susceptible
to the growth of food poisoning
organisms in warm conditions. If the
weather is hot, either take care to
ensure that food is not left standing in
a warm oven, or avoid using the
automatic cooking facility.
Hints for automatic cooking
■
Food is placed in a cold oven so
you will need to add about 10 -
15 minutes onto the cooking time
to allow for the oven to reach the
selected temperature.
■
Wine or beer may ferment, and
cream may curdle during the delay
period, so it is best to add these
ingredients just before serving.
■
Potatoes should be parboiled or
brushed with oil to prevent
discolouration during the delay
period.
■
Meat can be brushed with oil to
prevent it drying.
■
Lemon juice can be added to
certain fruits and vegetables such
as apples, pears, turnips and
parsnips to prevent discolouration
during the delay period.
15


