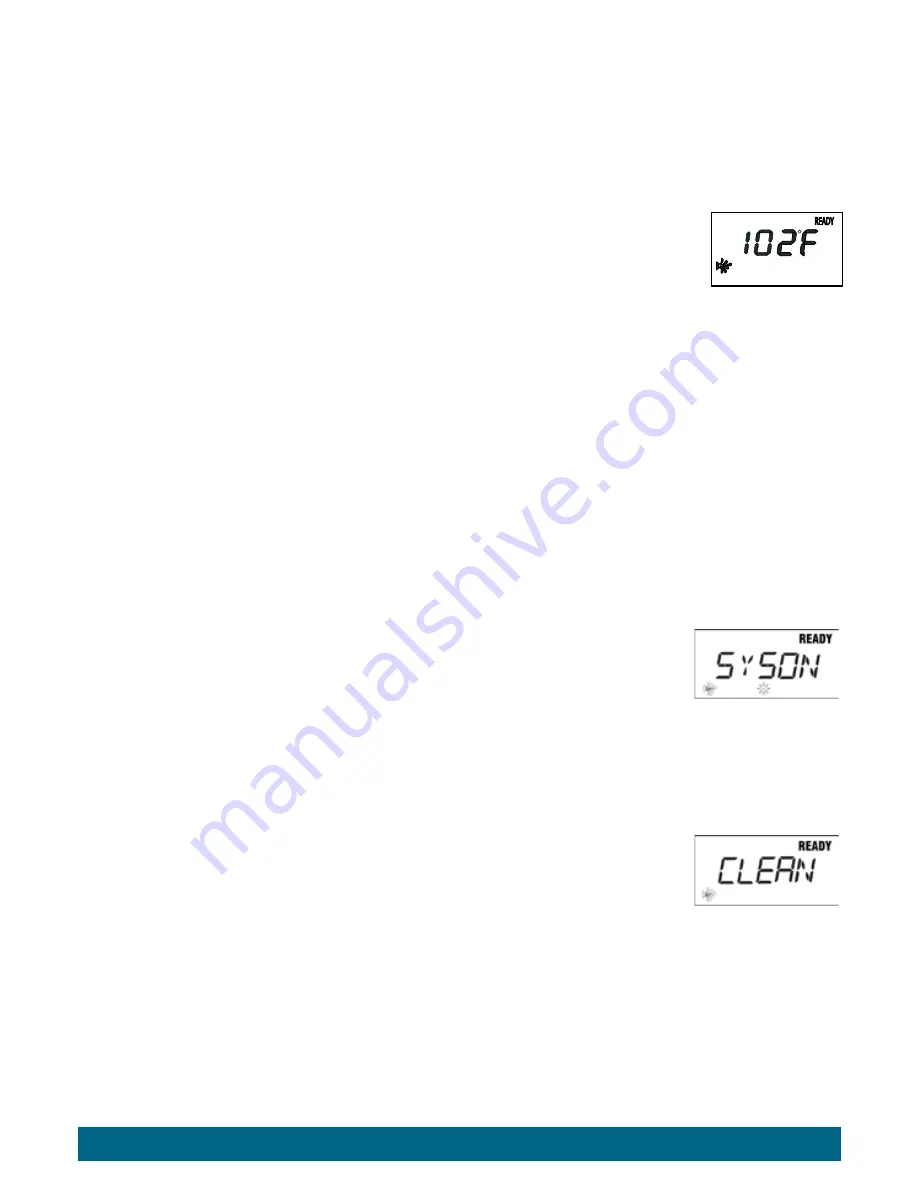
Pressing the
TEMP UP
(
) button displays the spa’s set temperature. To increase the set temperature, press the
TEMP UP
(
) button again, once
for each degree of increased temperature desired. If you hold the
TEMP UP
(
) button down, the set temperature will increase by one degree
every half second.
Pressing the
Temp Down
(
) button displays the spa’s set temperature. To decrease the set temperature, press the
Temp Down
(
) button again,
once for each degree of decreased temperature desired. If you hold the
Temp Down
(
) button down, the set temperature will decrease by one degree
every half second.
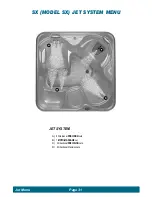
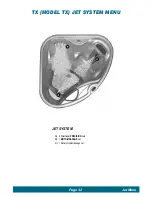
JET PUMP CONTROL
Pressing the
JET
button for the SX & TX changes the jet pump functions, depending on the number of presses:
1st press:
Two-speed jet pump runs on low speed
2nd press:
Two-speed jet pump runs on high speed
3rd press:
Jet pump is off
NOTE:
The
MOTO-MASSAGE
jet will not function properly with the jet pump on low speed.
• During filter cycles or when the thermostat is calling for heat, the pump’s low speed operates automatically.
• The pump on high speed automatically turns off after operating for two hours. The pump on low speed automatically turns off after operating
for two hours.
• When the jets are active, the JETS icon on the control panel will illuminate.
LIGHT - ON/OFF & INTENSITY CONTROLS
The light control uses four positions: High, Medium, Low, and Off. To turn on the spa light, press the LIGHT button. This will place all lights in the spa
in the High, or maximum intensity position. When the lights turn on, the light symbol will also illuminate on the control panel display. Press the LIGHT
button again to lower the intensity of the lights to the Medium position. Press the LIGHT button again to lower the intensity even more, placing the
lights intensity in the Low position. Press the LIGHT button one more time to shut the lights off. When the light is deactivated, the light symbol will
also turn off.
If the lights are left on, they will automatically be turned off by the control system after 6 hours of continuous operation. The light symbol on the panel
will also turn off when the lights are deactivated.
If the lights will not turn on, make sure SPA LOCK is deactivated. SPA LOCK disables the controls on the control panel (see following pages for
more information on SPA LOCK).
SYSTEM MODE
Your spa is equipped with a System Mode. This function will allow you to conveniently turn the jet(s) on high speed
and the light on maximum intensity at the same time.
To activate the system mode, perform the following functions:
Press the SET button until SYSON is displayed on the screen. Press the TEMP
button to activate the SYSON mode
feature. The jets and light icons will illuminated on the display until the system mode is deactivated.
NOTE:
Once activated, the jet and light functions can still be changed by pressing the JETS or LIGHT button.
To deactivate the system mode, press the SET button until SYSON symbol is displayed on the screen. Press the TEMP
button to deactivate.
CLEANING MODE
All spas are equipped with a “Cleaning” mode. When the mode is activated, the jet pump in the first jet system will
turn on and run for ten minutes (used for water maintenance). To activate the “Cleaning" mode, press the SET
button
several times until the CLEAN menu is displayed. Press the TEMP
button to activate the CLEAN mode feature.
NOTE:
The jet icon will flash on and off while the “Cleaning ” mode is active.
To stop the Cleaning Cycle before the ten minutes is complete, Press the SET button several times until the CLEAN
menu is displayed then press the TEMP
button to deactivate.
NOTE:
Pressing the JETS button will also deactivate the clean cycle and the jet icon will remain on and solid
TOOLS MENU
The TOOLS menu is one of the main menus on the control panel. Within the TOOLS menu are seven submenus, which consists of; Temp Lock,
Spa Lock, Light, Econ or Summer Timer, Filter 1, Filter 2 and Exit.
To enter into the TOOLS menu, scroll through the main menus using the SET
button until the TOOLS menu is displayed. Press the TEMP
button
to enter into the TOOLS submenu, use the SET button to scroll through the submenus. Once the desired submenu is displayed, press the
TEMP
button to activate the submenu. To leave the TOOLS submenu, scroll through the submenu until EXIT is displayed, press the TEMP
button to exit the submenu.
Operating Instructions
Page 23
SET
READY
F1
F2
READY
READY
READY
READY
READY
READY
READY
F1
SET
READY
F1
F2
SET
F1
F2
SET
READY
F1
F2
READY

