ENG
22
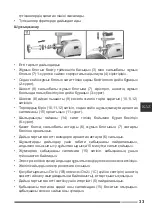
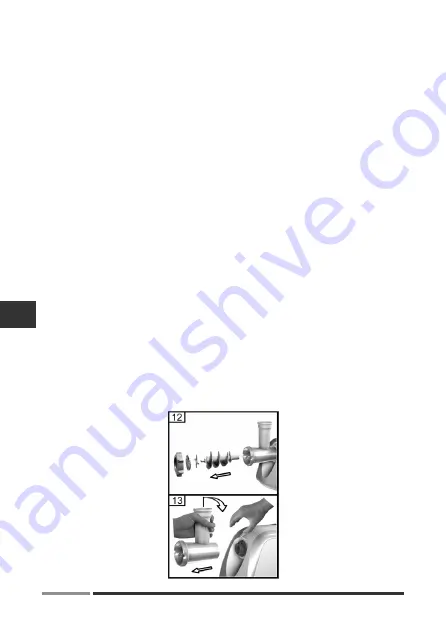
• Then turn the work head counterclockwise until it locks in place (Fig. 2).
• Insert the screw (8) into the removable head (7) and turn it until the screw is
fully secured in the working head (Fig.3).
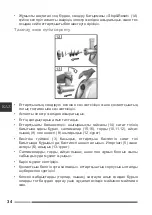
• Wear on the screw (8) a crossed blade (9) cutting edge in the direction of
the plates (10,11,12) (Fig. 4).
• Put on one of the plates (10,11,12), then install the sausage attachment
(15) (Fig.11).
• Fix the fixing ring (14) by turning it clockwise (Fig. 6).
• Place the removable tray (6) on the top of the work head (7) if necessary.
• Put the finished stuffing on the tray for the products (6).
• Use a natural casing for cooking sausages, after placing it in a vessel with
warm water for 10 minutes.
• Pull the softened sheath over the attachment (15) and tie a knot at the end
of the sheath.
• Make sure that the appliance is switched off.
• Connect the meat grinder to the mains.
• Switch the appliance on by pressing the «On1» (1B) or «On2 » (1C) button
depending on what speed is needed low or high appropriately.
• Use a pusher (5) to feed the finished minced meat.
• As the casing is filled, move it from the attachment (15), and as the casing
dries, moisten it with water.
• As soon as you are finished, switch the appliance off by pressing the button
«Stop&Reset» (1A), disconnect it from the mains, and only then start
disassembling the meat grinder.
Cleaning and Maintenance


