background image


Stay Healthy

Stay Fit 

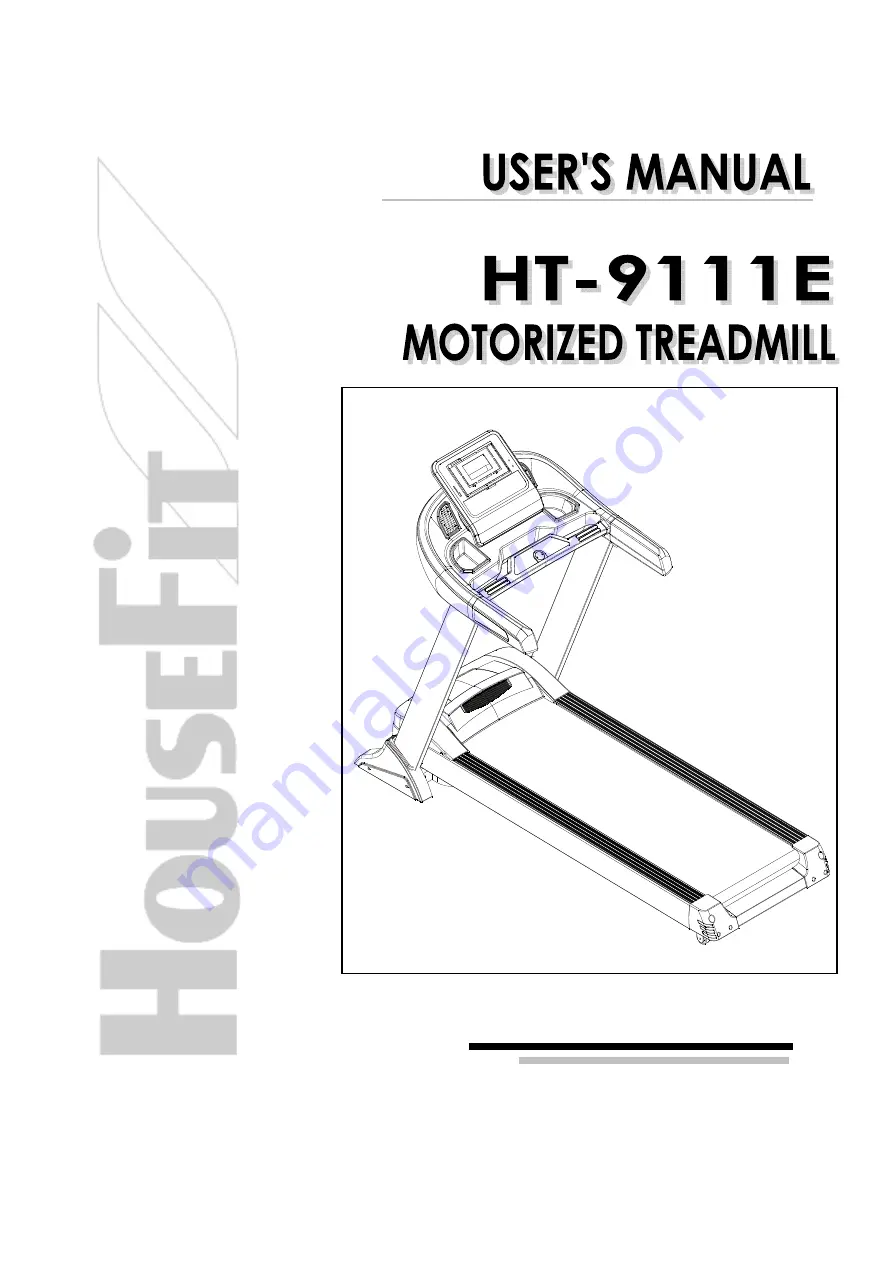
Summary of Contents for HT-9111E

Page 1: ...Stay Healthy Stay Fit...

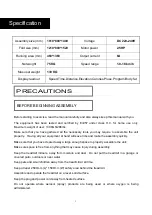
Page 2: ...indoors away from moisture and dust Do not put the treadmill in a garage or covered patio outdoors or near water Keep pets and small children away from the treadmill at all time Keep at least 2500mm L...

Page 3: ...nd switch away from water Before plugging in check the voltage label near the power switch Don t plug in the power cable until the assembly has been completed NOTE If the supply cord is damaged it mus...

Page 4: ...g and towels away from the running surface To get on running surface straddle the running surface by standing on the right and left foot rails on each side of the belt before starting the belt The tre...

Page 5: ...e performing the maintenance and adjustment procedures described in this manual Do not remove the motor cover unless instructed to do so by an authorized service representative Servicing other than th...

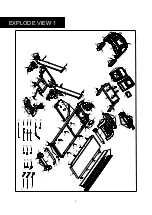
Page 6: ...1 20 20 20 20 20 20 20 20 20 19 19 18 18 18 18 18 18 18 18 17 17 17 17 17 17 17 16 15 14 13 10 10 10 10 B 9 9 A 8 8 8 58 62 61 53 56 57 71 63 67 68 70 69 66 65 64 60 59 55 54 52 51 50 49 48 47 46 44 4...

Page 7: ...olt M5 28 8 57 Cable grommet 24 15 6 1 19 Screw 4 15 7 58 Power cord 1 20 Screw 4 12 30 59 DC Motor 1 21 Screw 3 10 4 60 Incline motor 1 22 Screw 4 12 22 61 Power switch 1 23 Nut M10 6 62 Magnetic rin...

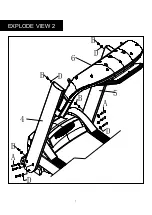
Page 8: ...7 A B D B B B A D D D 4 5 6 EXPLODE VIEW 2...

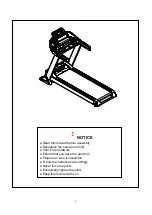
Page 9: ...embly Recognize the spare parts first Check the hardware Ensure that you have the right tool Prepare an area to assemble Follow the instruction accordingly Never force the joints Periodically tighten...

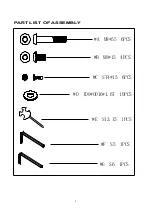
Page 10: ...9 PART LIST OF ASSEMBLY A M8 55 6PCS B M8 15 4PCS C ST4 15 6PCS D ID9 OD16 1 6T 10PCS E S13 15 1PCS F S5 1PCS G S6 1PCS...

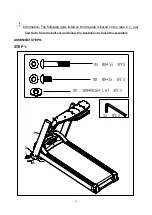
Page 11: ...ng parts listed on the drawing is based on the ratio 1 1 just find them from the bolt set and follow the illustration to finish the assembly ASSEMBLY STEPS STEP 1 4 B A D B M8 15 1PCS A M8 55 3PCS D I...

Page 12: ...11 STEP 2 S5 1PCS D ID9 OD16 1 6T 4PCS A M8 55 3PCS B M8 15 1PCS 5 A D...

Page 13: ...12 STEP 3 S5 1PCS D B D B 33 D ID9 OD16 1 6T 2PCS B M8 15 2PCS...

Page 14: ...13 STEP 4 C S13 15 1PCS C ST4 15 6PCS C 67 71...

Page 15: ...14 STEP 5...

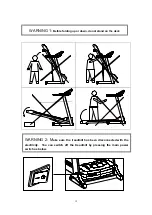
Page 16: ...NG 1 Before folding up or down do not stand on the deck WARNING 2 Make sure the treadmill has been disconnected with the electricity You can switch off the treadmill by pressing the main power switch...

Page 17: ...the rear cap position on main Frame firmly raise the rear side of Main frame to fold the treadmill up Then after hearing kick sound the machine has been folded up HOW TO FOLD DOWN THE TREADMILL 2 FOL...

Page 18: ...how often you use the machine that the mat is sticky We recommend you apply a light covering of Silicone between the mat and the running board as below To reduce the friction sticking of the running b...

Page 19: ...belt tension Both right and left belt tension bolts evenly 1 4 turn clockwise Simply loosen both bolts evenly 1 4 turn counterclockwise BELT ADJUSTMENT NOTE For most people one of your legs is stronge...

Page 20: ...ashes display the accumulated total workout incline 2 2 When DIS flashes display the accumulated total workout distance in kilometers 2 3 When CAL flashes display the accumulated calories burn during...

Page 21: ...Stop can be used to adjust the parameters INCLINE 2 4 6 8 Incline quick adjustment button Left handrail key Incline adjustment button Right handrail key Speed adjustment button Volume volume in the so...

Page 22: ...resume to ready mode Initial Set the initial value Set range Display range Time minute second 0 00 30 00 5 00 99 00 0 00 99 59 Speed km h 0 0 N A N A 1 0 18 0 Incline xx 0 N A N A 0 15 Distance kilom...

Page 23: ...P11 SPEED 2 5 6 7 8 9 10 5 3 2 INCLINE 3 5 6 8 6 5 8 7 5 2 P12 SPEED 2 3 5 6 8 6 9 6 5 3 INCLINE 5 7 5 8 6 5 9 10 6 2 P13 SPEED 2 5 6 9 7 8 5 2 3 2 INCLINE 3 3 4 4 3 4 4 3 4 2 P14 SPEED 3 4 5 6 7 8 5...

Page 24: ...ESTION EXPLAIN FIRST INSPECT Blank console 1 Wires damaged Replace the wires 2 console broke down Replace the console 3 Power cord isn t inserted Plug the power cord E01 1 Connecting error between the...

Page 25: ...operational then it is time to call your dealer for service FUSE POSISTION For correction NO 3 you can check the place as the following drawing TROUBLE SHOOTING GUIDE Problem Potential Cause Correctio...

Page 26: ...arget zone consult the chart we have provided Aerobic exercise is any sustained activity that sends oxygen to your muscles via your heart and lung It will improve fitness is promoted by any activity t...

Page 27: ...or one count stretching your chin to the ceiling and letting your mouth open Rotate your head to the left for one count and finally drop your head to your chest for one count 4 Shoulder lift Lift your...

Reviews: