.G
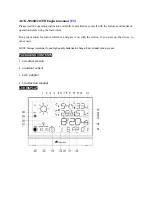
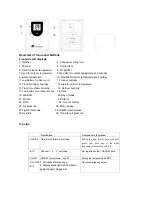
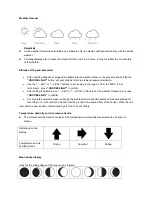
= DC 5.0V adaptor power jack
Wireless sensor
H
= Outdoor temperature and humidity
I
= LED of signal transmission from the sensor
J
= A hole to hang the device on the wall
K
=
channel switch
Getting Start with Power Supply
Insert Batteries
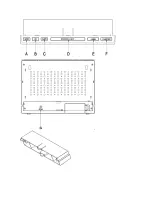
1. Gently remove the stand downwards and remove battery compartment cover from the main unit.
2. Insert the batteries, matching the polarities (+/-).
DC Power :
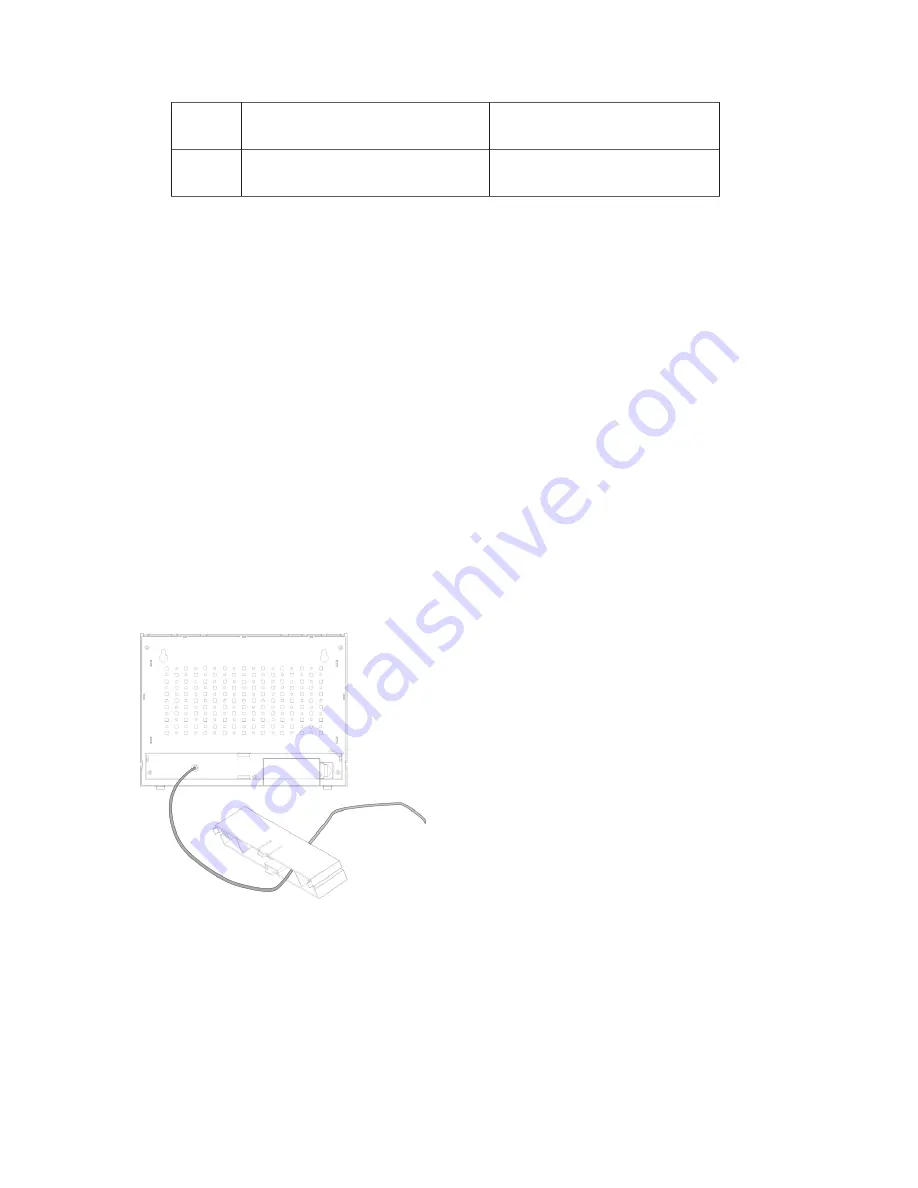
1. Put the power cable pass through the hole in the stand, plug the power cable to the power
jack and plug the power adapter into a suitable power outlet.
NOTE
—
It is recommended to insert the battery as a backup power.
Remote Sensor
1. Open the remote sensor battery door, insert the batteries, matching the polarities (+/-)
Note: To prevent water from entering the sensor, it is important to make sure the battery lid closes
tightly.
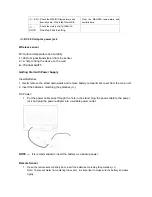
(E)
∧•
MEM
Check the MAX/MIN temperature and
humidity data ;
One step forward in
setting
Clear the MAX/MIN temperature and
humidity data
(F)
∨
•
HISTORY
Check the history of a
ir pressure
One step back in setting
Summary of Contents for AOK-2039B
Page 2: ......

