5
5
5
5
Operation
6
6
6
6
●
●
●
●
Connecting the chain
【
【
【
【
On occasion for Campagnolo
®
11Speed chain
】
】
】
】
Follow steps from
1
to
8
of
【
【
【
【
Procedure type A chain
】
】
】
】
on page 3
-
4.
It is necessary to do peening for reinforced connecting pin after these.
9
9
9
9
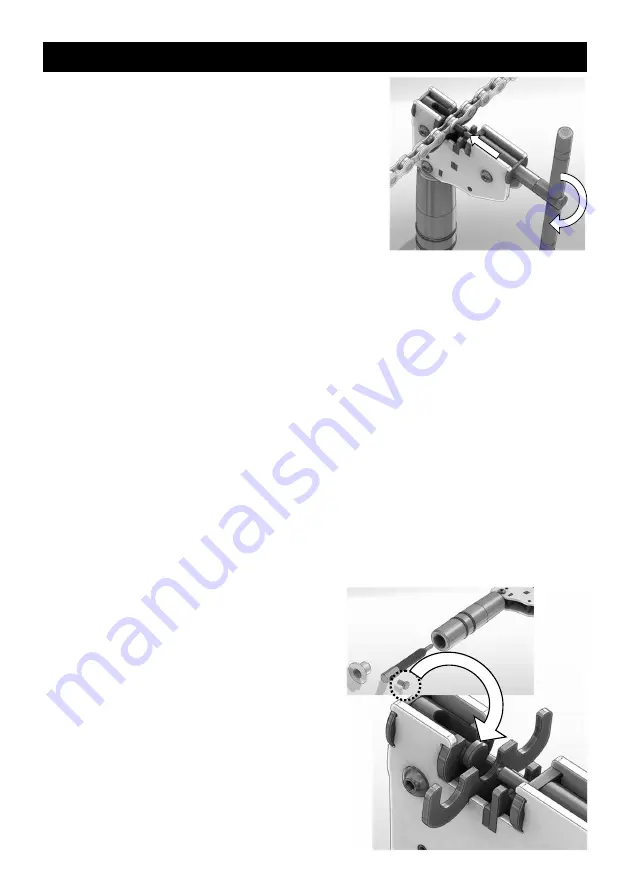
Take out the Peening attachment stored
in the grip of this tool, then set it on the
tool as shown in fig.10.
4
4
4
4
5
5
5
5
Turn the handle to press the connecting
pin carefully, paying attention that the
chain does not drop out from the guide.
Turn the handle counterclockwise to
reverse the needle after making sure
that the connecting pin has been insert-
ed to the appropriate point.
Remove this tool from the chain.
Make sure that the chain has been con-
nected properly.
Release stiffness so that the chain runs
smoothly if necessary (See page 7).
1
1
1
1~
~
~
~8
8
8
8
Fig.12
3
3
3
3
Turn the handle clockwise to apply the
tip of the needle to the center of the
connecting pin end. (Fig.11)
Fig.11


