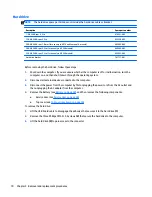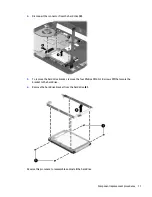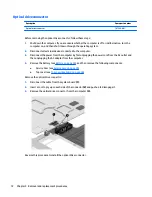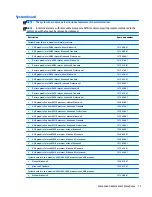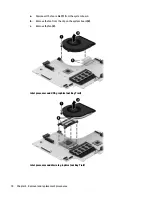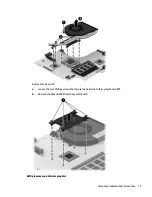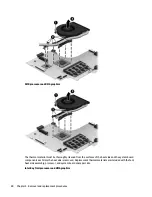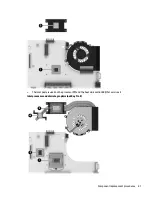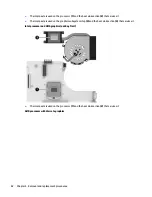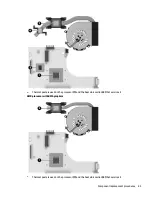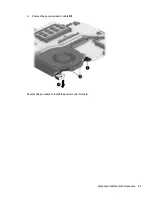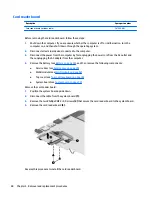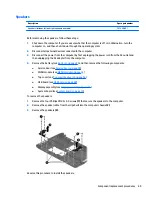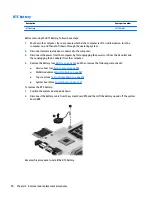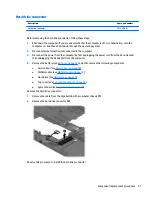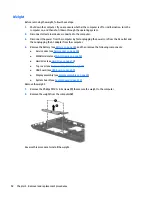
Reverse this procedure to reassemble and install the fan/heat sink assembly.
Processor
NOTE:
This section applies only to computer models equipped with an Intel processor. AMD processors
come soldered to the system board and cannot be removed or replaced.
NOTE:
The processor spare part kit includes replacement thermal materials.
Description
Spare part number
Intel Core i5 3230M processor (2.60-GHz 3.0-MB L3 cache, dual core, 35 W)
711903-001
Intel Core i3 4000M processor (2.40-GHz, 3.0-MB L3 cache, dual core)
737327-001
Intel Core i3 3110M processor (2.40-GHz, 3.0-MB L3 cache, dual core)
682417-001
Intel Pentium 2020M processor (2.40-GHz, 2.0-MB L3 cache, dual core, 35 W)
700628-001
Intel Celeron 1000M processor (1.8-GHz, 2.0-MB L3 cache, dual core, 35 W)
713162-001
Before removing the processor, follow these steps:
1.
Shut down the computer. If you are unsure whether the computer is off or in Hibernation, turn the
computer on, and then shut it down through the operating system.
2.
Disconnect all external devices connected to the computer.
3.
Disconnect the power from the computer by first unplugging the power cord from the AC outlet and
then unplugging the AC adapter from the computer.
4.
Remove the battery (see
Battery on page 43
), and then remove the following components:
●
Service door (see
Service door on page 49
)
●
WLAN module (see
WLAN module on page 52
)
●
Top cover (see
Top cover/keyboard on page 55
)
●
System board (see
System board on page 73
)
●
Fan/heat sink assembly (see
Fan/heat sink assembly on page 77
)
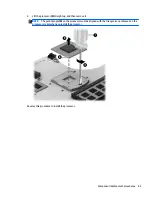
To remove the processor:
1.
Position the system board upside down.
2.
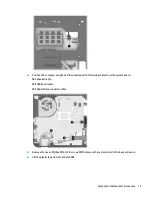
Use a flat-bladed screw driver
(1)
to turn the processor locking screw one-half turn
counterclockwise
(2)
until you hear a click.
84
Chapter 4 Removal and replacement procedures
Summary of Contents for 14 TouchSmart
Page 4: ...iv Safety warning notice ...
Page 31: ...3 Illustrated parts catalog Computer major components Computer major components 23 ...
Page 104: ...96 Chapter 5 Using Setup Utility BIOS and HP PC Hardware Diagnostics UEFI in Windows 8 ...
Page 108: ...100 Chapter 6 Using Setup Utility BIOS and System Diagnostics in Windows 7 ...
Page 130: ...122 Chapter 12 Power cord set requirements ...

