Action keys
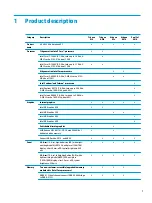
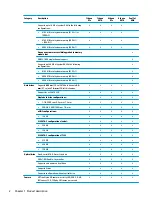
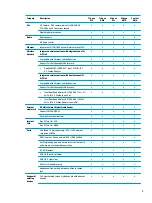
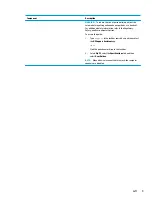
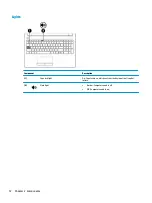
An action key performs the function indicated by the icon on the key. To determine which keys are on your
product, see
▲
To use an action key, press and hold the key.
Icon
Description
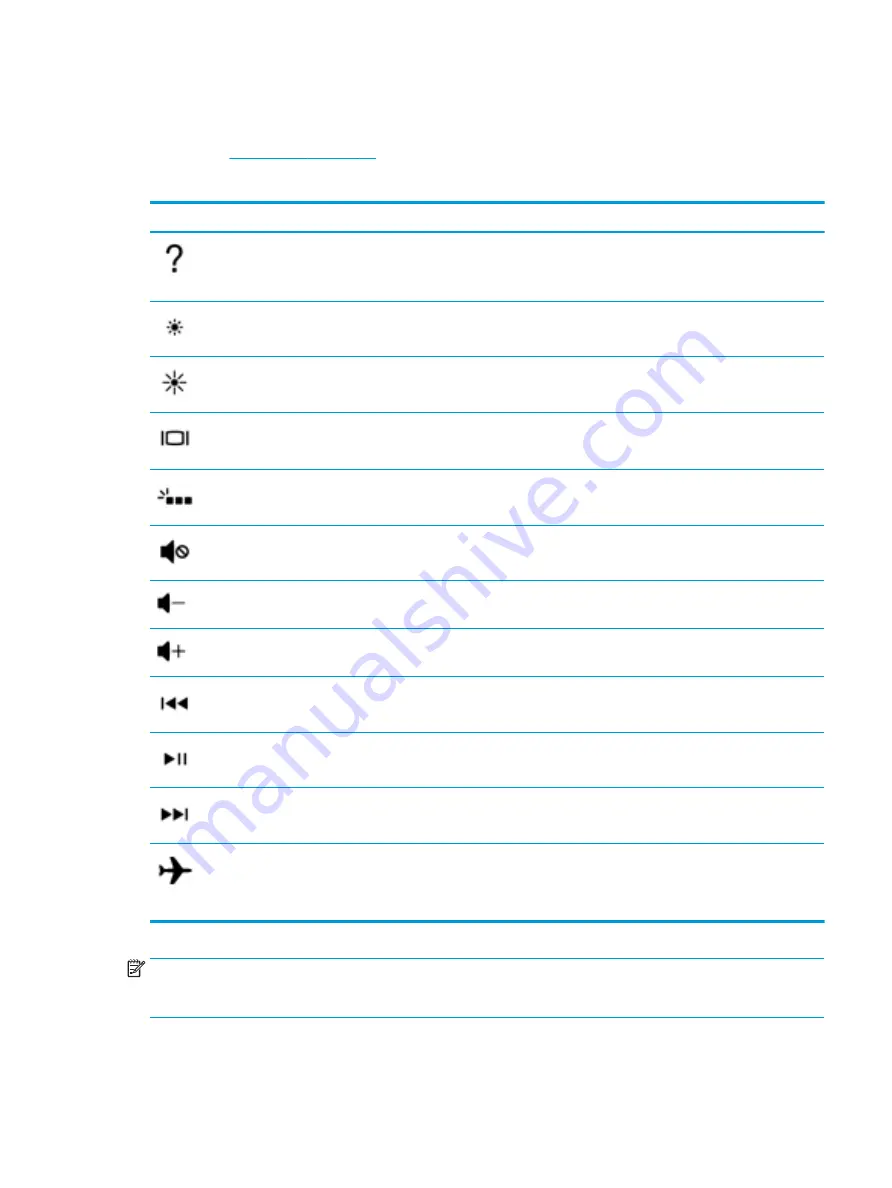
Opens Help and Support, which provides tutorials, information about the Windows operating system and
your computer, answers to questions, and updates to your computer.
Help and Support also provides automated troubleshooting tools and access to support.
Decreases the screen brightness incrementally as long as you hold down the key.
Increases the screen brightness incrementally as long as you hold down the key.
Switches the screen image among display devices connected to the system. For example, if a monitor is
connected to the computer, repeatedly pressing the key alternates the screen image from computer display
to monitor display to simultaneous display on both the computer and monitor.
Turns the keyboard backlight off or on.
NOTE:
To conserve battery power, turn off this feature.
Mutes or restores speaker sound.
Decreases speaker volume incrementally while you hold down the key.
Increases speaker volume incrementally while you hold down the key.
Plays the previous track of an audio CD or the previous section of a DVD or a Blu-ray Disc (BD).
Starts, pauses, or resumes playback of an audio CD, a DVD, or a BD.
Plays the next track of an audio CD or the next section of a DVD or a BD.
Turns the airplane mode and wireless feature on or off.
NOTE:
The airplane mode key is also referred to as the wireless button.
NOTE:
A wireless network must be set up before a wireless connection is possible.
NOTE:
The action key feature is enabled at the factory. You can disable this feature by pressing and holding
the
fn
key and the left
shift
key. The fn lock light will turn on. After you have disabled the action key feature,
you can still perform each function by pressing the
fn
key in combination with the appropriate action key.
Keyboard area
15
Summary of Contents for 250 G6
Page 1: ...HP 250 G6 Notebook PC Maintenance and Service Guide ...
Page 4: ...iv Safety warning notice ...
Page 8: ...viii ...
Page 14: ...6 Chapter 1 Product description ...
Page 26: ...18 Chapter 2 Components ...
Page 88: ...80 Chapter 6 Removal and replacement procedures for Authorized Service Provider parts ...
Page 106: ...98 Chapter 10 Specifications ...
Page 116: ...108 Chapter 12 Power cord set requirements ...
Page 118: ...110 Chapter 13 Recycling ...

