2.
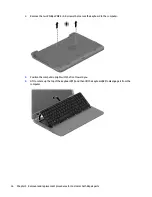
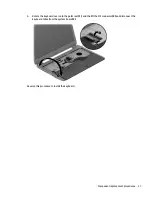
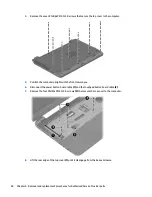
Remove the two Phillips PM2.5×5.0 screws that secure the keyboard to the computer.
3.
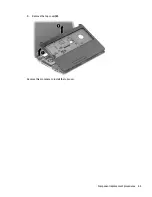
Position the computer upright with the front toward you.
4.
Lift to rotate up the top of the keyboard
(1)
, and then lift the keyboard
(2)
to disengage it from the
computer.
36
Chapter 5 Removal and replacement procedures for Customer Self-Repair parts
Summary of Contents for 255 G3
Page 1: ...HP 255 G3 Notebook PC Maintenance and Service Guide ...
Page 4: ...iv Safety warning notice ...
Page 12: ...4 Chapter 1 Product description ...
Page 34: ...26 Chapter 3 Illustrated parts catalog ...
Page 46: ...38 Chapter 5 Removal and replacement procedures for Customer Self Repair parts ...
Page 80: ...72 Chapter 6 Removal and replacement procedures for Authorized Service Provider parts ...
Page 84: ...76 Chapter 7 Using Setup Utility BIOS and HP PC Hardware Diagnostics UEFI in Windows 8 1 ...
Page 88: ...80 Chapter 8 Using Setup Utility BIOS and System Diagnostics in Windows 7 ...
Page 114: ...106 Chapter 14 Statement of Volatility ...

