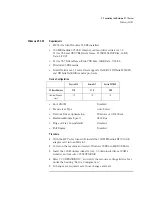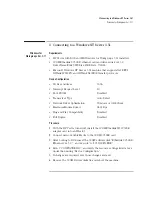
3 Connecting to a Windows NT Server 3.51
Windows NT Workstation Version 3.51
19
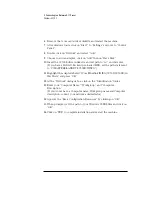
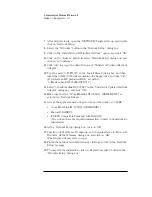
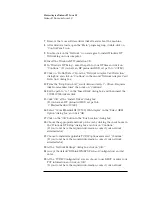
Choose to install all applicable TCP/IP options and select “Continue.”
(If you do not have the required information, contact your network
administrator)
20
At the “Network Settings” dialog box, click on “OK.”
21
Accept the default “NWLink IPX/SPX Protocol Configuration” and hit enter.
22
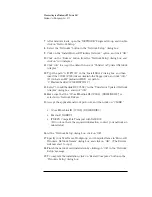
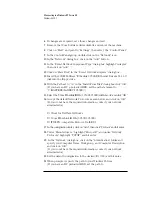
At the “TCP/IP Configuration” screen, choose to use DHCP or enter your
TCP information and click on “OK.”
(If you do not have the required information, contact your network
administrator)
23
At the “Domain/Workgroup Settings” Dialog Box, click on “OK” to accept
the default “Workgroup” as your workgroup name.
(If you do not have the required information, contact your network
administrator)
24
To complete the installation, remove the floppy disk , and click on
“Restart Computer” button in the “Windows NT Workstation Networking
Setup” dialog box.
Summary of Contents for 3C509B-TP
Page 1: ...Etherlink IIIB ISA Network Interface Card 10BT 3C509B TP Installation Guide ...
Page 6: ...1 Connecting to a Netware 3 12 Server Windows for Workgroups ...
Page 12: ...2 Connecting to a Netware 4 11 Server Windows for Workgroups ...
Page 17: ...3 Connecting to a Windows NT Server 3 51 Windows for Workgroups Ver 3 11 ...
Page 18: ...3 Connecting to a Windows NT Server 3 51 Windows for Workgroups Ver 3 11 ...
Page 22: ...3 Connecting to a Windows NT Server 3 51 Windows 95 SR2 ...
Page 30: ...3 Connecting to a Windows NT Server 3 51 Windows NT Workstation 4 0 ...
Page 36: ...4 Connecting to a Windows NT Server 4 0 Windows 95 SR2 ...
Page 40: ...4 Connecting to a Windows NT Server 4 0 Windows NT Workstation Version 3 51 ...
Page 44: ...4 Connecting to a Windows NT Server 4 0 Windows NT Workstation 4 0 ...
Page 45: ......


