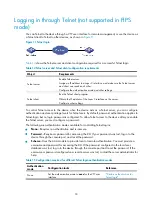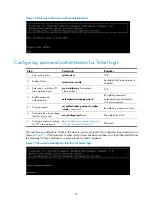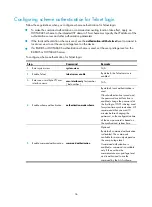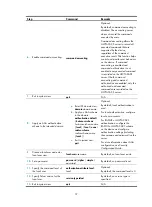
41
Logging in through SSH
SSH offers a secure method for remote login. By providing encryption and strong authentication, it
protects devices against attacks such as IP spoofing and plaintext password interception. You can log in
to the device acting as an SSH server for remote management, as shown in
. You can also use
the device as an SSH client to log in to an SSH server.
Figure 16
SSH login diagram
shows the SSH server and client configuration required for a successful SSH login.
Table 16
SSH server and client requirements
Device role
Requirements
SSH server
Assign an IP address to a Layer 3 interface, and make sure the interface and
the client can reach each other.
Configure the authentication mode and other settings.
SSH client
If the host operates as an SSH client, run the SSH client program on the host.
Obtain the IP address of the Layer 3 interface on the server.
To control SSH access to the device acting as an SSH server, configure authentication and user privilege
level for SSH users.
By default, password authentication is adopted for SSH login, but no login password is configured. To
allow SSH access to the device after you enable the SSH server, you must configure a password.
Configuring the SSH server on the device
Follow these guidelines when you configure the SSH server:
•
To make the command authorization or command accounting function take effect, apply an
HWTACACS scheme to the intended ISP domain. This scheme must specify the IP address of the
authorization server and other authorization parameters.
•
If the local authentication scheme is used, use the
authorization-attribute level
level
command in
local user view to set the user privilege level on the device.
•
If a RADIUS or HWTACACS authentication scheme is used, set the user privilege level on the
RADIUS or HWTACACS server.
The SSH client authentication method is password in this configuration procedure. For more information
about SSH and publickey authentication, see
Security Configuration Guide
.
To configure the SSH server on the device:
Step Command
Remarks
1.
Enter system view.
system-view
N/A


