


+$%&
4
HP
PrecisionScan Pro
User’s Guide
84
Adjusting images of
pictures
Book Contents
Index
➮
➮
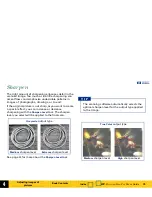
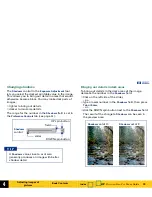
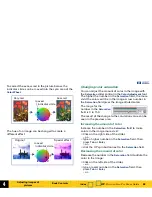
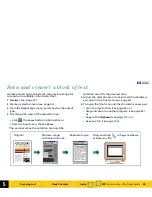
Viewing and removing clipped light areas
You can adjust the light or dark areas to add detail back
to them.
1
Click
, the white
Exposure Alert
button.
The light areas in the image that will print as pure
white appear black in the preview area.
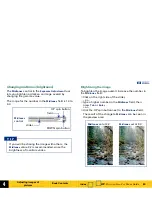
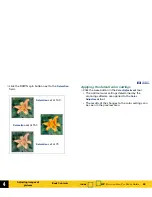
2
In the
Highlights
control, click the UP spin button
repeatedly until the clipped pixels disappear from
the image.
The result of the change to
Highlights
can be seen in
the preview area.
3
Click
, the white
Exposure Alert
button again.
The
Exposure Alert
button turns off.
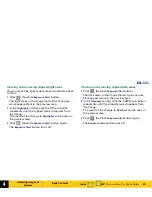
Viewing and removing clipped dark areas
1
Click
, the black
Exposure Alert
button.
The dark areas in the image that will print as pure
black appear white in the preview area.
2
In the
Shadows
control, click the DOWN spin button
repeatedly until the clipped pixels disappear from
the image.
The result of the change to
Shadows
can be seen in
the preview area.
3
Click
, the black
Exposure Alert
button again.
The
Exposure Alert
button turns off.


