8-3
Troubleshooting
!#!
"!" "! " " "!"! *
" # " "#!""!! "
"
# "#!""!!"&
"
"
! $ !! " ! # " #" " "! "!"
"! "!"! "
" #" "!""% " !! !! "
" "
" "!"!"&
" *
"
# " "!"! "
!"& " " !!’
! "!" "! "!"! " !!’
"!"!!!# "! ) %!’ ""(*
" %
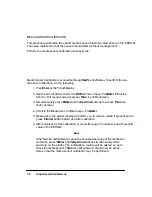
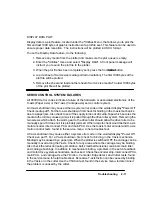
MECHANICAL INITIALIZATION
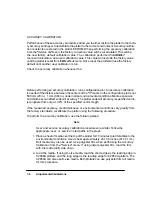
During mechanical initialization, the following tests are performed:
1. The window sensor is checked. The initialization will not continue unless the win-
dow is in the ªdownº position.
2. The bail sensor is checked and the pen primer assembly is initialized.
3. The Y-axis is initialized. First the left stop is found, then the right (contact with the
cutter is made). The carriage then parks in the service station.
4. The pinch wheel position sensor is checked. If the optical sensor does not see light,
the plotter will act as if the pinch wheel lift lever is UP.
5. The media sensor is checked. If the optical sensor does not see light, the plotter will
act as if media is already present. A bad sensor could cause the plotter to try to load
media with media present or drop media out of the plotter during the rear edge search
(if sheet media is loaded at power ON). After the mechanical initialization is com-
plete, the plotter is placed into a ready state (either to accept media or to plot).
6. X-axis feedback operation is checked.
7. Remainder of DRAM tested.
Summary of Contents for 650c - DesignJet Color Inkjet Printer
Page 1: ...PrinterFAQ COM HP DesignJet650C User Guide ...
Page 126: ...7 10 Adjustments Calibrations Notes ...
Page 156: ...9 4 Product History Notes ...
Page 165: ...10 9 Parts and Diagrams Illustrated Parts Breakdown C2859A Electronics Enclosure C C2858 3 1 ...
Page 167: ...10 11 Parts and Diagrams Illustrated Parts Breakdown C2858A Electronics Enclosure C C2858 4 1 ...
Page 183: ...10 27 Parts and Diagrams Illustrated Parts Breakdown Paper Drive Assemblies C C2858 12 1 ...
Page 199: ......


