5
•
The rack is sturdy and securely grounded; the installation position on the rack is appropriate for the
chassis; no debris exists inside or around the rack.
•
The switch is ready for installation and has been carried to a place near the rack and convenient
for moving.
•
Keep the packages of the switch and the components for future use.
Installing slide rails and cage nuts on the rack
Installing slide rails
If the rack has slide rails, skip this section.
Installation may vary with different rack types.
For the slide rails, HP recommends that you order the HP X421 A-Series Chassis Universal 4-Post Rack
Mounting Kit (JC665A). For more information about the kit, see the chapter “Appendix B FRUs and
compatibility matrixes.”
To install a slide rail:
1.
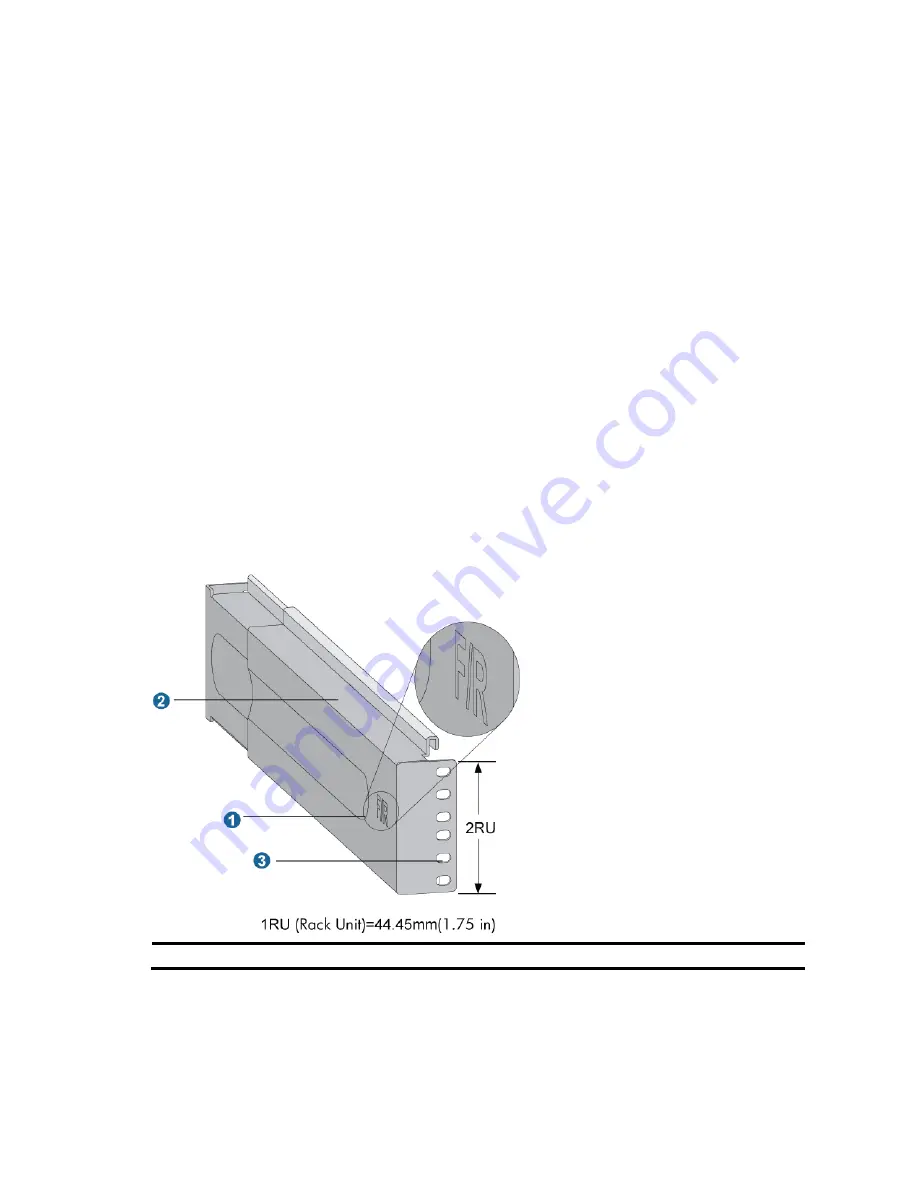
Read the signs on the slide rail (see
Table 7
) to avoid making a mistake. Check that the slide rails
can support the weight of the switch. For the weights of the switches, see the chapter “Appendix A
Technical specifications.”
Figure 2
Right slide rail
(1) Signs
(2) Guide rail
(3) Installation hole


