HP A2375-63008 SCSI Cable
Installation Guide
When installing the enclosed disk drive into a HP 9000 System Processing Unit (SPU), make sure the appropriate
SCSI ribbon cable (A2375-63008) is installed in the peripheral bay. The SCSI connectors of this ribbon cable are
spaced farther apart to accommodate this disk drive. Perform the following procedure to verify and replace
(if necessary) the SCSI cable.
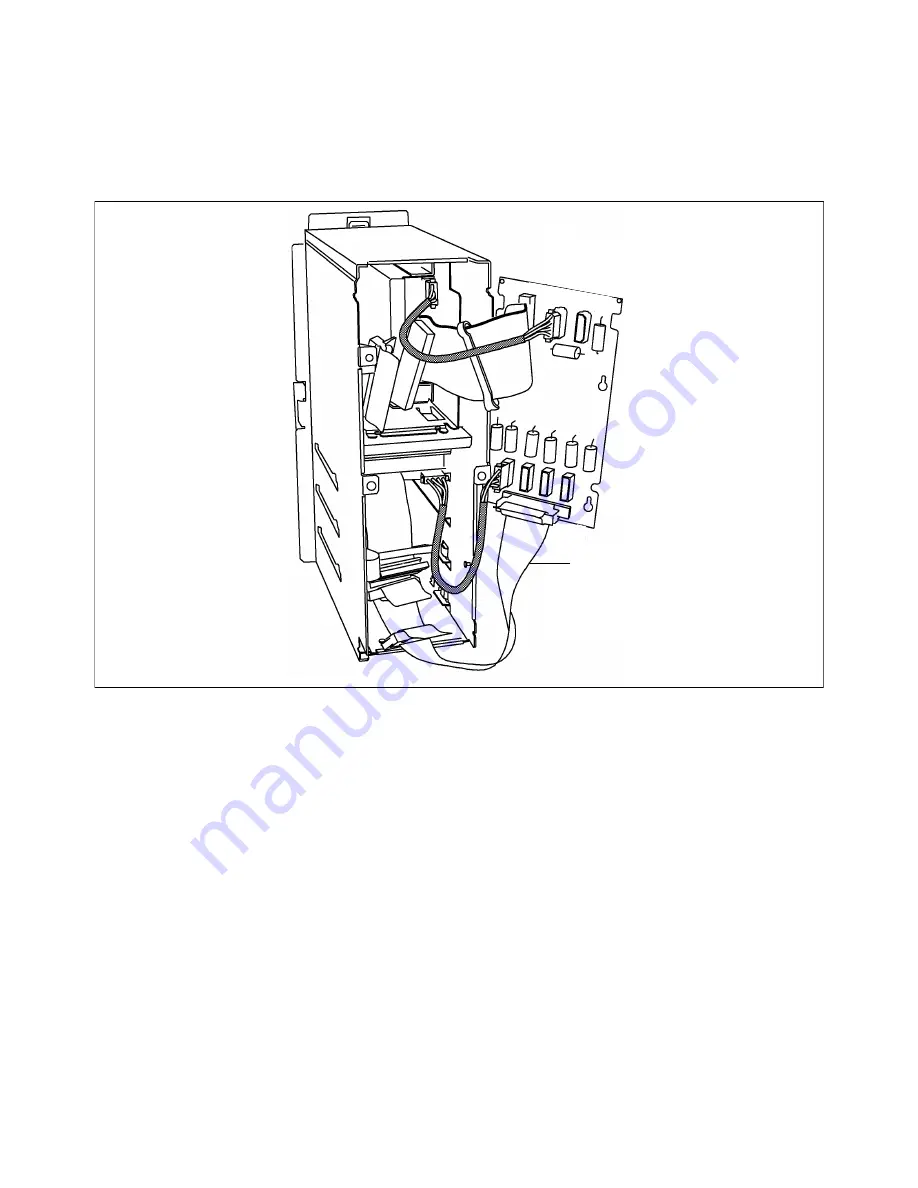
Figure 1
Lower SCSI cable
Step 1:
Power down the HP 9000 SPU.
Perform an orderly power down as described in
the HP 9000/Kxx0 Internal Peripherals Upgrade
Guide.
Step 2:
Access the peripheral interconnect
board.
Remove the peripheral bay and access the
peripheral interconnect board as described in the
HP 9000/Kxx0 Internal Peripherals Upgrade
Guide.
Step 3:
Determine if the lower SCSI cable
should be replaced.
If the part number is A2375-63007 or A2375-
63008, do not replace the cable. Go to step 6.
If the part number is A2375-63004, replace the
cable.
Step 4:
Disconnect the lower SCSI cable.
Disconnect the lower SCSI cable from the
peripheral interconnect board, then disconnect
the lower SCSI cable from each system disk
drive.
Step 5:
Connect the new SCSI cable.
Connect the new SCSI cable (A2375-63008) to
each system disk drive, then connect the opposite
end of the cable to the peripheral interconnect
board.
Step 6:
Install the A3629A disk drive.
Install the enclosed disk drive as described in the
HP 9000/Kxx0 Internal Peripherals Upgrade
Guide.


