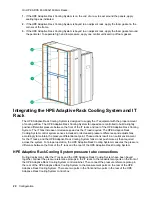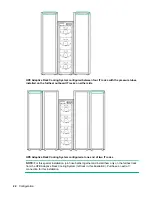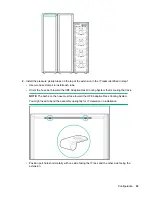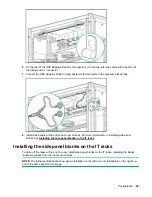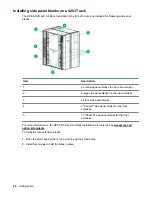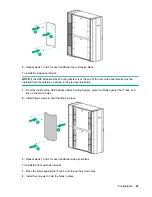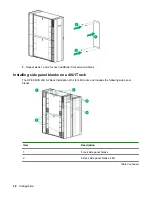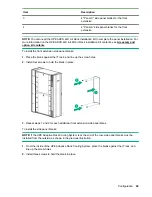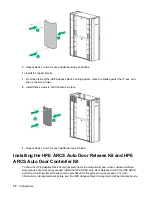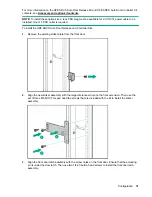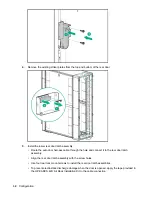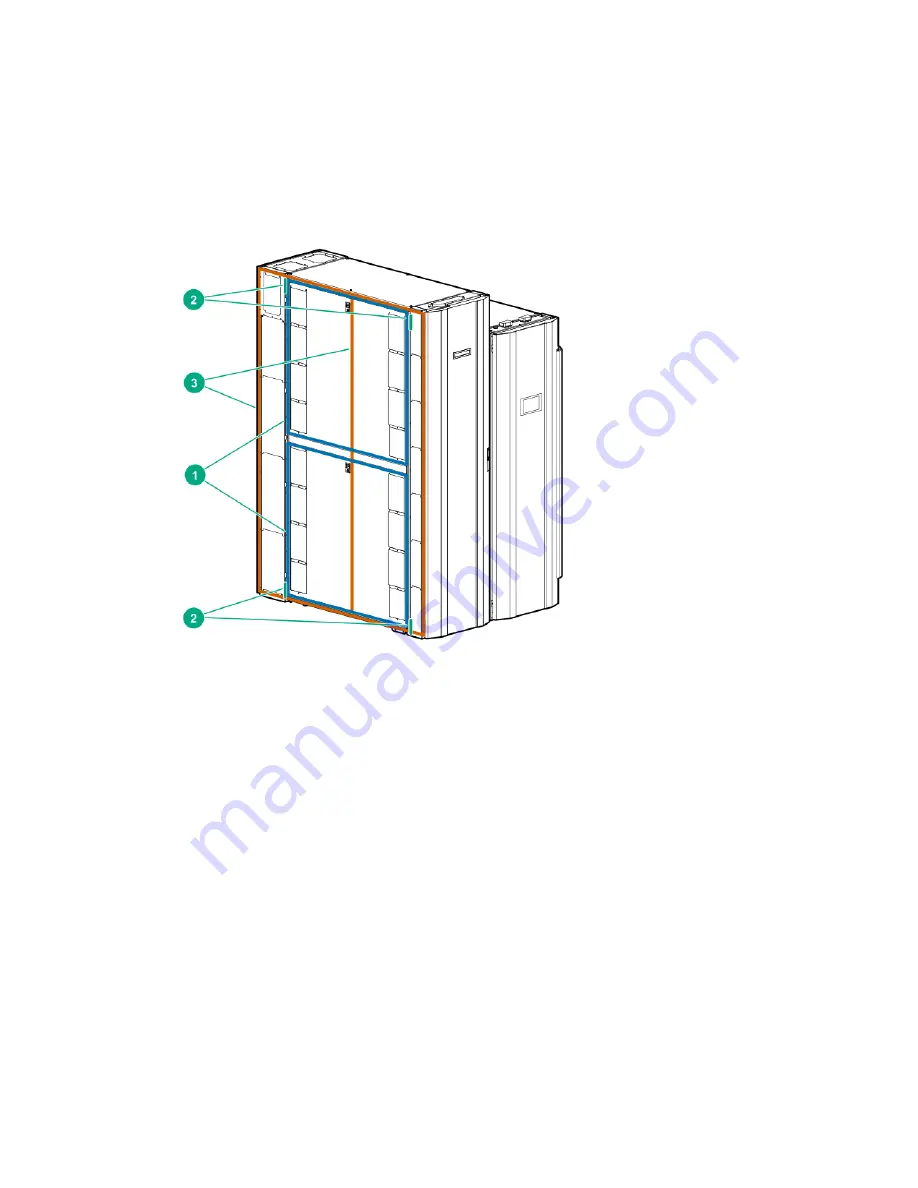
On HPE ARCS 48U 600x1600mm Racks:
1.
If the HPE Adaptive Rack Cooling System is on the end of a row, to seal around the panels, apply
sealing tape as indicated.
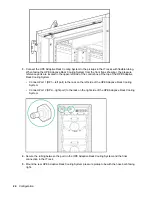
2.
If the HPE Adaptive Rack Cooling System is bayed to an adjacent rack, apply the foam gasket in the
corners of the frame.
3.
If the HPE Adaptive Rack Cooling System is bayed to an adjacent rack, apply the foam gasket around
the perimeter. To separate high and low pressure, apply one central vertical strip of foam gasket.
Integrating the HPE Adaptive Rack Cooling System and IT
Rack
The HPE Adaptive Rack Cooling System is designed to supply the IT equipment with the proper amount
of cooling airflow. The HPE Adaptive Rack Cooling System fan speeds are controlled to build a slightly
positive differential pressure between the front of the IT racks and rear of the HPE Adaptive Rack Cooling
System. The IT fans increase or decrease speed as the IT load requires. The HPE Adaptive Rack
Cooling System control system senses increased or decreased pressure differences and adjusts fans
accordingly to maintain the pressure differential set point. These actions result in a neutral environment
for the IT racks, and the HPE Adaptive Rack Cooling System fans do not push more air than required
across the system. For proper operation, the HPE Adaptive Rack Cooling System measures the pressure
difference between the front of the IT rack and the rear of the HPE Adaptive Rack Cooling System.
HPE Adaptive Rack Cooling System pressure tube connections
During deployment, after the IT racks and the HPE Adaptive Rack Cooling System have been bayed
together, connect the pressure reference pickups in the IT racks to the measurement ports on the front of
the HPE Adaptive Rack Cooling System control cabinet. Then connect the pressure reference pickup in
the rear of the HPE Adaptive Rack Cooling System to the measurement ports on the rear of the HPE
Adaptive Rack Cooling System. There are two ports in the front and two ports in the rear of the HPE
Adaptive Rack Cooling System control box.
20
Configuration


