4.5
Replacing a Front Access Drive
If the system includes the optional front access storage cage, then one or two disk
drives or one tape drive may be installed, depending on the option originally installed.
Refer to the following information when replacing a front access disk or tape drive.
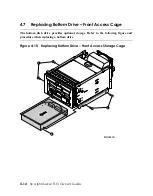
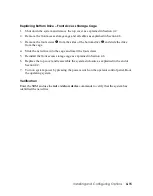
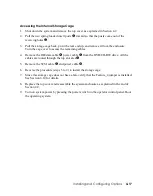
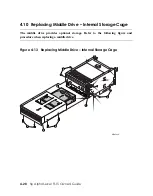
Figure 4–7 Replacing a Front Access Disk Drive
1
2
3
MR0632
CAUTION:
Before removing a drive, make sure that its activity LED is off.
Replacing a Front Access Disk Drive
1.
Verify that the disk drive is not in use (the activity LED is off).
2.
To remove the drive, press in the colored rubber button
X
to release the handle.
3.
Pull the handle
Y
forward to release the SCSI connection and then pull the drive from
the cage. If only one disk drive is installed, a filler plate
p
fills the other drive slot.
4.
Insert the new disk drive into the cage with the front handle
o
fully opened. With the
drive resting on top of the rail guides of the cage, slide the drive in until it stops.
5.
Push the handle
Y
to make the backplane connection and secure the drive in the cage.
Verification
You must enter the SRM and use the
init
and
show device
commands to verify that the
system sees the new drive.
4-10
hp AlphaServer TS15 Owner's Guide

