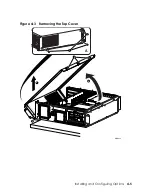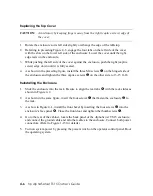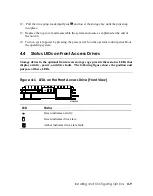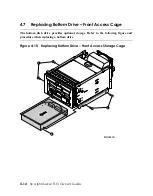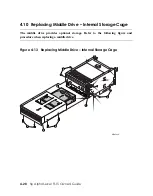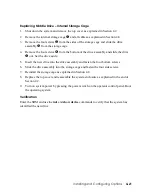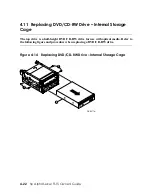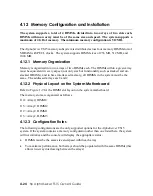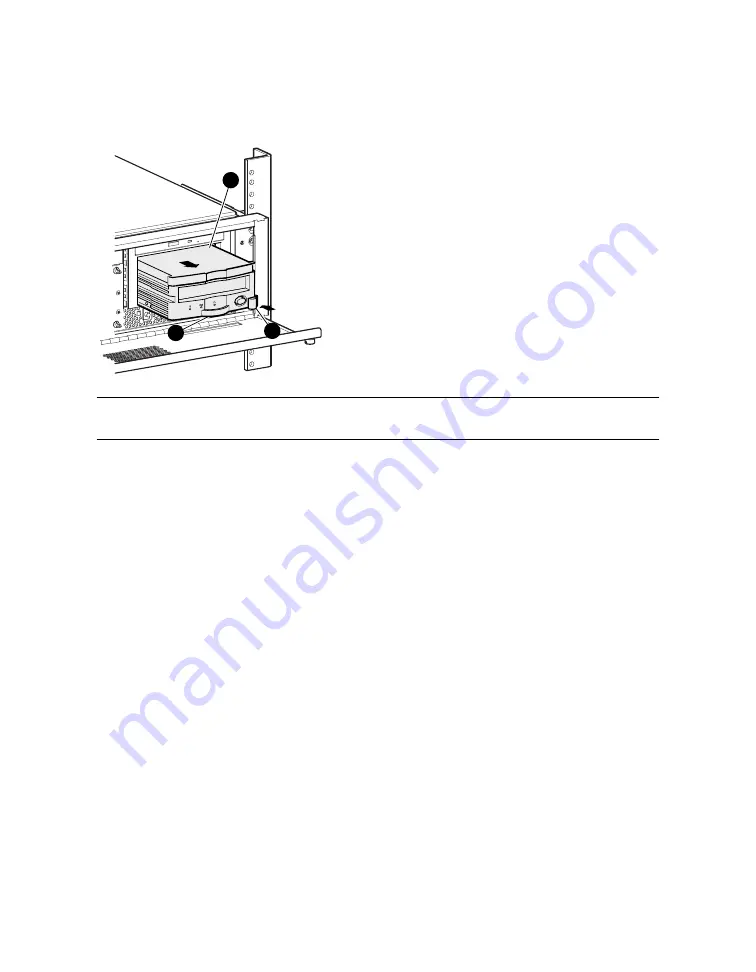
Figure 4–8 Replacing a Front Access Tape Drive
MR0658
2
1
3
CAUTION:
Before removing a drive, make sure that its activity LED is off.
Replacing a Front Access Tape Drive
1.
Verify that the tape drive is not in use (the activity LED is off).
2.
To remove the drive, press the locking tab
n
to the left to disengage the tape drive.
3.
Pull on the handle
Y
to remove the drive from the cage. A plastic filler
p
slides out
with the tape drive.
4.
Snap the new plastic filler onto the new tape drive.
5.
Insert the new tape drive into the cage. With the drive resting on top of the rail guides of
the cage, slide the drive in until it stops.
6.
Push the handle
Y
to make the backplane connection. Verify that the locking tab
n
snaps into place.
Verification
You must enter the SRM and use the
init
and
show device
commands to verify that the
system sees the new drive.
Installing and Configuring Options
4-11


