Chapter 5
hp Carrier Grade Server bh3710 Server Blade Installation Information
Installing and Removing Blades
5-23
NOTE
The blue LED will briefly illuminated when power is reestablished as the blade
mates with the backplane connectors.
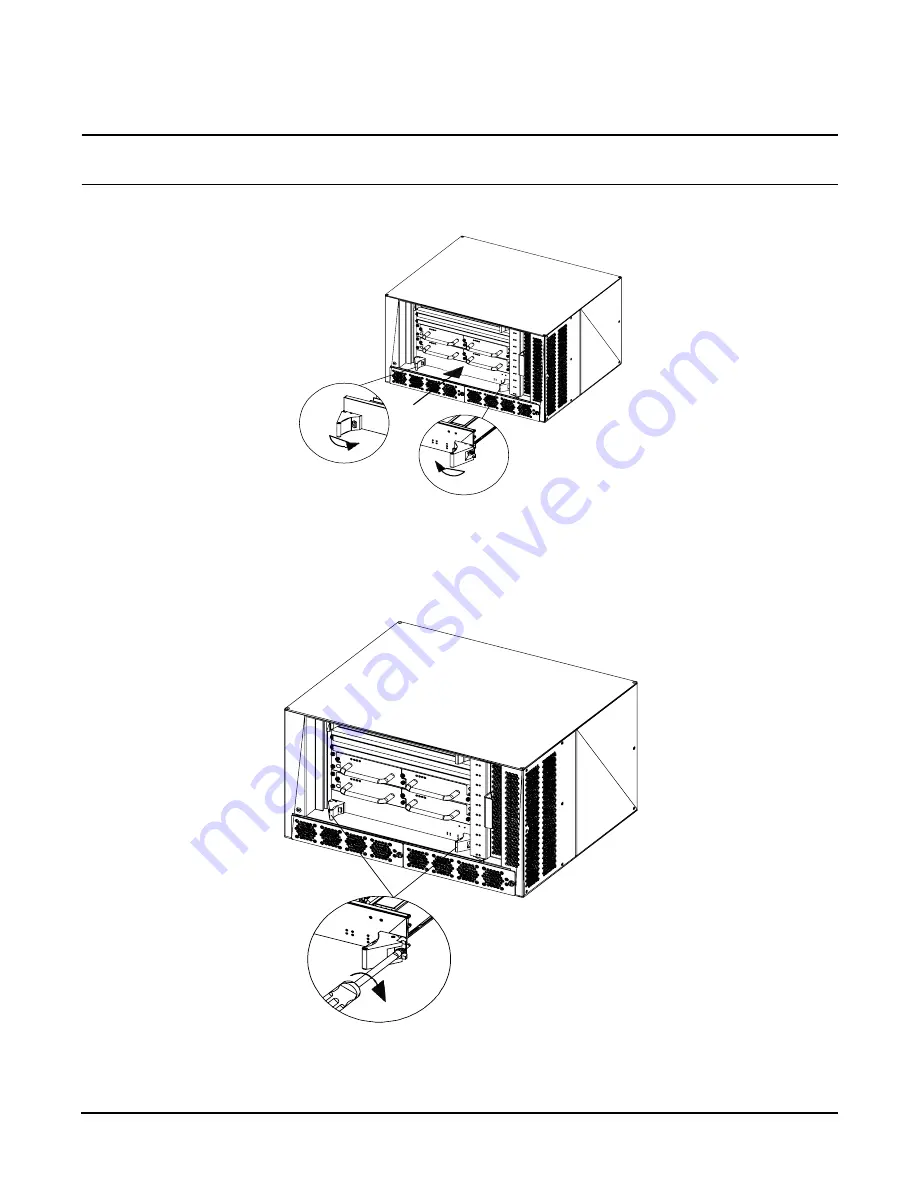
Figure 5-18
Insert the Blade
Step 6.
Tighten the small screws in each locking lever (as shown in Figure 5-19). This completes the
installation.
Figure 5-19
Tighten the Locking Screws
Summary of Contents for BH BH3710
Page 6: ...Figures vi ...
Page 8: ...viii ...
Page 10: ...Chapter 1 hp Carrier Grade Server bh3710 Overview Introduction 1 2 ...
Page 52: ...Chapter 7 Specifications for the hp Carrier Grade Server bh3710 Introduction 7 2 ...
Page 54: ...Appendix A LVM Boot Device Hardware Path Change for the hp Carrier Grade Server bh3710 A 2 ...