


19
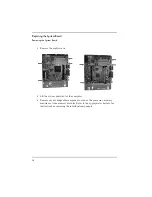
Replacing the Floppy Drive
Replacing the Floppy Disk Drive
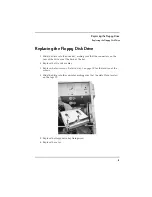
Replacing the Floppy Disk Drive
1
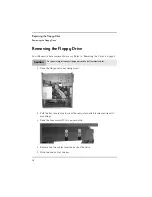
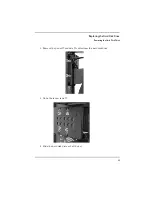
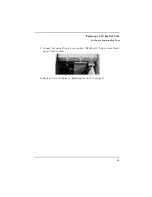
Slide the drive into the drive bay, making sure that the connectors on the
rear of the drive are at the back of the bay.
2
Replace the two drive cables.
3
Replace the four screws. Refer to step 3 on page 18 for the location of the
screws.
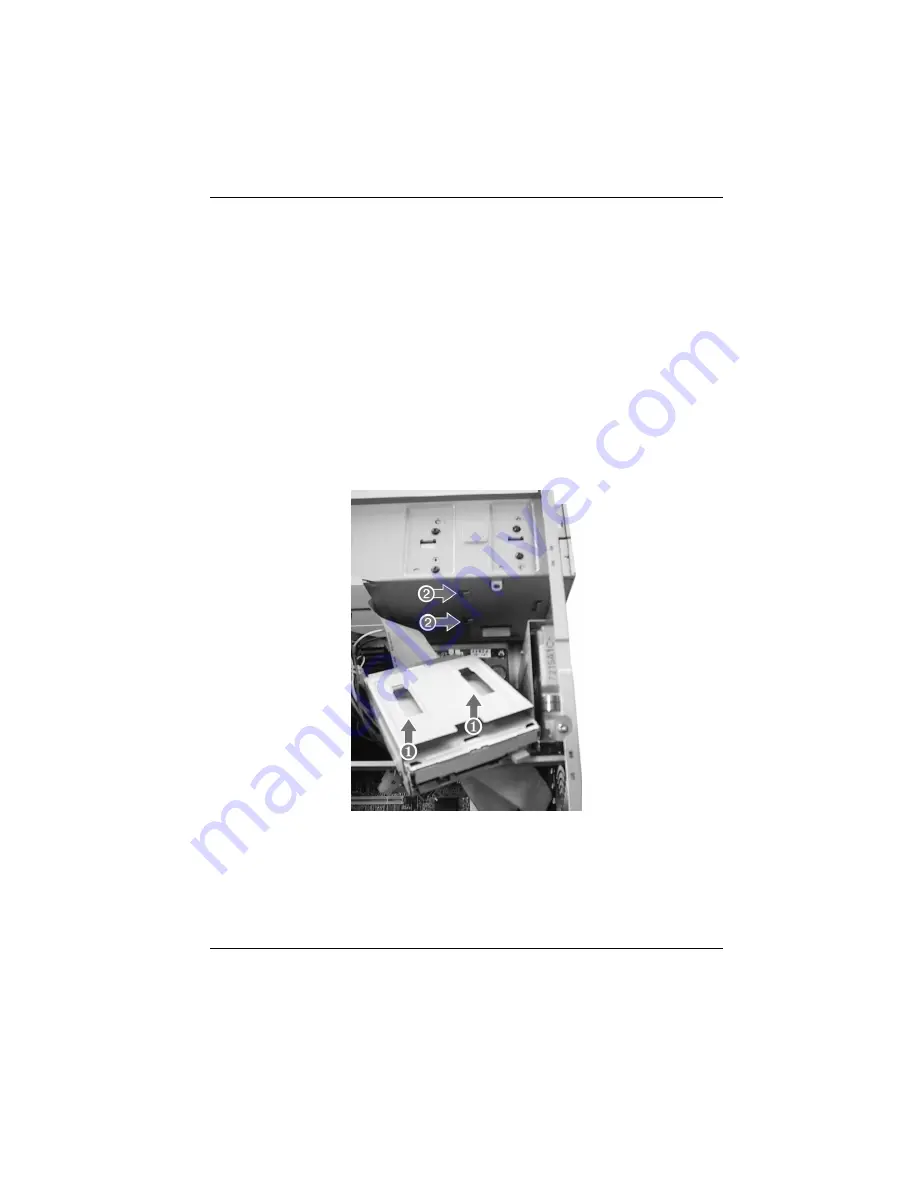
4
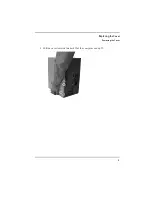
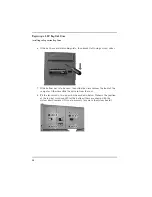
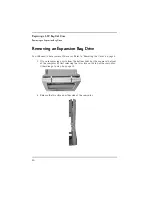
Slide the drive into the computer, making sure that the slots
➊
are located
on the tags
➋
.
5
Replace the floppy drive bay fixing screw.
6
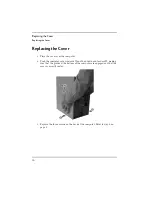
Replace the cover.
Summary of Contents for Brio BA
Page 1: ...http www hp com go briosupport Upgrade Guide HP Brio PCs BA BAx ...
Page 5: ...5 Inside the Computer 1 ...
Page 7: ...7 Replacing the Cover 2 ...
Page 11: ...11 Replacing the System Board 3 ...
Page 17: ...17 Replacing the Floppy Drive 4 ...
Page 20: ...20 Replacing the Floppy Drive Replacing the Floppy Disk Drive ...
Page 32: ...32 Replacing a 5 25 Bay Disk Drive Removing an Expansion Bay Drive ...
Page 33: ...33 Replacing a Memory Module 7 ...
Page 40: ...40 Replacing the Video RAM Replacing the VRAM Module ...
Page 41: ...41 Replacing Expansion Cards 9 ...
Page 44: ...44 Replacing Expansion Cards Removing an Expansion Card ...
Page 45: ...45 Replacing the Power Supply Unit 10 ...
Page 48: ...48 Replacing the Power Supply Unit ...
Page 50: ...50 Replacing the Processor ...
Page 51: ......
Page 52: ... Paper not bleached with chlorine Part Number 5967 9523V2 Printed in ...


