356
DCFM Professional User Manual
53-1001773-01
Steps for connecting to an LKM appliance
14
Establishing the trusted link
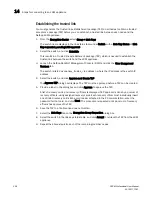
You must generate the trusted link establishment package (TEP) on all nodes to obtain a trusted
acceptance package (TAP) before you can establish a trusted link between each node and the
NetApp LKM appliance.
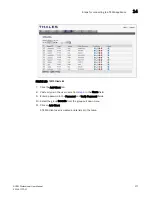
1. From the Encryption Center, select Group > Link Keys.
The switch name displays in the link status table under Switch, with a Link Key Status of Link
Key requested, pending LKM approval.
2. Select the switch, and click Establish.
This results in a Trusted link establishment package (TEP), which is needed to establish the
trusted link between the switch and the LKM appliance.
3. Launch the NetApp DataFort Management Console (DMC) and click the View Unapproved
Trustees tab.
The switch is listed as openkey_trustee_<ip address>, where the IP address is the switch IP
address.
4. Select the switch, and click Approve and Create TAP.
The Approve TEP dialog box displays. The TEP must be approved before a TAP can be created.
5. Provide a label in the dialog box and click Approve to approve the TEP.
A list of recovery cards and recovery officers is displayed. TEP approval is done by a quorum of
recovery officers, using assigned recovery cards. Each recovery officer must individually insert
one of listed recovery cards into a card reader attached to the PC or workstation, enter the
password for that card, and click Start. The procedure is repeated until a quorum of recovery
officers has approved the TEP.
6. Save the TAP to a file (location does not matter).
7. Select the Link Keys tab on the Encryption Group Properties dialog box.
8. Select the switch in the link key status table, and click Accept to retrieve the TAP from the LKM
appliance.
9. Repeat the above steps for each of the remaining member nodes.
Summary of Contents for Brocade BladeSystem 4/12
Page 1: ...53 1001773 01 14 April 2010 DCFM Professional User Manual Supporting DCFM 10 4 X ...
Page 3: ...DCFM Professional User Manual iii 53 1001773 01 ...
Page 4: ...iv DCFM Professional User Manual 53 1001773 01 ...
Page 88: ...56 DCFM Professional User Manual 53 1001773 01 Seed switch 2 ...
Page 146: ...114 DCFM Professional User Manual 53 1001773 01 Customizing the main window 4 ...
Page 152: ...120 DCFM Professional User Manual 53 1001773 01 Launching HCM Agent 5 ...
Page 246: ...214 DCFM Professional User Manual 53 1001773 01 Syslog forwarding 8 ...
Page 262: ...230 DCFM Professional User Manual 53 1001773 01 Generating zoning reports 10 ...
Page 662: ...630 DCFM Professional User Manual 53 1001773 01 ...

