6-44
Removal and Replacement
SERVICE STATION ASSEMBLY REMOVAL
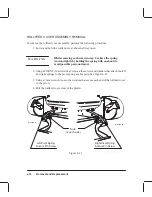
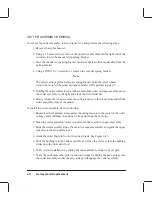
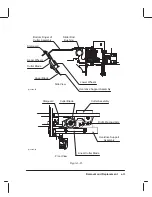
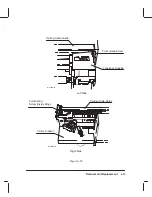
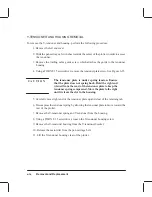
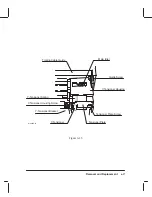
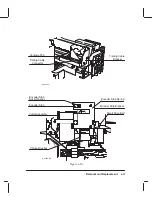
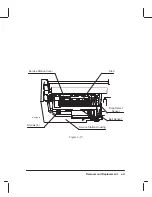
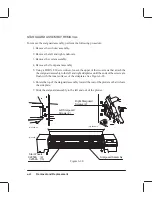
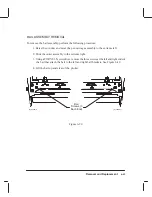
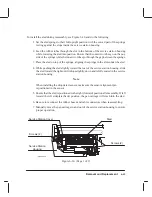
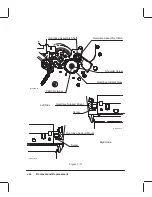
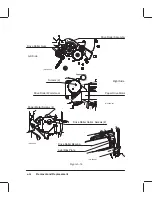
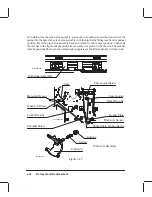
To remove the service station assembly, see Figure 6-30 and perform the following
procedure:
1. Remove the window assembly.
2. Remove the left endcover.
3. Move the pen carriage to the center of its travel.
4. Using a 5.5 mm nut driver, remove the nut and washer that attach the ground strap
and encoder strip to the service station housing.
5. Remove the encoder strip from the service station assembly.
6. Disconnect the four rubber tubes from the primer assembly.
7. Using a TORX T-9 screwdriver, remove the four screws that secure the service sta-
tion cover to the service station housing.
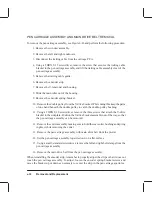
8. Holding the sled about 1/2 inch to the left of its normal position with one hand, tilt the
forward edge of the service station cover up and lift the cover clear of the service
station housing.
9. Lift the service station sled up slightly and observe where the sled springs engage the
slots in the service station housing. Lift the service station sled clear of the service
station housing.
10. Disconnect the drop detect and bail sensor cables from the wire harness.
11. Lift the drop detect sensor up and out of the service station housing.
12. Using a small flat-blade screwdriver, carefully pry up on the bail sensor and lift the
sensor out of the service station housing.
13. Remove the two sled springs from the service station housing by rotating the
springs to the left and then pressing the ends together to release them from the tabs.
14. Using a TORX T-20 screwdriver, remove the three screws that attach the service
station housing to the left sideplate. Lift the service station housing slightly up and
pull it clear of the left sideplate.
Summary of Contents for C2858A
Page 125: ...7 10 Adjustments Calibrations Notes ...
Page 155: ...9 4 Product History Notes ...
Page 164: ...10 9 Parts and Diagrams Illustrated Parts Breakdown C2859A Electronics Enclosure C C2858 3 1 ...
Page 166: ...10 11 Parts and Diagrams Illustrated Parts Breakdown C2858A Electronics Enclosure C C2858 4 1 ...
Page 182: ...10 27 Parts and Diagrams Illustrated Parts Breakdown Paper Drive Assemblies C C2858 12 1 ...
Page 198: ... ...

