7
5
Snapshot / Down Button
(
/
)
12 Power Connector Port
6
Emergency Recording /
Confirm Button (
/
OK
)
13 Memory Card Slot
14 Bracket Knob
7
Switch Voice Record Button
(MIC)
Note: Please press the button (3~7) according to the diagram notice shown on
screen.
2
Getting Started
2.1
Storage Media
2.1.1
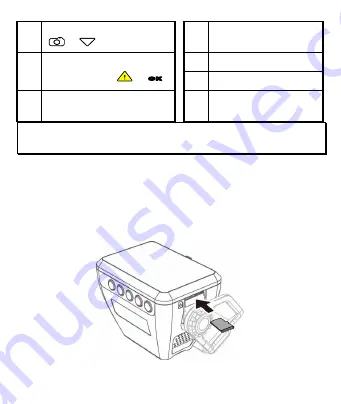
Insert the Memory Card
Insert memory card with the pins facing forward and the screen of
the camcorder facing forward too, see the picture as below:
Summary of Contents for CD-ROM
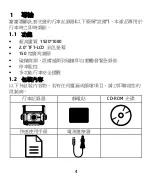
Page 22: ...5 1 3 產品概要 編號 項目 編號 項目 1 LED 指示燈 8 喇叭 2 LCD 彩色螢幕 9 廣角鏡頭 3 目錄 返回按鍵 10 麥克風 4 播放 向上按鍵 11 電源開關 ...
Page 26: ...9 3 將托架黏貼於擋風玻璃上的靜電貼紙 輕壓並確認托架已經 固定 2 2 2 調整設備 1 鬆開旋鈕並調整設備的可視角度 2 鎖緊旋鈕 並確認設備已牢牢固定 ...
Page 39: ...5 1 3 产品概要 编号 项目 编号 项目 1 LED 指示灯 8 喇叭 2 LCD 彩色屏幕 9 广角镜头 3 目录 返回按键 10 麦克风 4 播放 向上按键 11 电源开关 ...
Page 43: ...9 3 将托架黏贴于挡风玻璃上的静电贴纸 轻压并确认托架已经 固定 2 2 2 调整设备 1 松开旋钮并调整设备的可视角度 2 锁紧旋钮 并确认设备已牢牢固定 ...


