Optical drive
NOTE:
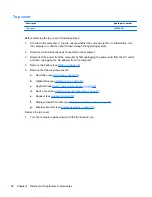
All optical drive spare part kits include an optical drive bezel.
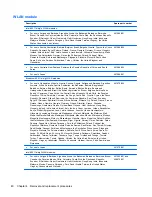
Description
Spare part number
DVD±RW and CD-RW Super Multi Double-Layer Combo Drive with LightScribe
456799-001
DVD±RW and CD-RW Super Multi Double-Layer Combo Drive
456798-001
DVD/CD-RW Combo Drive
456797-001
Before removing the optical drive, follow these steps:
1.
Shut down the computer. If you are unsure whether the computer is off or in Hibernation, turn
the computer on, and then shut it down through the operating system.
2.
Disconnect all external devices connected to the computer.
3.
Disconnect the power from the computer by first unplugging the power cord from the AC outlet
and then unplugging the AC adapter from the computer.
4.
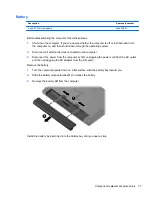
Remove the battery (see
Battery on page 37
).
Remove the optical drive:
1.
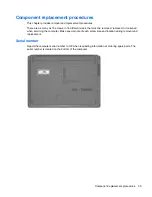
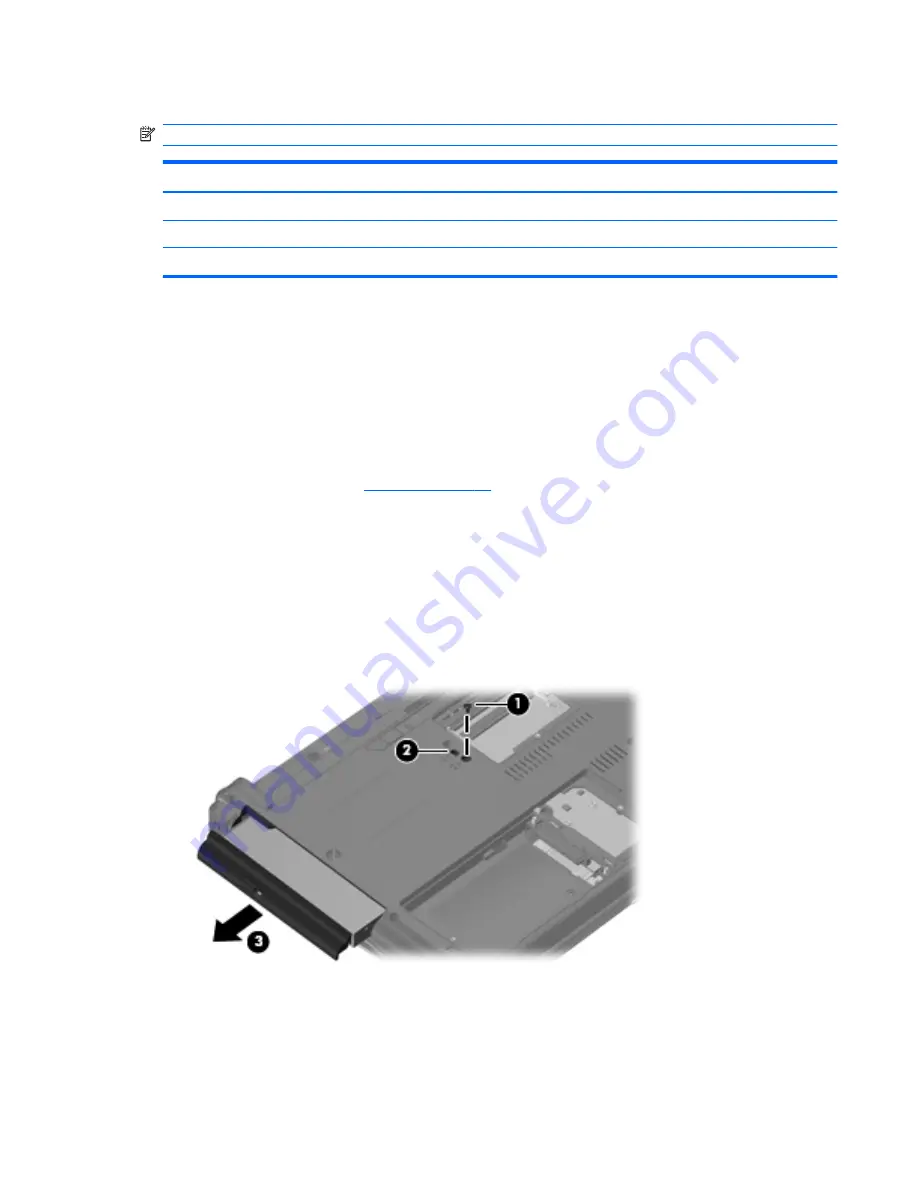
Position the computer with the right side toward you.
2.
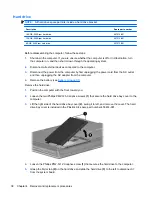
Remove the Torx T8M2.5×7.0 screw
(1)
that secures the optical drive to the computer.
3.
Insert a flat-bladed screwdriver or similar tool into the optical drive tab access
(2)
and press the
tab to the left to release the optical drive from the computer.
4.
Remove the optical drive
(3)
from the computer.
5.
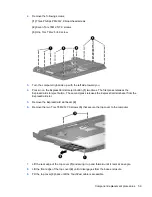
If it is necessary to replace the optical drive bracket, position the optical drive with the rear
toward you.
6.
Remove the two Phillips PM2.0×4.0 screws
(1)
that secure the optical drive bracket to the optical
drive.
Component replacement procedures
45
Summary of Contents for Compaq 6520s
Page 1: ...HP Compaq 6520s Notebook PC Maintenance and Service Guide ...
Page 4: ...iv MSG revision history ...
Page 6: ...vi Safety warning notice ...
Page 24: ...Computer major components 14 Chapter 3 Illustrated parts catalog ...
Page 113: ...Where used 2 screws that secure the top cover to the base enclosure Torx T8M2 5 7 0 screw 103 ...
Page 141: ...RJ 11 modem Pin Signal 1 Unused 2 Tip 3 Ring 4 Unused 5 Unused 6 Unused RJ 11 modem 131 ...

