


2-30
www.hp.com
Hardware Reference Guide
Hardware Upgrades
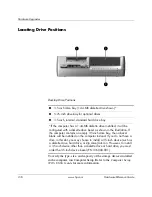
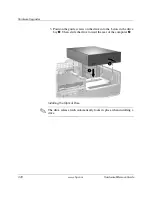
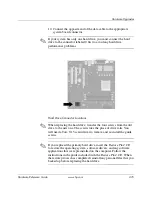
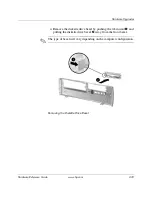
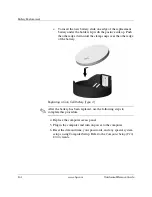
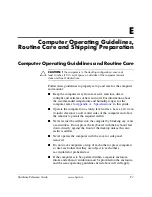
5. Insert the rear screws of the hard drive
1
into the rear J-slots.
Slide the drive
2
toward the back of the drive cage until the front
screws are aligned with the front J-slots. Then lower the front of
the drive. Continue to slide the drive all the way back until it
locks into place.
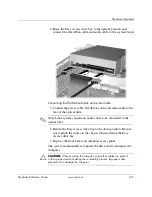
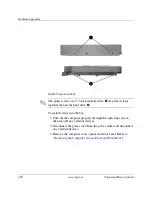
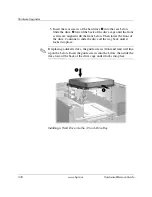
✎
If replacing a diskette drive, the guide screws (front and rear) will line
up on the J-slots. Insert the guide screws into the J-slots, then slide the
drive toward the back of the drive cage until it locks into place.
Installing a Hard Drive into the 3.5-inch Drive Bay


