Drives
Hardware and Software Guide
5–11
Removing Optical Drives
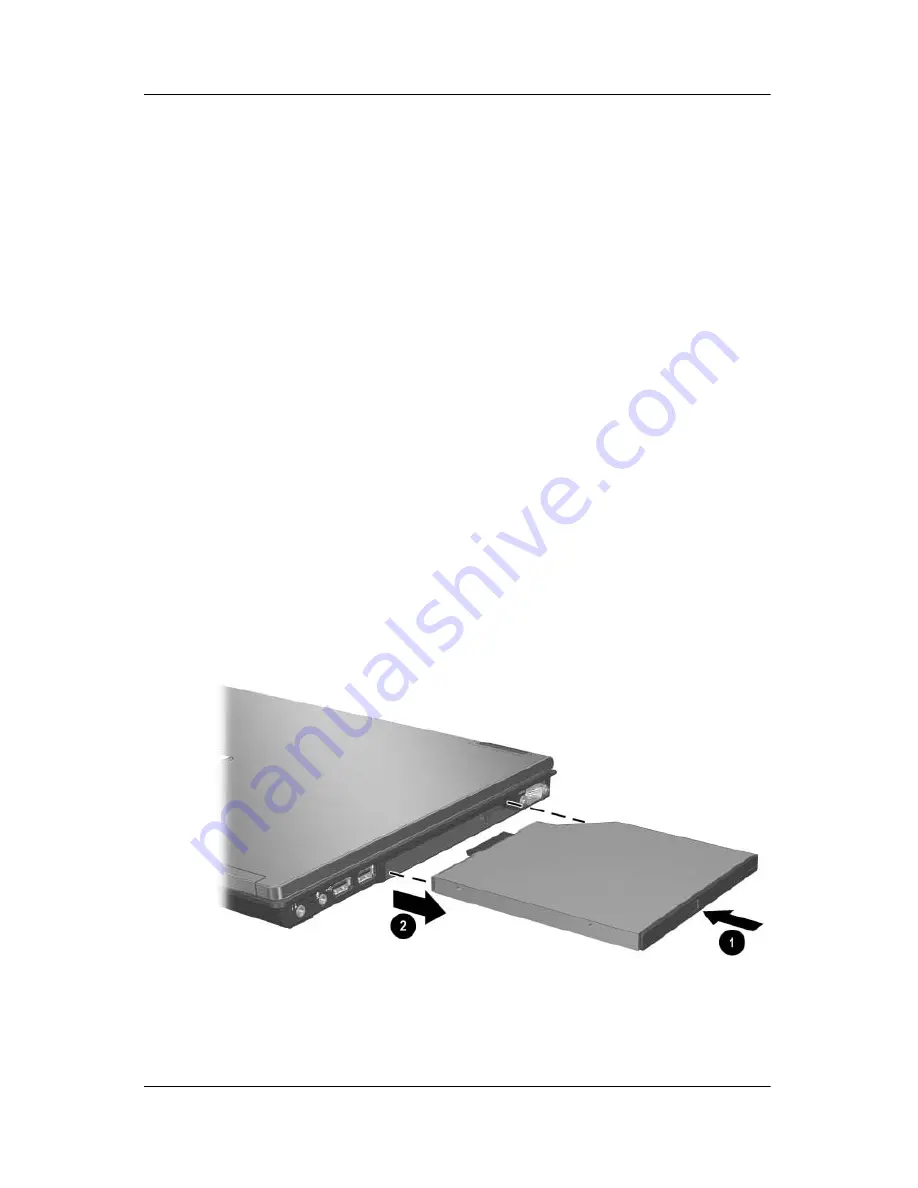
To remove an optical drive from the MultiBay II:
1. Save your work.
2. Select the
Safely Remove Hardware
icon in the notification
area. (A dialog box displays a list of connected devices.)
3. Select the optical drive, and then select the
Stop
button. (The
“Safe to Remove Hardware” message is displayed on your
screen.)
4. If the security screw is installed on the bottom of the
notebook, remove it:
a. Turn the notebook upside down.
b. Remove the security screw.
c. Turn the notebook display-side up.
5. Gently press in on the optical drive
1
to unlock it.
6. Slide the optical drive
2
out of the MultiBay II.


