Service
Monitor
ALT
Service
Monitor
8Ć52 Troubleshooting
C4699Ć90000
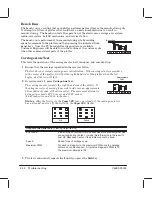
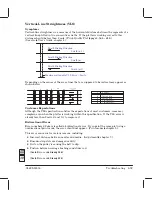
The service monitor is useful to find out why the plotter is not plotting what you expect it to
plot. It enables you to read the graphicsĆlanguage instructions that the plotter is receiving
from the computer. Instead of plotting the drawing that you send, the plotter prints the
beginning and end of the code that would otherwise have been used to plot the drawing.
You need a basic knowledgeof thegraphicsĆlanguageinstructions to beableto pick out the
important information from the printed code. (Basic training is included in the course
referenced on page ii.)
In service mode
, load a sheet of media (A3 size or B size minimum)
in portrait orientation.
To enter service monitor:
Hold down the
ALT
key and press
Service Monitor
(The frontĆpanel LEDsdo not change.)
Press
Service Monitor
(The frontĆpanel LEDsdo not change.)
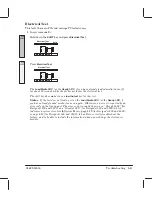
Send thefilefrom thecomputer through theserial or parallel ports.
The
Ready
LED beginsto flash.
Wait until thecomputer has indicated that it has sent the file.
The
Ready
LED continuesto flash.
Whilethe
Ready
LED is flashing, hold down the
ALT
key and press
Service Monitor
again.
The
Ready
LED continuesto flash. After a minute, the fan turnson, and the carriage
movesto the right side of the plotter.
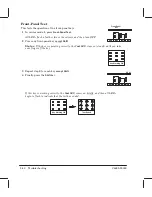
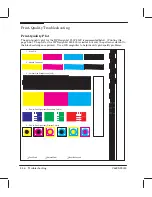
Instead of plotting the drawings that you sent, the plotter plots the first and last
Kbytes of the code for those drawings. The code is printed in hexadecimal and ASCII
format. (If the total size of the file(s) sent is not bigger than one Kbyte, only the first
buffer is printed.) The plotter exits the service monitor mode if the file(s) sent contain
PJL universal exit language.
Summary of Contents for Designjet 230
Page 1: ... ...
Page 3: ... ...
Page 13: ... ...
Page 18: ... ...
Page 19: ... ...
Page 22: ... ...
Page 23: ... ...
Page 25: ... ...
Page 28: ... ...
Page 29: ...3Ć7 Installation and Configuration C4699Ć90000 E A0Ćsize plotters only 32Kg 71 lb ...
Page 31: ... 2 1 ...
Page 32: ... ...
Page 33: ... ...
Page 39: ... ...
Page 43: ... ...
Page 59: ... ...
Page 63: ... ...
Page 64: ... Ensure that the cartridge caps are clean the wipers straight and the openings clear ...
Page 66: ... 2 1 ...
Page 69: ... ...
Page 73: ... Clip ...
Page 76: ... 5 5 mm Torx 15 ...
Page 78: ... Torx 15 Leave loose 5 5 mm Tighten slightly Torx 15 Tighten slightly ...
Page 81: ... Torx 20 ...
Page 93: ... Trailing cable under tabs ...
Page 96: ... ...
Page 103: ... the left and right sideĆplates or the lift mechanism will not work ...
Page 109: ... ...
Page 121: ... GO NO GO ...
Page 135: ... ...
Page 137: ... Flashing Can be On or Off Off On ...
Page 168: ... ...
Page 196: ... ...
Page 197: ... ...
Page 202: ... ...
Page 203: ... ...
Page 207: ... ...
Page 209: ...10Ć7 Parts and Diagrams C4699Ć90000 Top and Back Covers Electronics Trailing Cable ...
Page 211: ... ...
Page 213: ... ...
Page 215: ...10Ć13 Parts and Diagrams C4699Ć90000 CarriageĆAxis Right End ...
Page 217: ... ...
Page 219: ... ...
Page 221: ... ...
Page 223: ... ...
Page 225: ... ...
Page 227: ... ...
Page 233: ... ...
Page 242: ......
Page 243: ... ...
Page 249: ... ...

