This is the magenta on page 5–8 (seq: 100)
5–8
Company confidential. Pelican User’s Guide, Ed 1, Final. Freeze Status: frozen
This is the cyan on page 5–8 (seq: 100)
This is the black on page 5–8 (seq: 100)
2
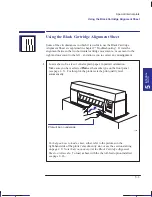
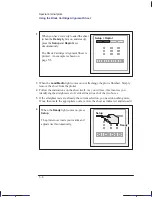
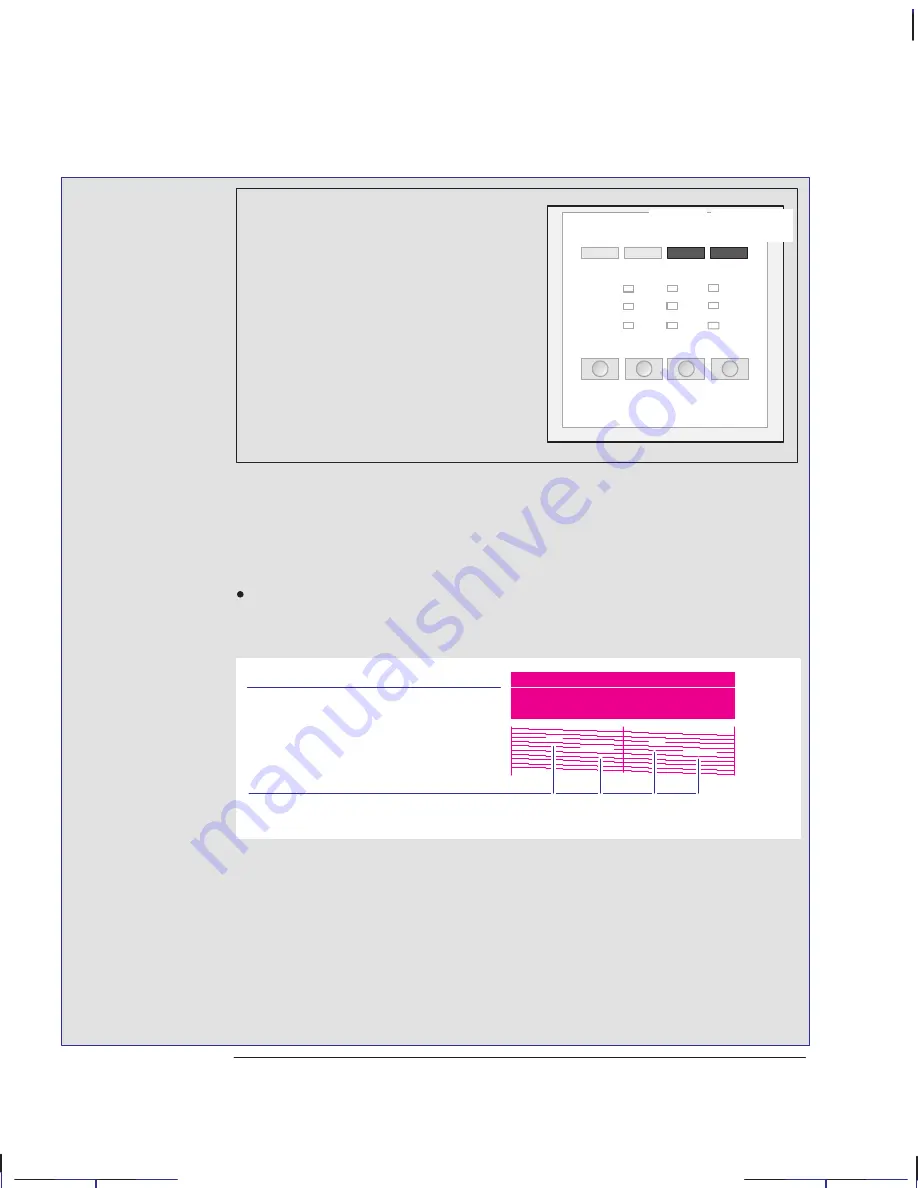
When you have correctly loaded the sheet
(when the
Ready
light is on and steady),
press the
Continue Plotting
keys
simultaneously.
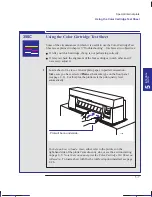
The Color Cartridge Test Sheet is printed.
An example is shown on page 5–9.
Form
Feed
Continue
Plotting
+
3
When the
Load Media
light comes on (not flashing), the plot is finished. Simply
remove the sheet from the plotter.
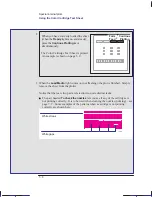
Notice that there are two parts, related to two quite distinct tasks:
The part headed
To check the nozzles
lets you see if any of the cartridges is
not printing correctly. It is to be used when cleaning the nozzles (priming) – see
page 7–7. Some examples of the patterns when a cartridge is not printing
correctly are shown here:
White streak
White gaps
1002
Special internal plots
Using the Color Cartridge Test Sheet
Localization Note. JKCT: Steps 3 and 4 very similar to Parrot UG p3-9.
Summary of Contents for Designjet 330
Page 1: ...C4699 90031 English HP DesignJet 330 and 350C Plotters User s Guide ...
Page 4: ...iv ...
Page 14: ...xiv ...
Page 92: ...4 4 ...
Page 114: ...6 12 ...
Page 124: ...7 10 ...
Page 125: ...8 1 FRONT PANEL 8 LIGHTS Front panel lights 8 ...
Page 150: ...9 20 ...
Page 170: ...10 20 ...
Page 171: ...11 1 GLOSSARY 11 Glossary 11 ...
Page 180: ......

