5–10
Company confidential. Pelican User’s Guide, Ed 1, Final. Freeze Status: frozen
This is the cyan on page 5–10 (seq: 102)
This is the black on page 5–10 (seq: 102)
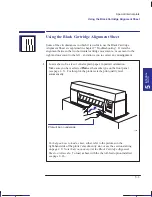
The part headed
To check the cartridge alignment
lets you check and, if
necessary, adjust the alignment between the cartridges, in response to a print
quality problem – see page 9–12.
You don’t need to use both parts of the Color Cartridge Test Sheet each time you
print it.
4
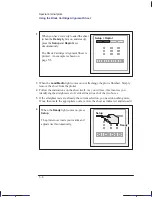
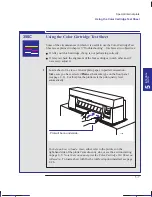
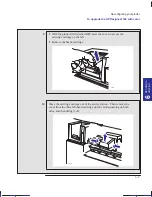
Follow the instructions on the sheet. Notice that, if you change any of the settings
on the sheet (by marking an oval different from the currently selected ones), you
must reload it, as as explained in steps 5 through 7, for the plotter to readjust itself.
Otherwise you can skip the rest of the steps.
5
Having marked the appropriate ovals, reverse the sheet as indicated, and reload it.
6
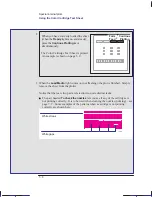
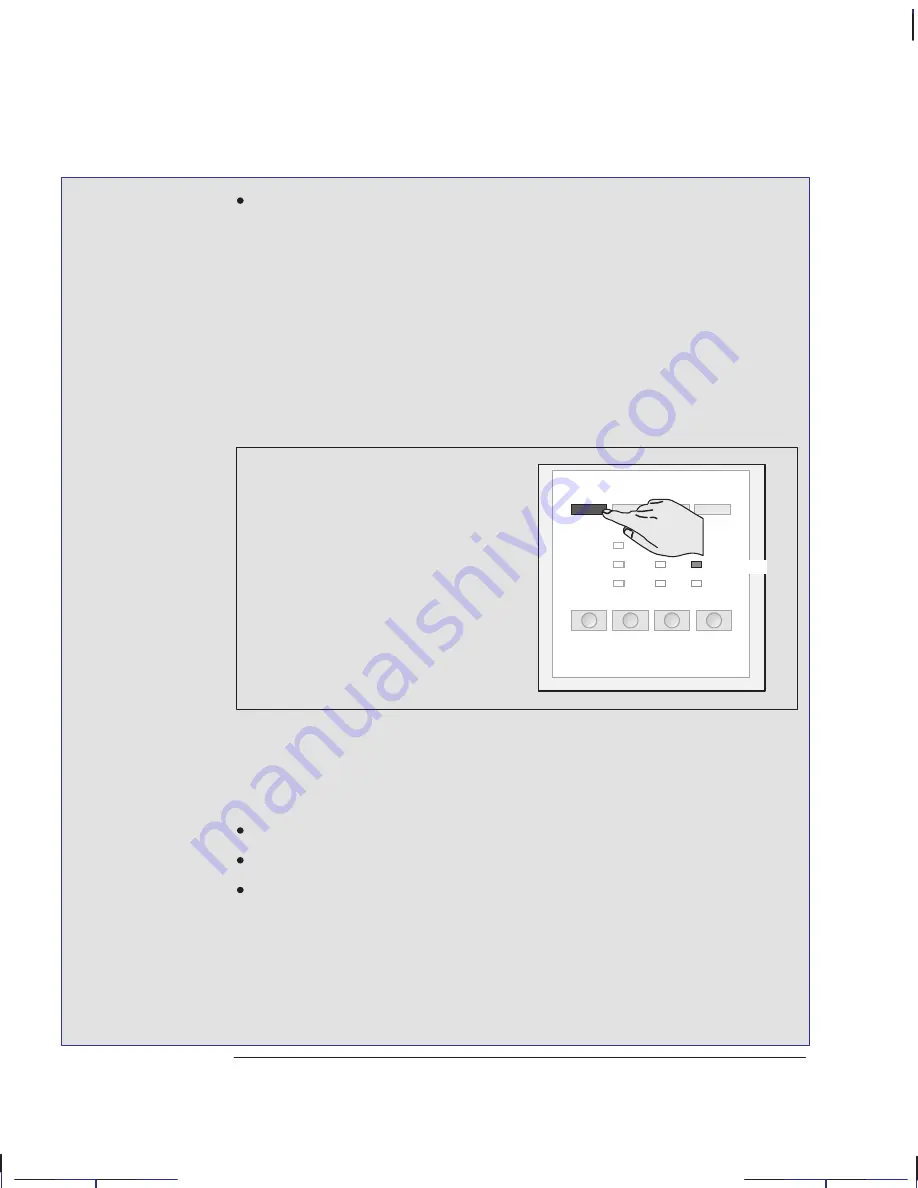
When the
Ready
light comes on, press
Setup
.
The plotter now reads your marks and
adjusts itself automatically.
Setup
Ready
7
When the
Load Media
light comes on again, remove the sheet and make sure that
the plotter has marked your selections with a check mark.
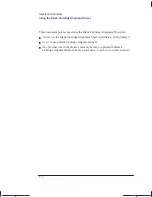
Three important points concerning the Color Cartridge Test Procedure:
Always use the Color Cartridge Test Sheet immediately after printing it.
Never re-use a Color Cartridge Test Sheet.
Any plot that was in the plotter’s memory before you printed the Color
Cartridge Test Sheet has been lost and so, to print it, you must resend it.
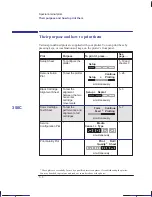
Special internal plots
Using the Color Cartridge Test Sheet
Localization Note. Treat as new.
Summary of Contents for Designjet 330
Page 1: ...C4699 90031 English HP DesignJet 330 and 350C Plotters User s Guide ...
Page 4: ...iv ...
Page 14: ...xiv ...
Page 92: ...4 4 ...
Page 114: ...6 12 ...
Page 124: ...7 10 ...
Page 125: ...8 1 FRONT PANEL 8 LIGHTS Front panel lights 8 ...
Page 150: ...9 20 ...
Page 170: ...10 20 ...
Page 171: ...11 1 GLOSSARY 11 Glossary 11 ...
Page 180: ......

