This is the yellow on page 1–12 (seq: 26)
This is the magenta on page 1–12 (seq: 26)
1–12
Company confidential. Pelican User’s Guide, Ed 1, Final. Freeze Status: frozen
This is the cyan on page 1–12 (seq: 26)
This is the black on page 1–12 (seq: 26)
3
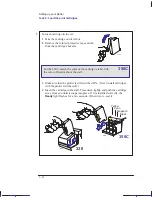
For each cartridge in the set:
1
Take the cartridge out of its box.
2
Remove the colored protective tape and tab
from the cartridge’s nozzles.
1754
Yellow
Cyan
Magenta
Black
r004
1
2
1
2
330
350C
350C
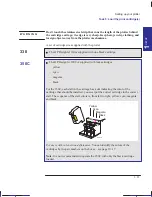
For the 350C, match the color of the cartridge’s label with
the color of the dot above the stall.
3
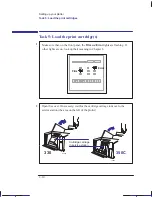
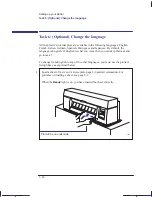
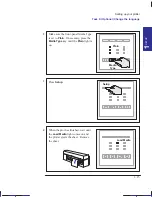
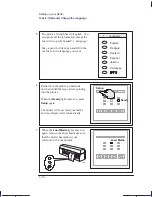
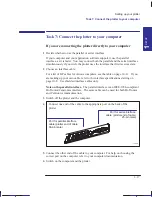
Make sure that the plotter is still switched ON. (Never install cartridges
with the plotter switched off.)
4
Insert the cartridge in the stall. Press down lightly and push the cartridge
away from you until it snaps into place. If it is installed correctly, the
Ready
light flashes for a few seconds. Otherwise, re-seat it.
0019
Localization Note JKCT: Similar to Parrot UG p1–13. FIGSP: Similar to Loquillo UG,
p1–21.
Setting up your plotter
Task 5: Load the print cartridges
Summary of Contents for Designjet 330
Page 1: ...C4699 90031 English HP DesignJet 330 and 350C Plotters User s Guide ...
Page 4: ...iv ...
Page 14: ...xiv ...
Page 92: ...4 4 ...
Page 114: ...6 12 ...
Page 124: ...7 10 ...
Page 125: ...8 1 FRONT PANEL 8 LIGHTS Front panel lights 8 ...
Page 150: ...9 20 ...
Page 170: ...10 20 ...
Page 171: ...11 1 GLOSSARY 11 Glossary 11 ...
Page 180: ......


