●
Press a key on the keyboard.
●
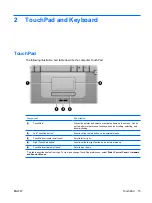
Activate the TouchPad.
When the computer exits Sleep, the power lights turn on and your work returns to the screen where you
stopped working.
NOTE
If you have set a password to be required on wakeup, you must enter your Windows
password before your work will return to the screen.
Initiating and exiting Hibernation
The system is set at the factory to initiate Hibernation after 120 minutes of inactivity when running on
battery power, 1080 minutes (18 hours) of inactivity when running on external power, or when the battery
reaches a critical battery level.
Power settings and timeouts can be changed using Power Options in Windows Control Panel.
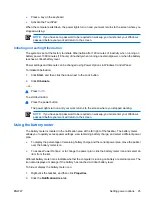
To initiate Hibernation:
1.
Click
Start
, and then click the arrow next to the Lock button.
2.
Click
Hibernate
.
– or –
▲
Press
fn+f5
.
To exit Hibernation:
▲
Press the power button.
The power lights turn on and your work returns to the screen where you stopped working.
NOTE
If you have set a password to be required on wakeup, you must enter your Windows
password before your work will return to the screen.
Using the battery meter
The battery meter is located in the notification area at the far right of the taskbar. The battery meter
allows you to quickly access power settings, view remaining battery charge, and select a different power
plan.
●
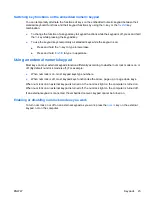
To display the percentage of remaining battery charge and the current power plan, move the pointer
over the battery meter icon.
●
To access Power Options, or to change the power plan, click the battery meter icon and select an
item from the list.
Different battery meter icons indicate whether the computer is running on battery or external power. The
icon also displays a message if the battery has reached a critical battery level.
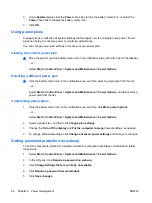
To hide or display the battery meter icon:
1.
Right-click the taskbar, and then click
Properties
.
2.
Click the
Notification Area
tab.
ENWW
Setting power options
25
Summary of Contents for DV3610EA
Page 1: ...Notebook PC User Guide User Guide ...
Page 6: ...vi ENWW ...
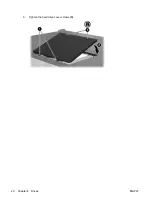
Page 46: ...5 Tighten the hard drive cover screws 3 40 Chapter 4 Drives ENWW ...
Page 73: ......

