

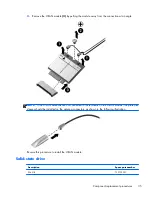

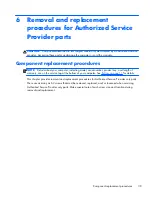


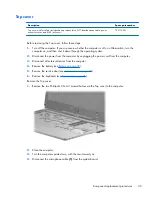


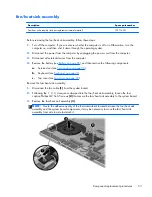


5.
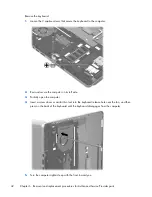
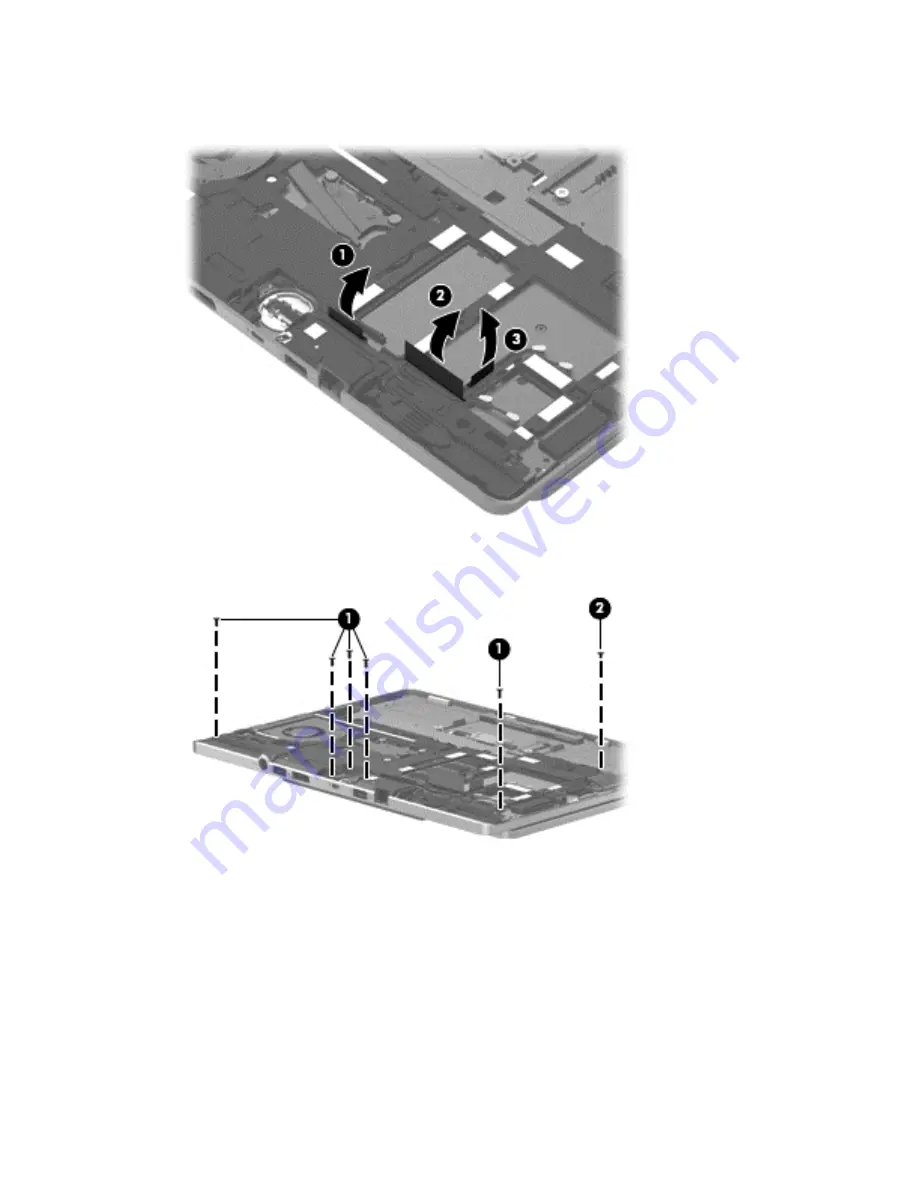
Release the tape
(2)
and
(3)
that secures the WWAN antenna cables and the WLAN antenna
cables.
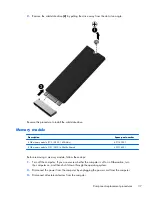
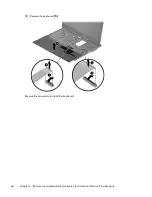
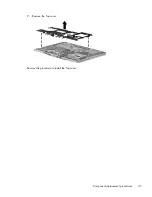
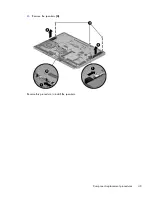
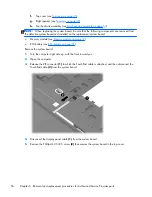
6.
Remove the five Torx T8M2.0×5.65 screws
(1)
and the Torx T8M2.0×2.5 screw
(2)
that secure
the Top cover to the computer.
46
Chapter 6 Removal and replacement procedures for Authorized Service Provider parts
Summary of Contents for EliteBook Revolve 810 G2 Tablet
Page 1: ...HP EliteBook Revolve 810 G2 Maintenance and Service Guide ...
Page 4: ...iv Important Notice about Customer Self Repair Parts ...
Page 6: ...vi Safety warning notice ...
Page 10: ...x ...
Page 14: ...2 External component identification 4 Chapter 2 External component identification ...
Page 24: ...Computer major components 14 Chapter 3 Illustrated parts catalog ...


