Using the OmniBook Docking Solutions
Operating the Docking Solutions
7-5
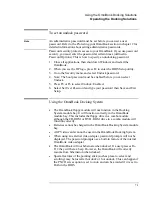
To set an undock password
Note
An administrative password must be set before you can set a user
password. Refer to the Protecting your OmniBook section in chapter 2 for
detailed information about setting administrative passwords.
Password security protects access to your OmniBook. If you use password
security, you must enter the password at certain times (defined in
Password Options). This is how to specify an undocking password.
1. Close all applications, then shut down Windows and restart the
OmniBook.
2. When you see the HP logo, press F2 to enter the BIOS Setup utility.
3. Go to the Security menu, and select Undock password.
4. Note: The boot password must be enabled before you can select
Undock.
5. Press F5 or F6 to select Undock: Enabled.
6. Select Set User Password and type your password then Save and Exit
Setup.
Using the OmniBook Docking System
•
The OmniBook floppy module will not function in the Docking
System module bay. It will function correctly in the OmniBook
module bay. This includes the floppy drive in a combo module
although the CD-ROM or DVD -ROM drive in a combo module will
function correctly.
•
Batteries cannot be charged in the OmniBook Docking System module
bay
•
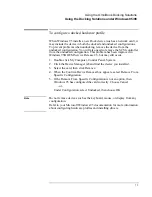
AGP Video cards cannot be used in the OmniBook Docking System.
•
When using an external video adapter, password prompts will not be
displayed. The password prompts use a built-in feature of the internal
OmniBook video adapter.
•
The OmniBook will not hibernate when docked. If a user presses Fn-
F12 they will here a beep. However, the OmniBook will correctly
resume from hibernation when docked.
•
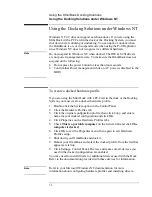
Special features of the pointing stick (such as press-to-select and
scrolling) may be lost after hot dock or hot undock. This can happen if
the PS/2 Devices option is set to Auto and can be avoided if it is set to
Both in the BIOS.
Summary of Contents for HP OmniBook 900
Page 1: ...HP OmniBook 900 Corporate Evaluator s Guide ...
Page 10: ......
Page 11: ...1 Introducing the OmniBook ...
Page 17: ...2 Operating the OmniBook ...
Page 37: ...3 Using the Recovery CD ...
Page 42: ......
Page 43: ...4 Using Windows 98 ...
Page 61: ...5 Using Windows 95 ...
Page 80: ......
Page 81: ...6 Using Windows NT 4 0 ...
Page 94: ...Using Windows NT 4 0 Installing Pointing Device Support 6 14 ...
Page 99: ...7 Using the OmniBook Docking Solutions ...
Page 109: ...8 Features and Support Information ...
Page 128: ......
Page 133: ......

