Using Windows NT 4.0
Installing Pointing Device Support
6-13
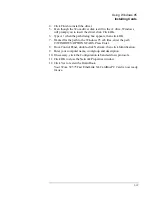
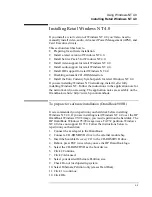
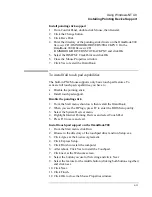
Install pointing stick support
1. From Control Panel, double-click Mouse, then General.
2. Click the Change button.
3. Click Have Disk
4. Enter the directory of the pointing stick drivers on the OmniBook 900
Recovery
CD \OMNIBOOK\DRIVERS\TRACKPNT. On the
OmniBook 900 B
Recovery
CD
\OMNIBOOK\DRIVERS\NT4\TRACKPNT and click OK.
5. Select the IBM PS/2 TrackPoint and click OK.
6. Close the Mouse Properties window.
7. Click Yes to restart the OmniBook.
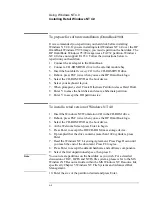
To install full touch pad capabilities
The built-in PS/2 Mouse supports only basic touch pad features. To
activate full touch pad capabilities, you have to
•
Disable the pointing stick.
•
Install touch pad support.
Disable the pointing stick
1. From the Start menu, shut down, then restart the OmniBook.
2. When you see the HP logo, press F2 to enter the BIOS Setup utility.
3. Select the System Devices menu.
4. Highlight Internal Pointing Devices and select Touch Pad.
5. Press F10 to save and exit.
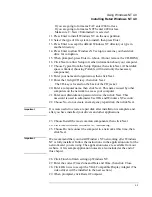
Install touch pad support on the OmniBook 900
1. From the Start menu, click Run.
2. Browse to the directory of the touchpad driver and run Setup.exe.
3. Click Agree at the License Agreement.
4. Click Express Setup.
5. Click Finish to restart the computer.
6. After reboot, Click Yes to install the Touchpad.
7. Click next at the Welcome screen.
8. Select the button you use for Selecting and click Next.
9. Select the feature for the middle button (clicking both buttons together)
and click next.
10. Click Next.
11. Click Finish.
12. Click OK to close the Mouse Properties window.
Summary of Contents for HP OmniBook 900
Page 1: ...HP OmniBook 900 Corporate Evaluator s Guide ...
Page 10: ......
Page 11: ...1 Introducing the OmniBook ...
Page 17: ...2 Operating the OmniBook ...
Page 37: ...3 Using the Recovery CD ...
Page 42: ......
Page 43: ...4 Using Windows 98 ...
Page 61: ...5 Using Windows 95 ...
Page 80: ......
Page 81: ...6 Using Windows NT 4 0 ...
Page 94: ...Using Windows NT 4 0 Installing Pointing Device Support 6 14 ...
Page 99: ...7 Using the OmniBook Docking Solutions ...
Page 109: ...8 Features and Support Information ...
Page 128: ......
Page 133: ......

