Procedure
1.
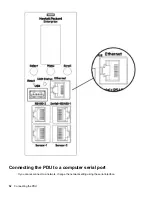
Connect the PDU to a computer serial port, and then set the baud rate for a terminal program.
2.
Use a CLI command to enable DHCP or set a static IP address.
3.
Verify access to the web interface.
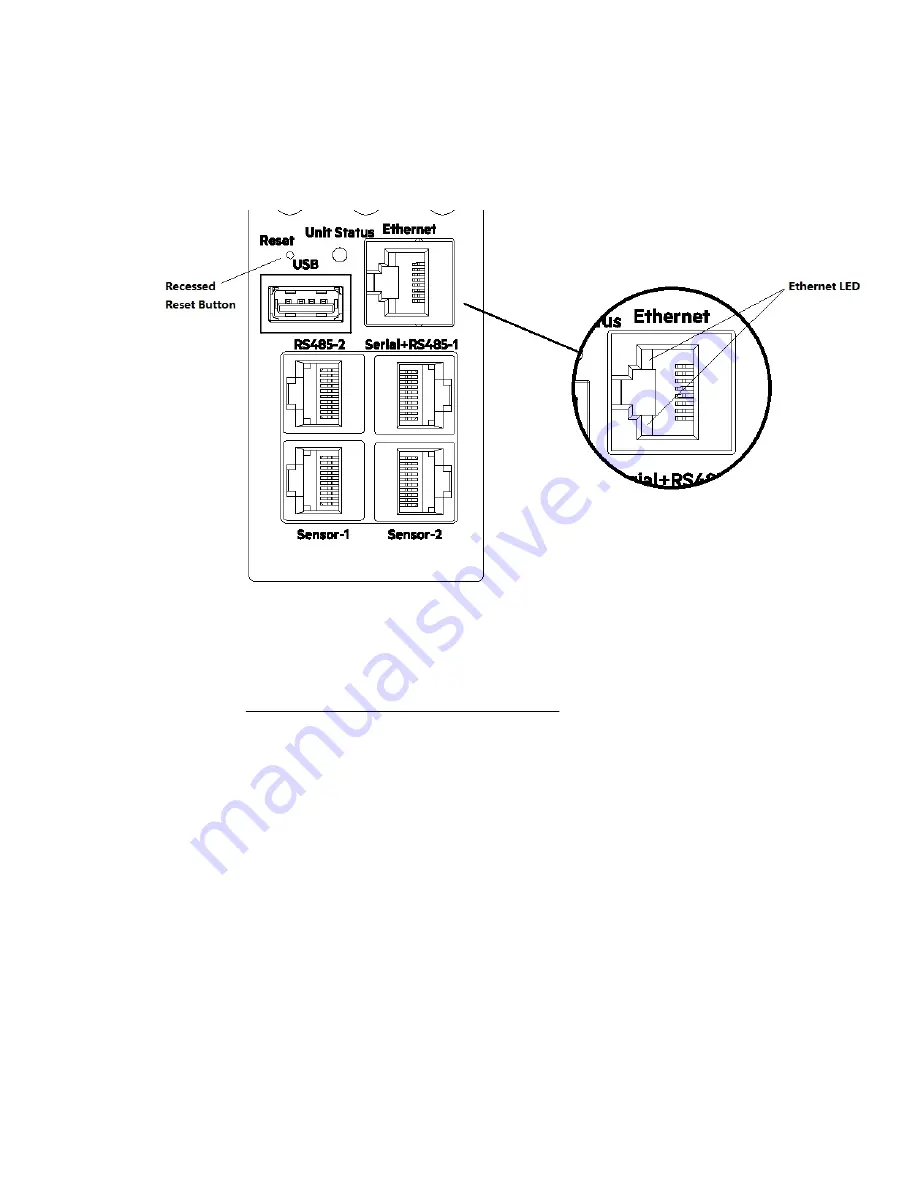
The Ethernet LED on the PDU front panel indicates the communication status by color and display activity.
The recessed Reset button restarts the PDU.
Setting up serial communication
You can configure network settings using a serial connection between the PDU and a laptop computer. You
can use the optional RJ45-DB9 cable or you can make your own cable by creating a unique pinout. For more
information, see
Serial cable pinout to create your own cable
.
Procedure
1.
Verify that the computer has a serial port.
If your computer does not have a DB9 serial connector, but has a USB connector, obtain a USB-to-DB9
adapter to convert the computer USB port to a DB9 serial port.
2.
Using the optional RJ45-DB9 cable, connect the RJ-45 end to the port labeled RS485-1 on the front
panel of the PDU and then connect the DB9 end of the cable to the serial port on the computer.
3.
Open the terminal emulation program (HyperTerminal or PuTTY) on the computer and select the serial port
connection (such as COM1).
4.
Set the communications port.
• Bits per second: 115200
• Data bits: 8
Connecting the PDU
53
Summary of Contents for HPE G2 Series
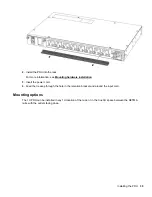
Page 16: ...3 Secure the tie wrap 16 Introduction ...
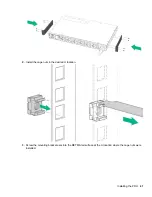
Page 20: ...20 Introduction ...
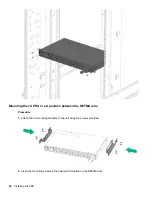
Page 23: ...Installing the PDU 23 ...
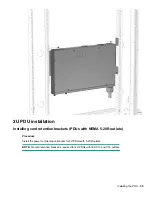
Page 25: ... Outlets facing the back of the rack Installing the PDU 25 ...
Page 26: ... Outlets facing the front of the rack 26 Installing the PDU ...
Page 28: ... Two mid height PDUs with outlets facing towards the center of the rack 28 Installing the PDU ...
Page 31: ... Half height Installing the PDU 31 ...
Page 35: ...Installing the PDU 35 ...
Page 37: ...2 Install the PDU in the rack frame Installing the PDU 37 ...
Page 47: ...3 Install the PDU Installing the PDU 47 ...
Page 49: ...Installing the PDU 49 ...
Page 64: ...Web menu options Menu Illustration Overview Alarms 64 Remote configuration ...
Page 65: ...Menu Illustration Help Table Continued Remote configuration 65 ...
Page 66: ...Menu Illustration Language 66 Remote configuration ...
Page 67: ...Menu Illustration Logs Remote configuration 67 ...
Page 68: ...Menu Illustration Settings 68 Remote configuration ...
Page 84: ...84 Remote configuration ...
Page 92: ...92 Configuring local access ...
Page 99: ...Local display 99 ...
Page 101: ...Local display 101 ...
Page 107: ...Local display 107 ...
Page 120: ...120 Connecting and configuring optional hardware ...

