


3
Installation Steps
To install the HP Gigabit Stacking Kit, follow these steps:
1.
Follow anti-static precautions when handling the Stacking
Transceivers and Switch 2424M Gigabit Stacking Module (if
used).
When handling the transceivers (and module) and installing
them in your switch, follow these procedures to avoid damage from
static electricity:
•
Handle the transceivers (and module) by their bulkheads or edges
and avoid touching the components and the circuitry on the boards.
•
When installing the transceivers (and module), equalize any static
charge difference between your body and the switch by wearing a
grounding wrist strap and attaching it to the switch’s metal body, or
by frequently touching the switch’s metal body.
2.
If the Gigabit Stacking Transceiver is being installed in a Switch 2424M
Gigabit Stacking Module, first remove the module from the Switch
2424M, or unplug the Switch 2424M from the AC power source.
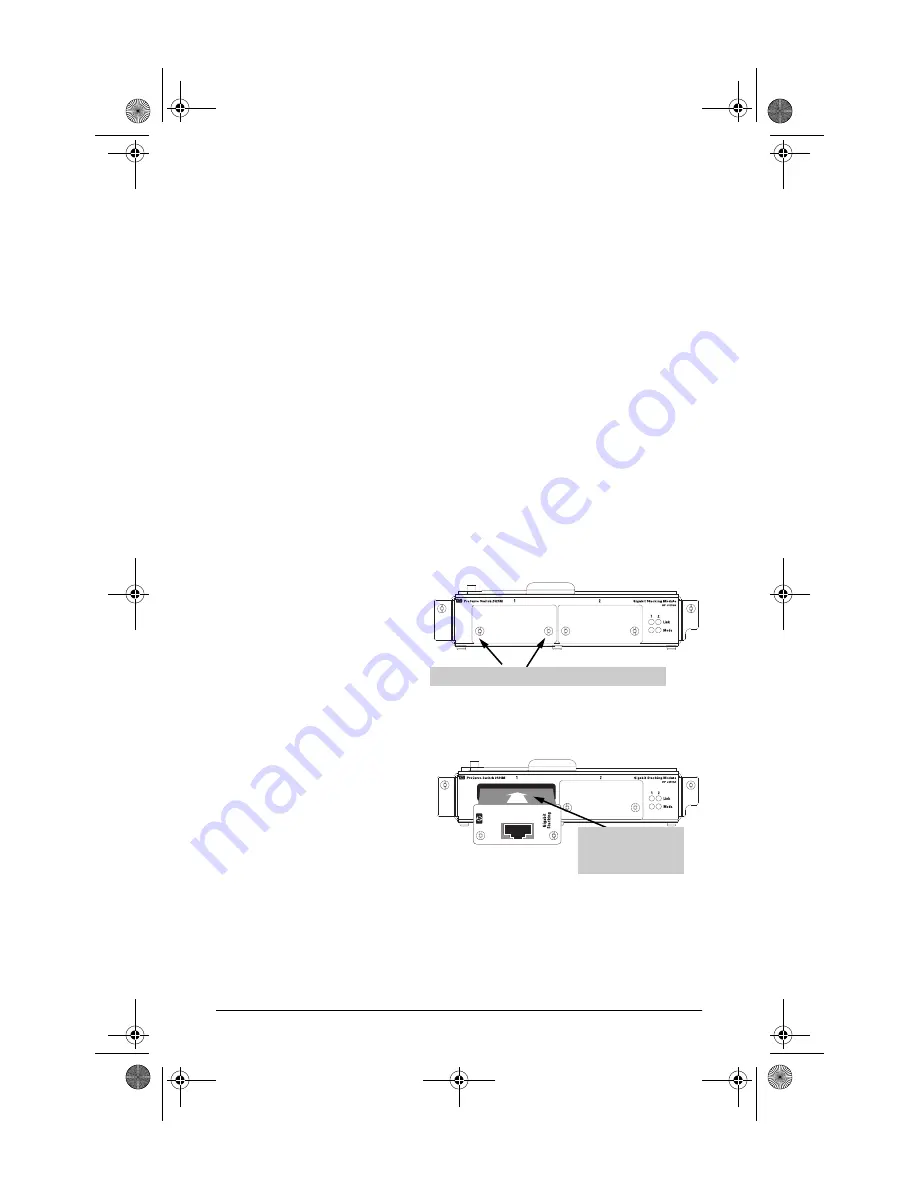
3.
Using a flat-bladed or Torx
T-10 screwdriver, unscrew
the two retaining screws
on the slot cover plate or
existing transceiver, and
remove it from the module
or switch. Keep the cover
plate for future use—unused transceiver slots should be kept covered
for proper switch operation.
4.
Slide the transceiver firmly
into the transceiver slot as
far as it will go. The trans-
ceiver will “snap” into
place, and the transceiver's
faceplate should touch the
face of the module.
5.
Using the flat-bladed or Torx T-10 screwdriver, tighten the retaining
screws on the transceiver until they are secure, but
be careful that you
do not overtighten the screws.
loosen these screws and remove the cover plate
slide the transceiver
into the slot until it
snaps into place
j4116101.fm Page 3 Tuesday, October 3, 2000 5:29 PM


